Yes, I initially focused on this, but things went a bit sideways when my research led me into terrain, LOD, and implementing colliders. Thanks for the reminder! Do you have any tips on where to look for more materials?
And the function to load resources in a thread can be easily integrated into there.
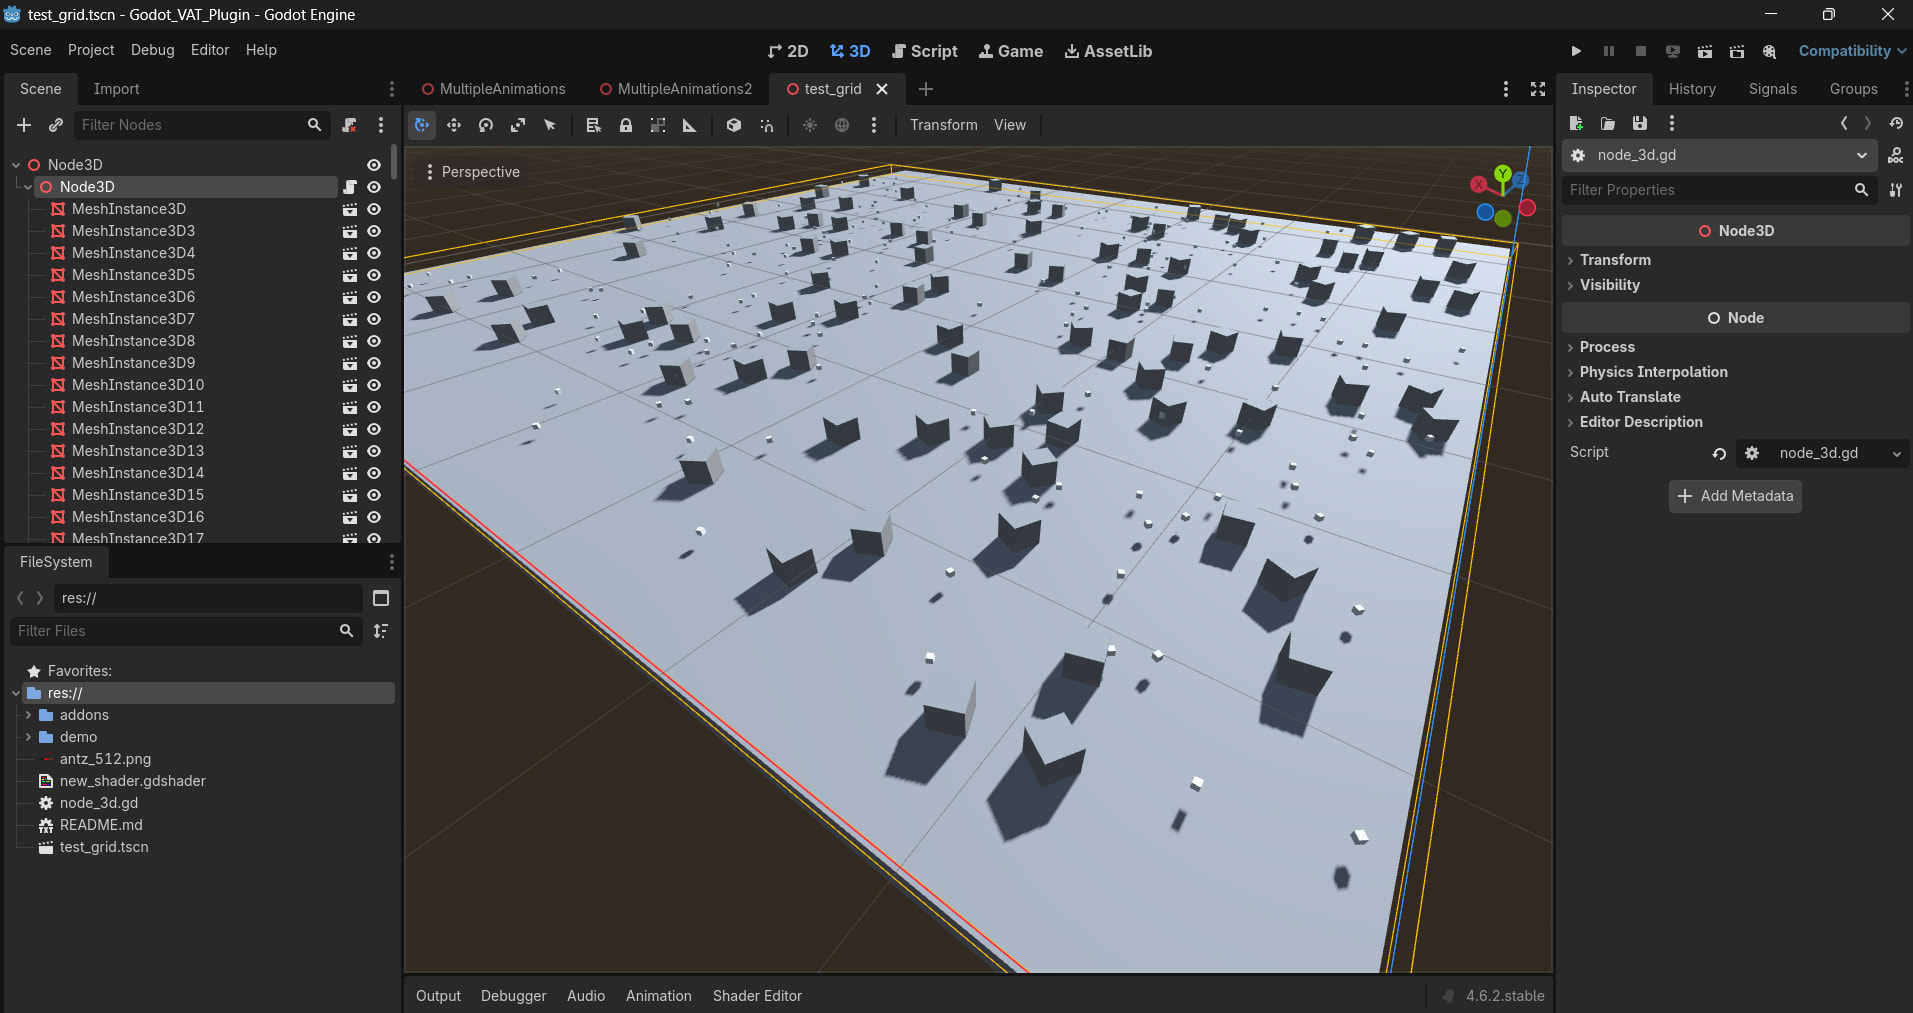
The code is a mess, but not really bad … this is just a grid … not an octree but maybe I will convert to that later … (this is not vibe coded, no ai, fully MIT human coded grid. The grid I use in my game is similar, but I first compute the world bounds AABB and the offset).
extends Node3D

enum CAM_PLANE{ NEAR_PLANE, FAR_PLANE, LEFT_PLANE, TOP_PLANE, RIGHT_PLANE, BOTTOM_PLANE}
var cam_planes

var x: float = 0
var z: float = 0


class Elem:
	var id: int
	var basis: Basis
	var position: Vector3
	var mesh:StringName

class grid_elem:
	var storage = []


var grid = []
var xmax = 64
var zmax = 64
var cell_size = 8

var grid_pattern = [[Vector2i(-1,-1),Vector2i(-1,0),Vector2i(-1,1)],\
					[Vector2i(0,-1),Vector2i(0,0),Vector2i(0,1)],\
					[Vector2i(1,-1),Vector2i(1,0),Vector2i(1,1)]]

var point_positions = [ Vector2(1.2,1.5), Vector2(54.4, 1.5), Vector2(12.2,16.8),Vector2(36.0, 36.0),\
						Vector2(1.2,9.5), Vector2(53.4, 9.5), Vector2(12.2,24.8),Vector2(36.0, 42.0),\
						Vector2(1.2,17.5), Vector2(53.4, 17.5), Vector2(12.2,32.8),Vector2(36.0, 50.0),\
						Vector2(1.2,25.5), Vector2(53.4, 25.5), Vector2(12.2,40.8),Vector2(36.0, 58.0)]
var cuurent_point : int = 0

func setup_grid(N:int):
	for i in range(N):
		grid.append([])
		for j in range(N):
			grid[i].append(grid_elem.new())
	cell_size = xmax / N

	get_cam_planes()

func get_cam_planes():
# Get the current active 3D camera
	var camera = get_viewport().get_camera_3d()

	if camera:
		# Retrieve the frustum planes
		var cam_planes = camera.get_frustum()

		# Access individual planes
		var near_plane = cam_planes[0]
		var far_plane = cam_planes[1]
		var left_plane = cam_planes[2]
		var top_plane = cam_planes[3]
		var right_plane = cam_planes[4]
		var bottom_plane = cam_planes[5]

		# Print the planes for debugging
		print("Near Plane: ", near_plane)
		print("Far Plane: ", far_plane)
		print("Left Plane: ", left_plane)
		print("Top Plane: ", top_plane)
		print("Right Plane: ", right_plane)
		print("Bottom Plane: ", bottom_plane)

		print("Near Plane: ", cam_planes[CAM_PLANE.NEAR_PLANE])
		print("Far Plane: ", cam_planes[CAM_PLANE.FAR_PLANE])
		print("Left Plane: ", cam_planes[CAM_PLANE.LEFT_PLANE])
		print("Top Plane: ", cam_planes[CAM_PLANE.TOP_PLANE])
		print("Right Plane: ", cam_planes[CAM_PLANE.RIGHT_PLANE])
		print("Bottom Plane: ", cam_planes[CAM_PLANE.BOTTOM_PLANE])
	else:
		print("No active camera found!")

func world_coords_to_grid_coords(px:float,py:float):
	return Vector2i( floor((float(px)) / cell_size),floor((float(py)) / cell_size))

# Called when the node enters the scene tree for the first time.
func _ready() -> void:
	setup_grid(8)
	for ch in self.get_children():
		var coord: Vector2i = world_coords_to_grid_coords( ch.global_position.x, ch.global_position.z)
		var p = Elem.new()
		if ch.get_class() == 'MeshInstance3D':
			p.mesh = (ch as MeshInstance3D).scene_file_path
		p.position = ch.transform.origin
		p.basis = ch.transform.basis
		grid[coord.x][coord.y].storage.append(p)
		ch.queue_free()


func kill_grid_cell(i:int, j:int):

	for k in grid[i][j].storage:
		grid[i][j].storage.erase(k)

# Called every frame. 'delta' is the elapsed time since the previous frame.
func activate_grid_cell(ii:int, jj:int):
	for k in grid[ii][jj].storage.size():
		var scene = load( grid[ii][jj].storage[k].mesh)
		var p = scene.instantiate()
		#p.global_position = grid[i][j].storage[k].position
		p.transform.basis = grid[ii][jj].storage[k].basis
		p.transform.origin = grid[ii][jj].storage[k].position
		print(p.transform)


		add_child(p)


func flatten_grid_pattern_at_point(p:Vector2i):
	for i in range(0,3):
		for j in range(0,3):
			if not (i==1 and j==1):
				var px = grid_pattern[i][j].x +p.x
				var py = grid_pattern[i][j].y +p.y
				if px >= 0 and px < 8 and py >= 0 and py < 8 :
					activate_grid_cell(i,j)

func _process(delta: float) -> void:
	if Input.is_action_just_pressed("ui_accept"):
		for i in range(0,8):
			activate_grid_cell(i,i)

		#kill_grid_cell(2,2)
2 Likes
I’ll check once I’m home and try to improve it. Do you have any suggestions on what might be needed apart from AABB?
You could apply a grid pattern to manage nearby objects, just need to check the boundaries e.g. if index > grid_size:
and set up objects in packed scenes with manual LOD objects and either visibility fading or scripted grid based LOD switching.
1 Like
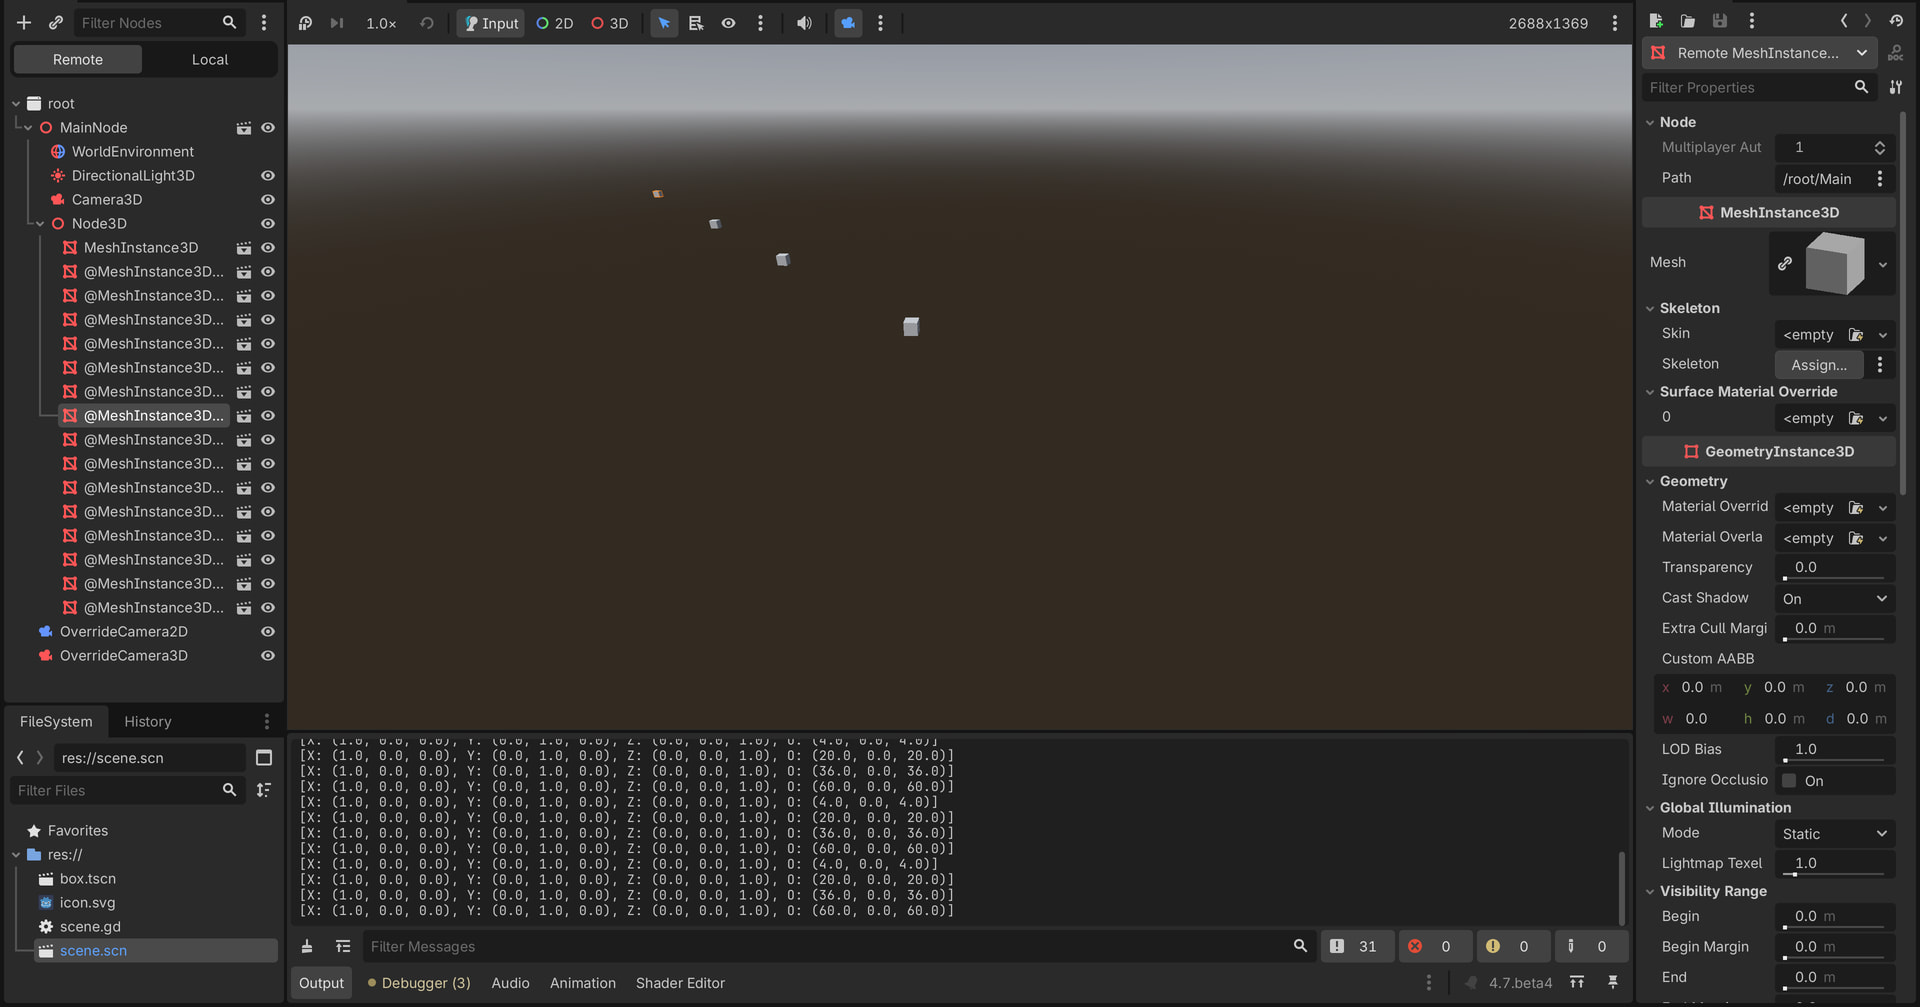
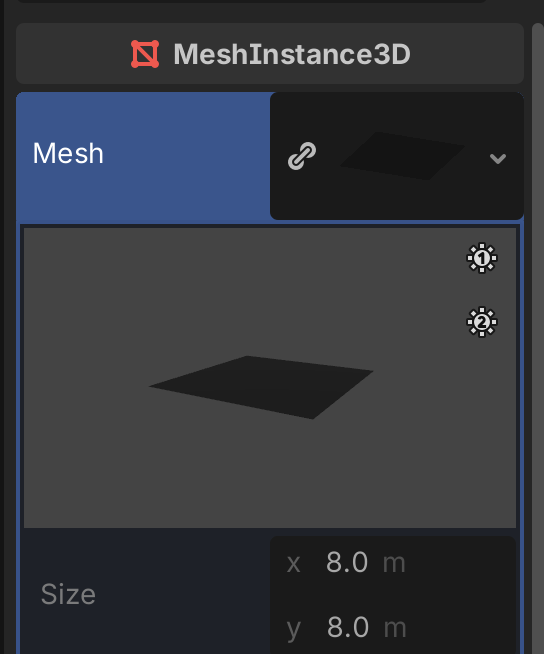
I am reviewing the script and would like to understand its logic better. I tried using a box mesh for the scene, but noticed that duplicates are created whenever activate_grid_cell is executed. Did you also create the plane manually?
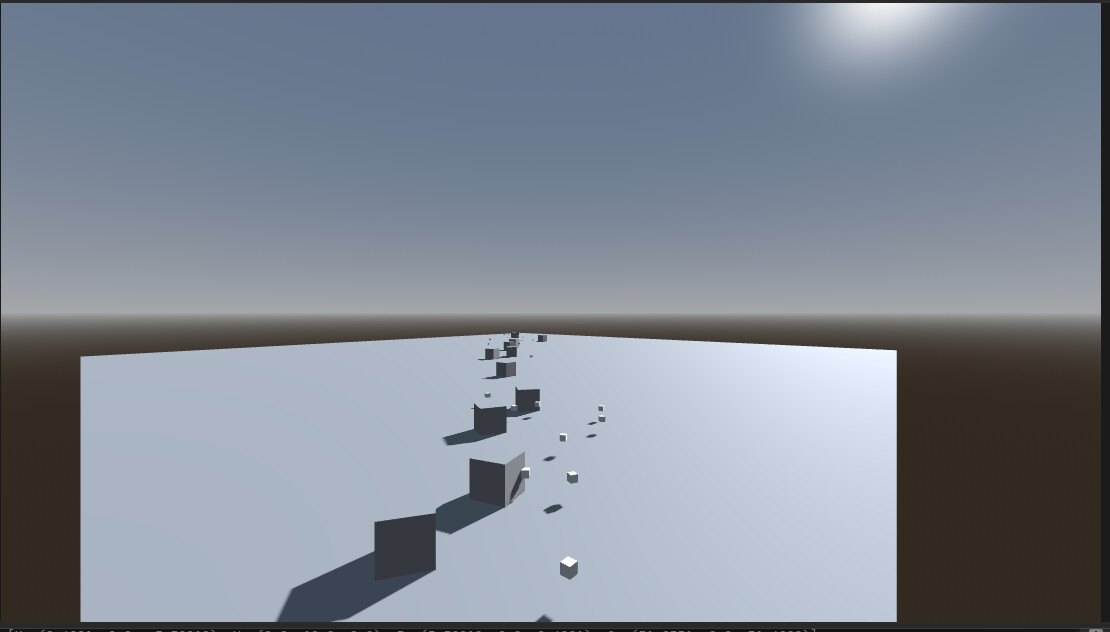
Yeah the ground plane was just a placeholder, its a mesh thats not placed in the grid.
The grid is just a fast way of accessing the smaller meshes placed on top of the ground plane. They might be buildings or landscape features that could be loaded and unloaded dynamically.
Yes you are correct the function activate() doesnt check whether the scene was already loaded. It isnt a finished system, just a sandbox for testing grid based methods.
1 Like
why is there inside flatten_grid_pattern_at_point :
activate_grid_cell(i, j)
and not
activate_grid_cell(px, py)
?
The grid pattern is like a filter kernel.
x x x
x P x
x x x
The variable p is passed to the function and p.x and p.y are added to the coordinates of the pattern.
The one in the middle can also be flattened too, it depends on what you are building. Thats just a grid pattern I use for the tiles near a player or NPC, really simple stuff but you would need some method to manage larger amounts of data.
1 Like
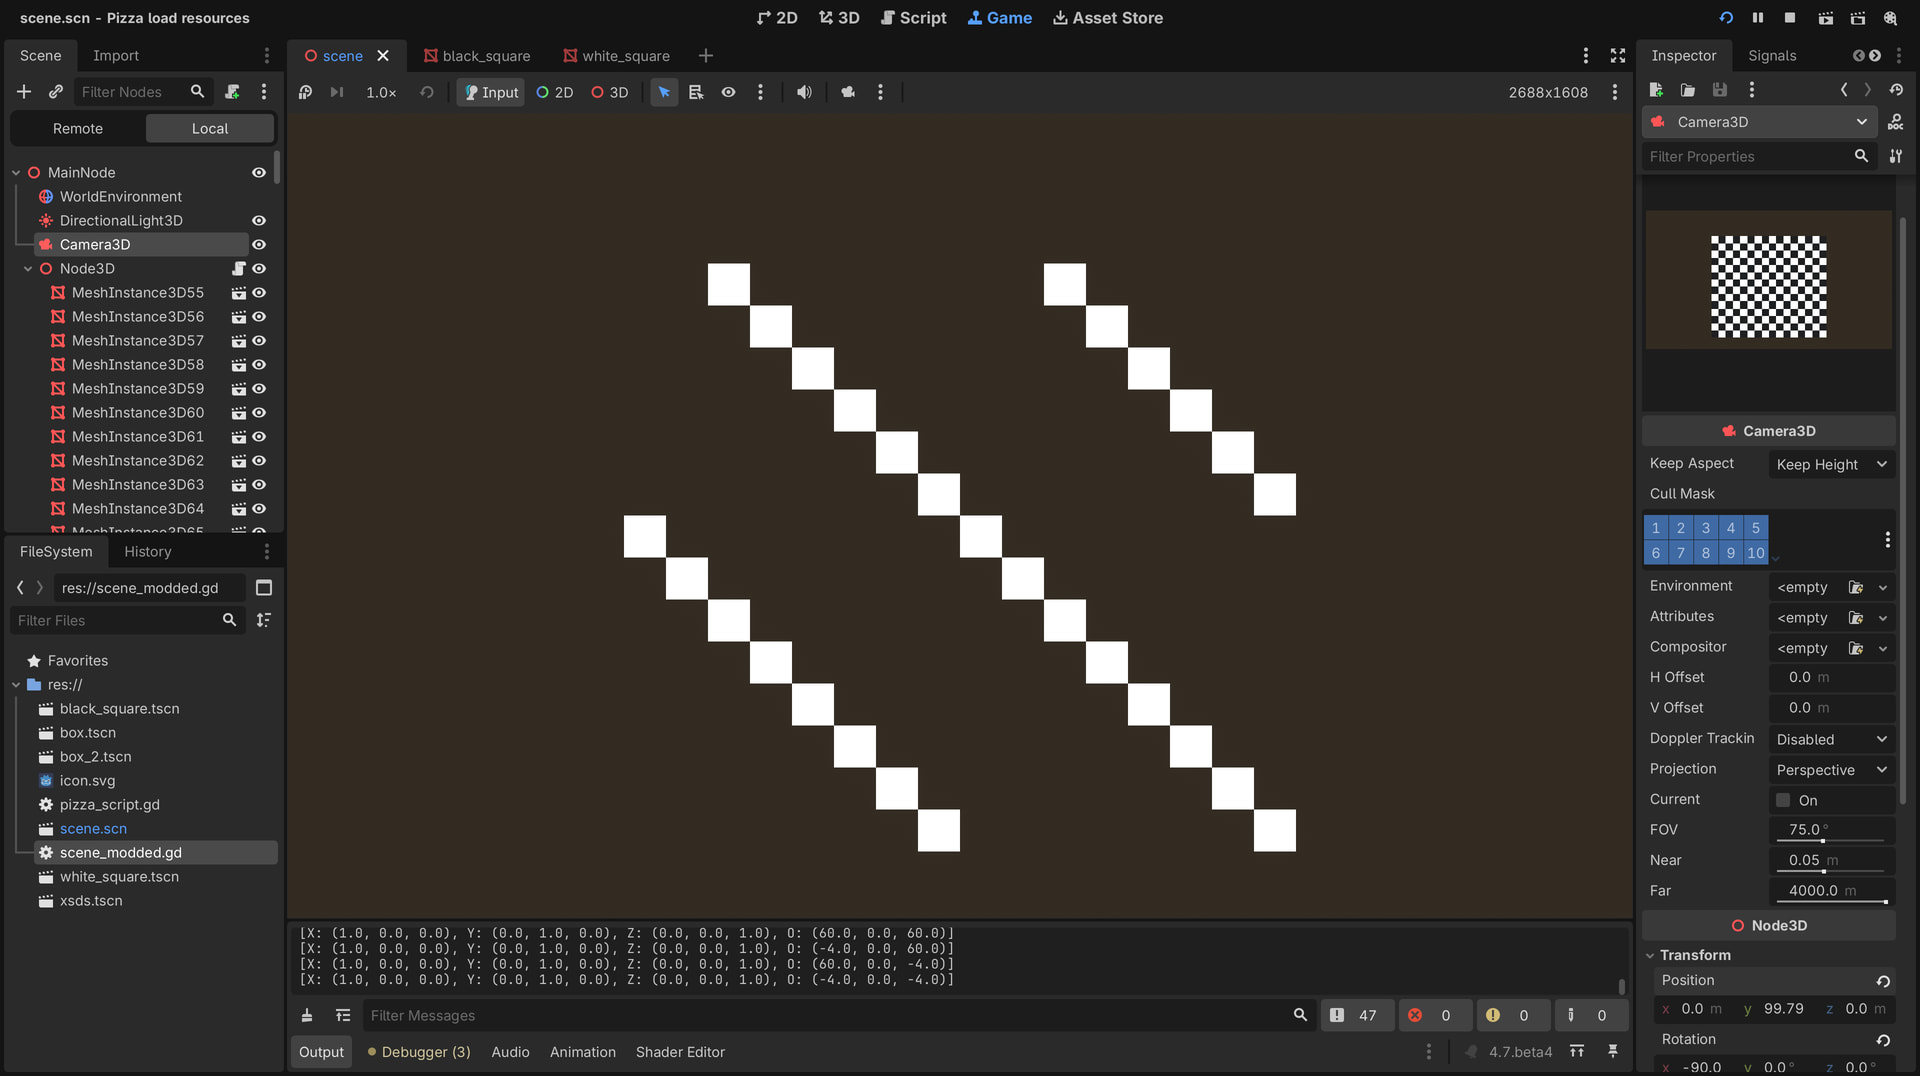
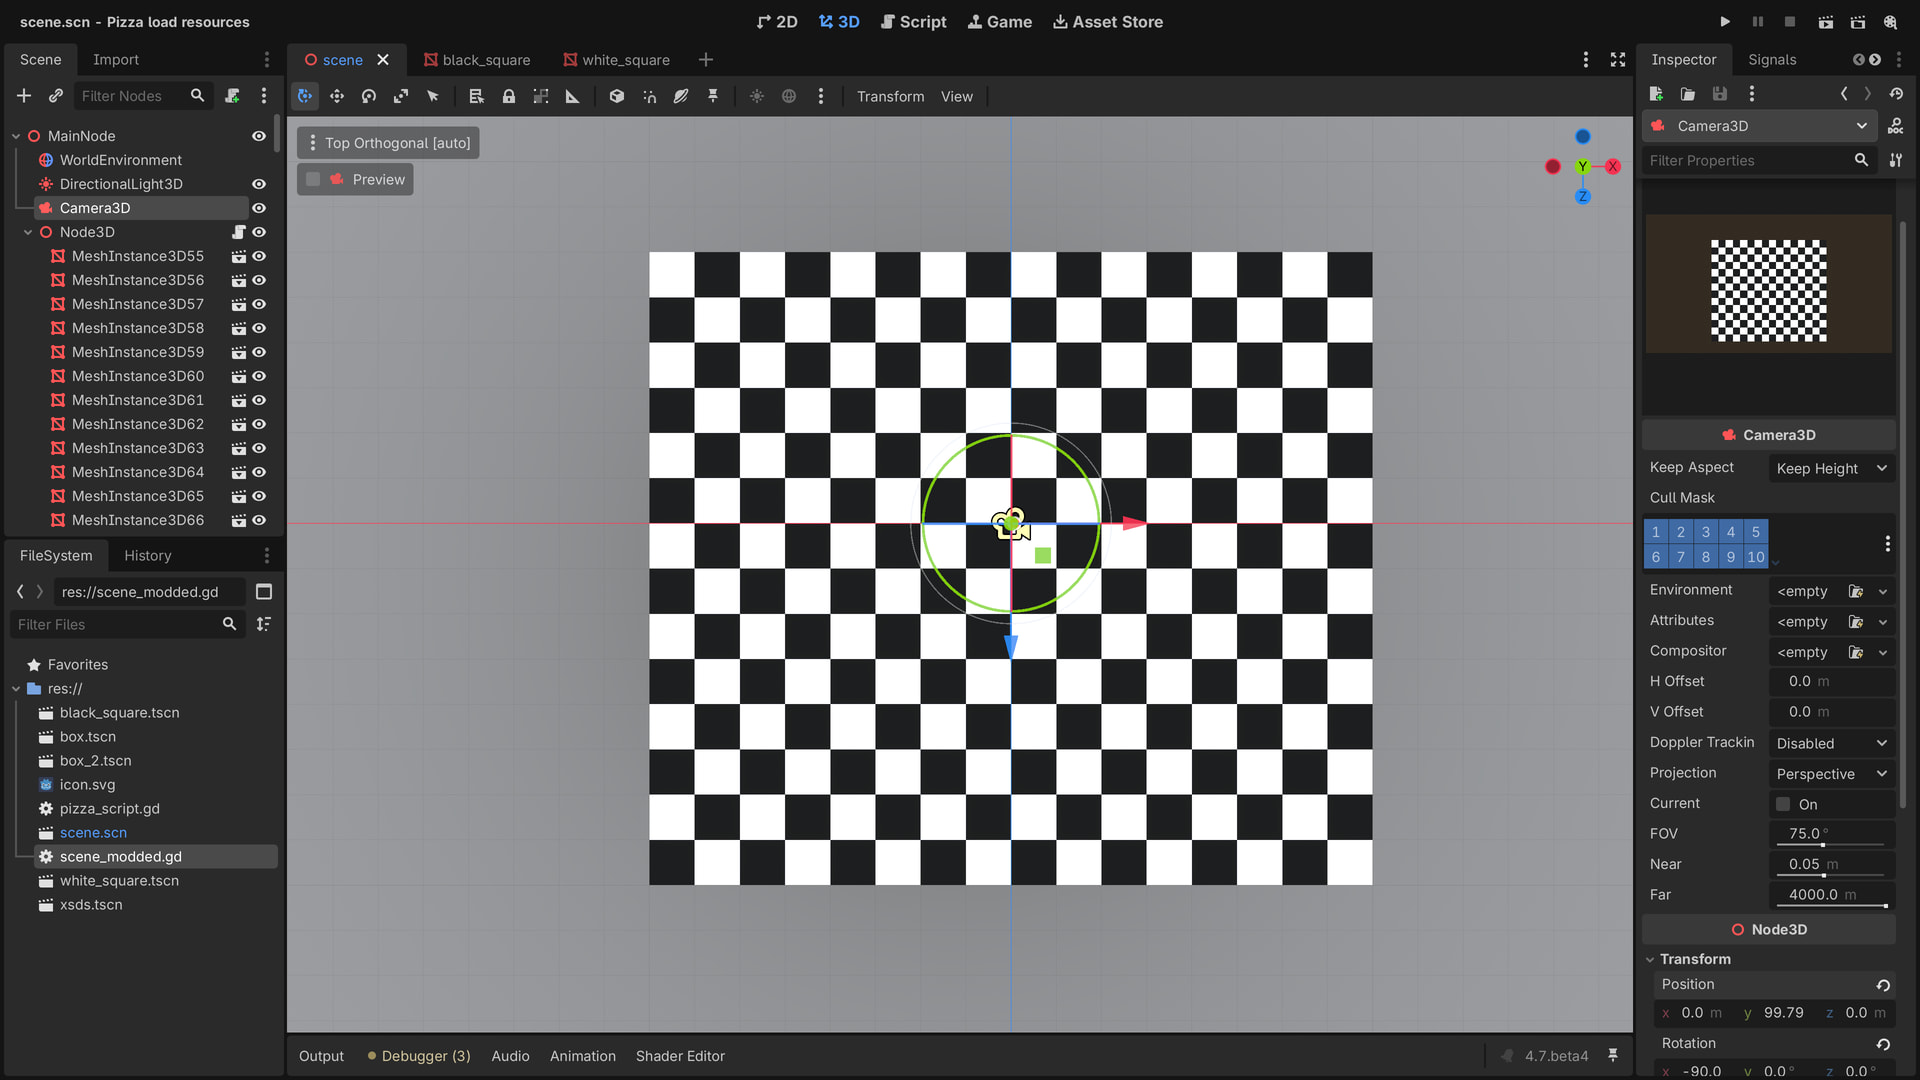
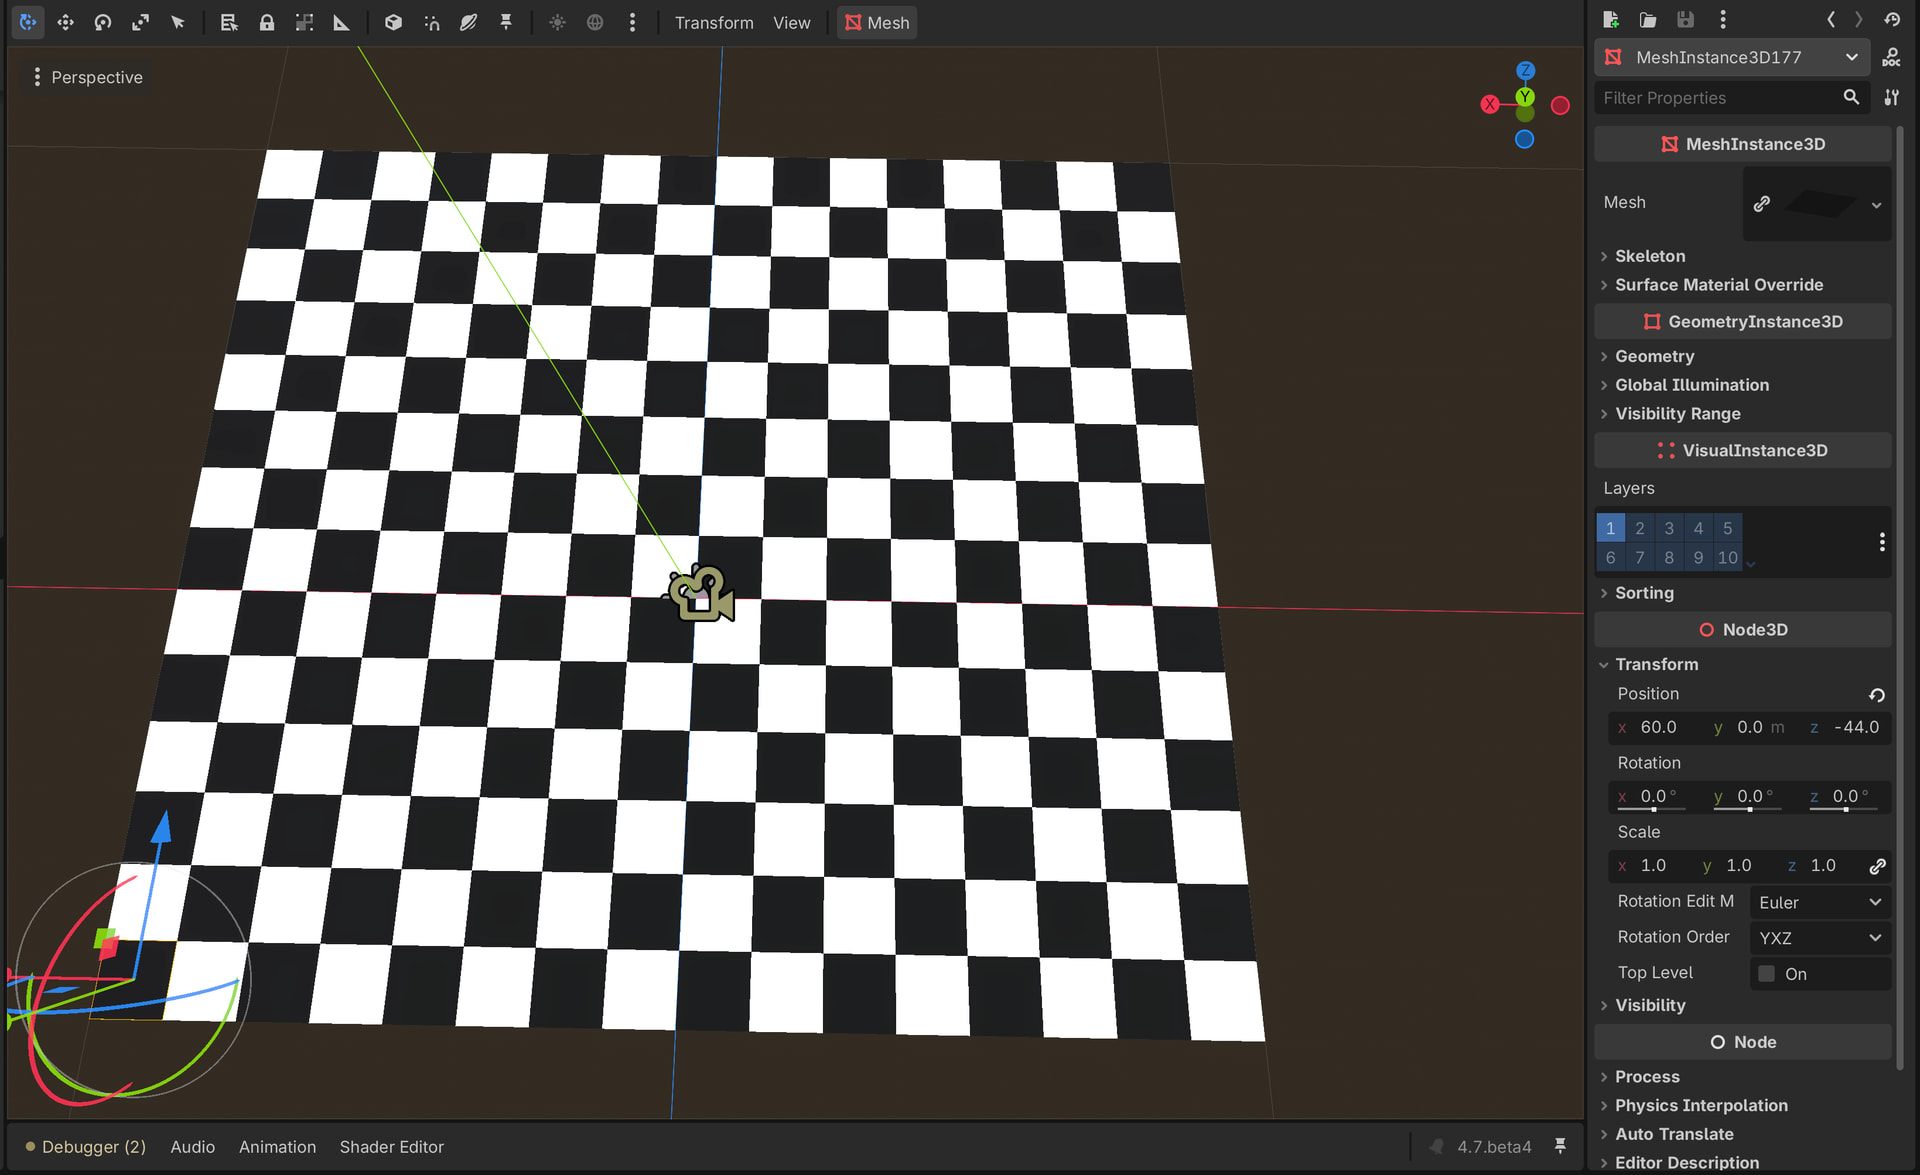
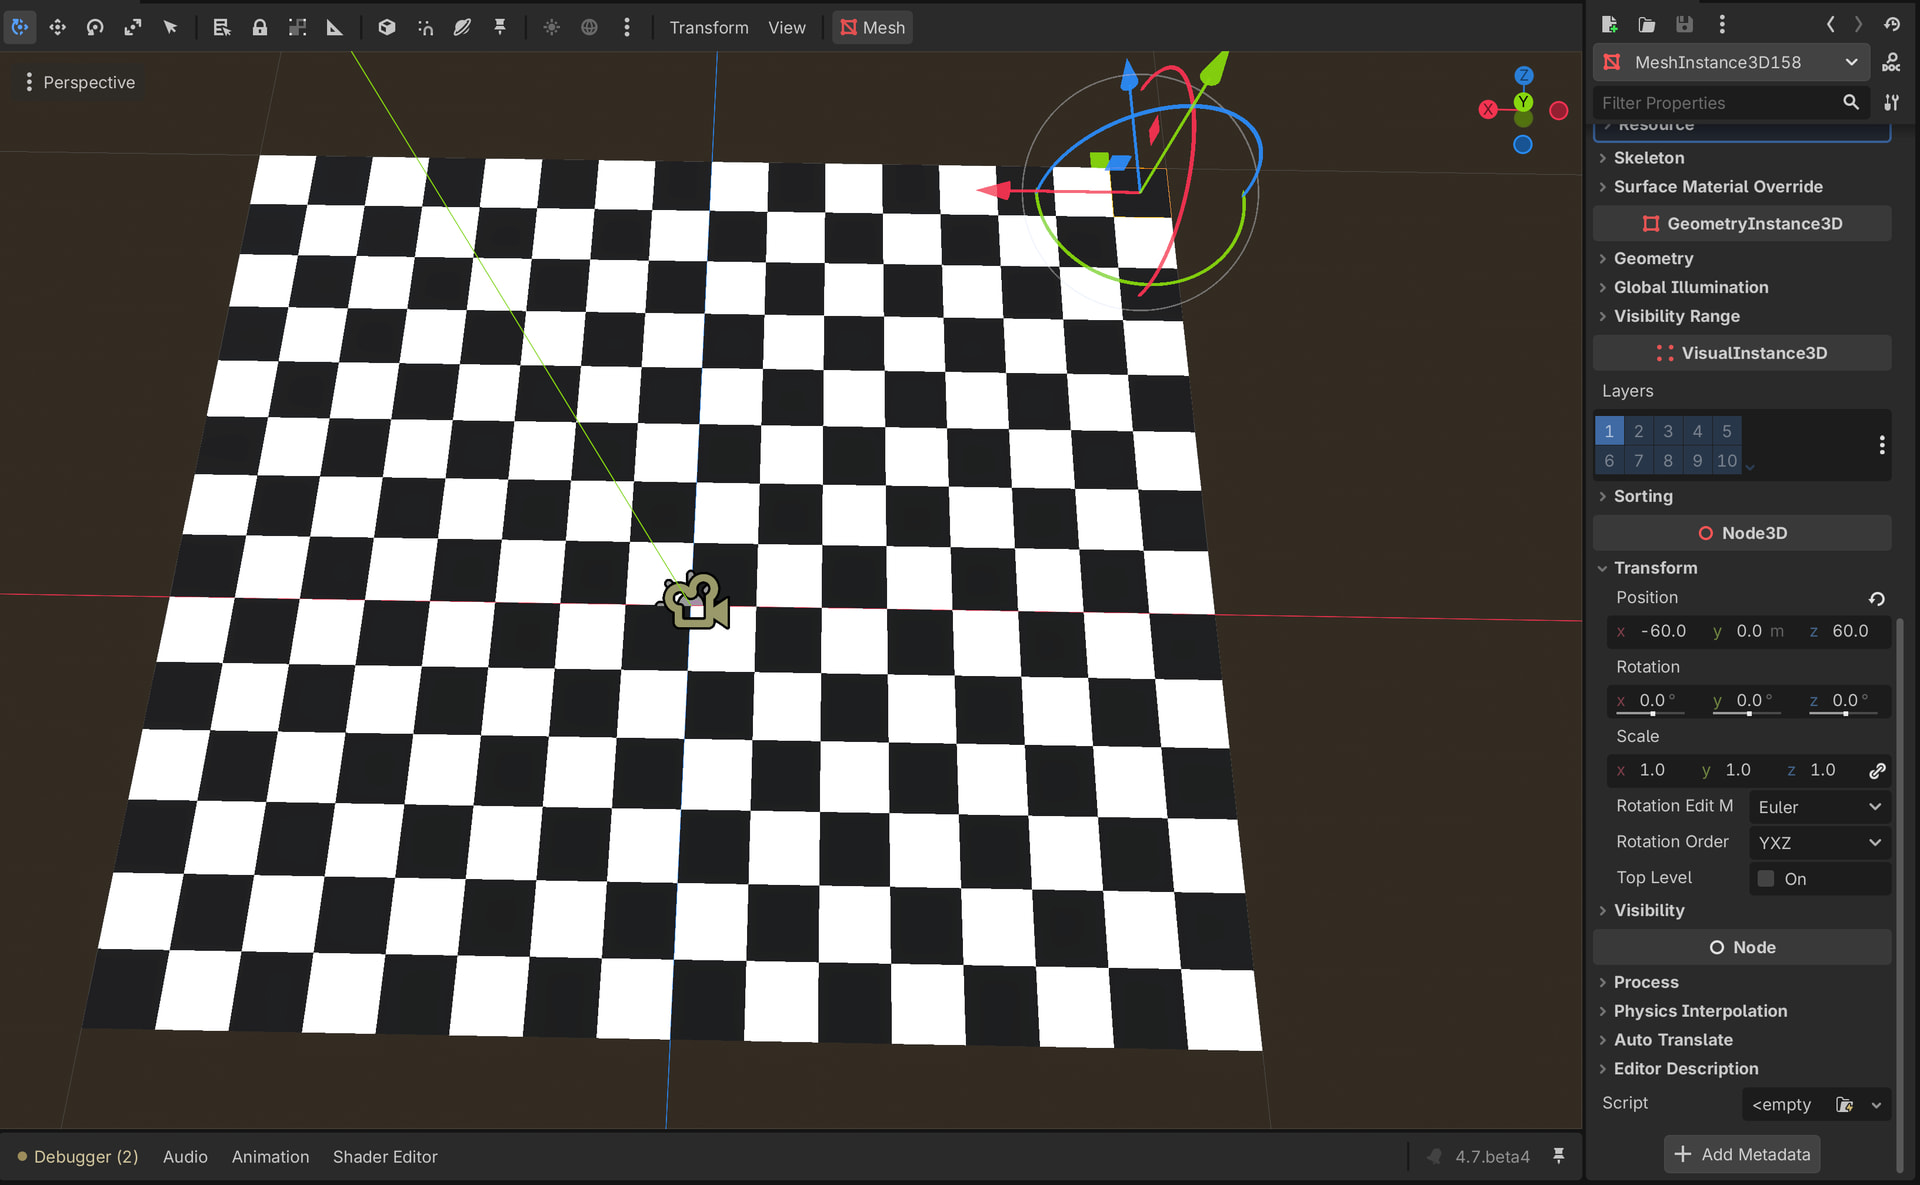
That doesnt look right … the plane was size 64x64 and the tiles were size 8x8, so there should be 8 tiles vertical and horizontal, like a chess board.
There should also only be one line because pressing the enter key activates the diagonal, as an exanple.
In my game i had tiles of size 500x500 and the grid pattern can access the immediate neighbour tiles to load in data.
1 Like
The code woild have to be modified anyway, but you get the idea ![]()
1 Like
Thank you .
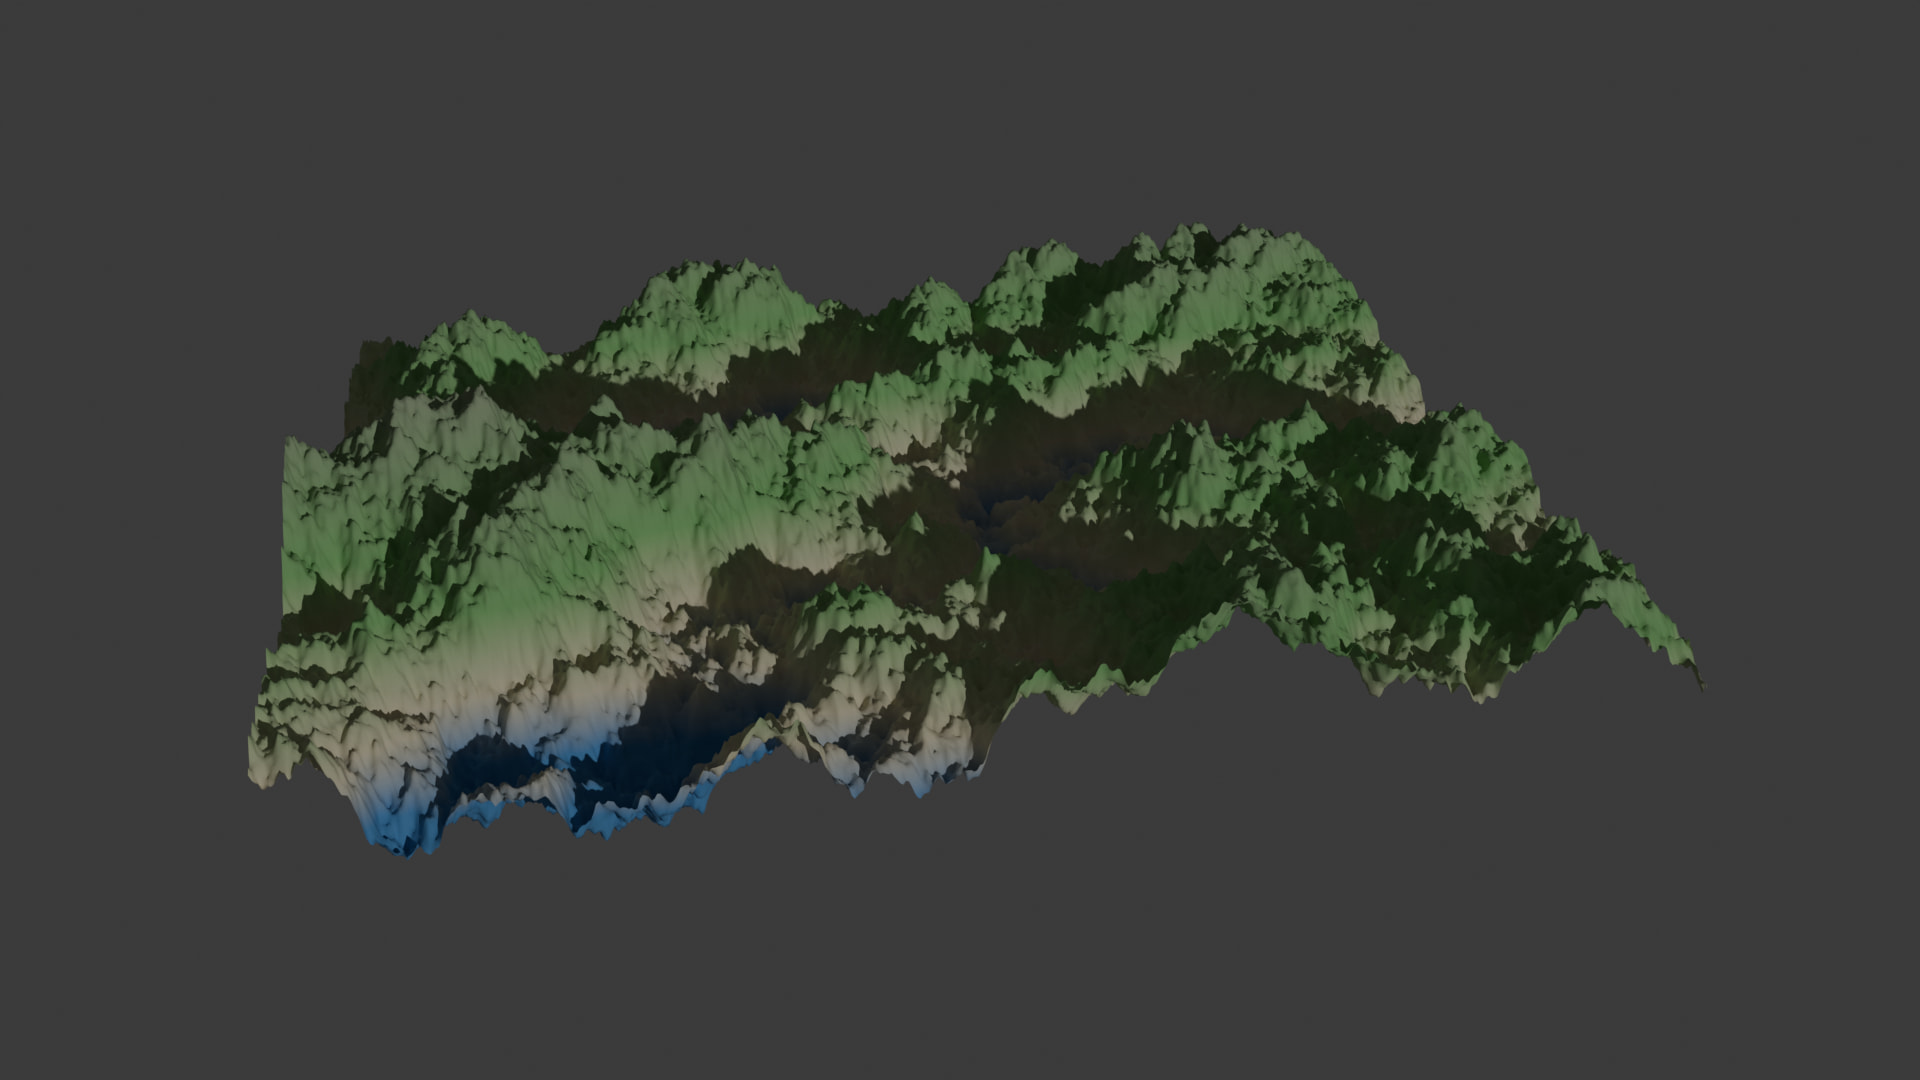
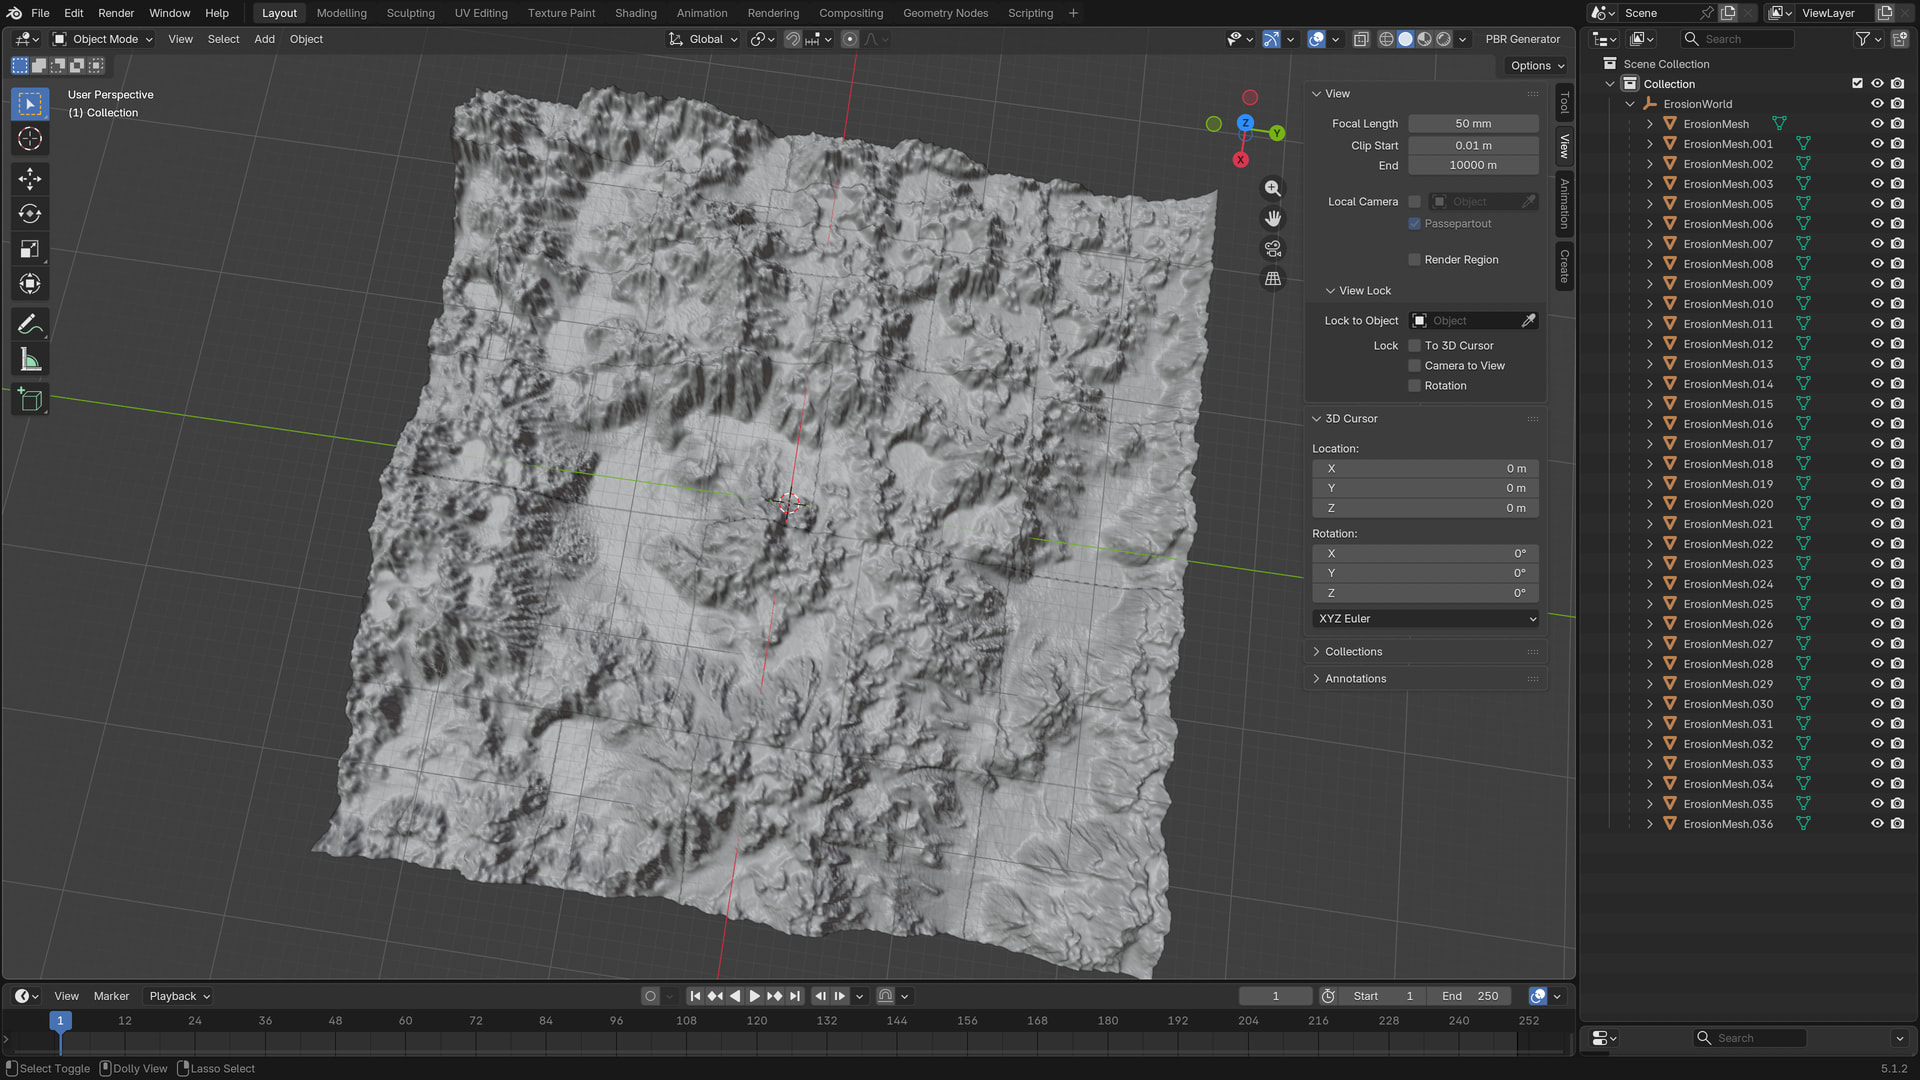
I found a good use for the erosion generator to export the scene into Blender for modifications. Now, I can also study how it behaves and start breaking down the streaming. I found an article on this here: Godot Rendering Pipelines - Panthavma.
Additionally, I wonder if overdraw can be used to detect mesh removal, or is this handled automatically by the engine itself?
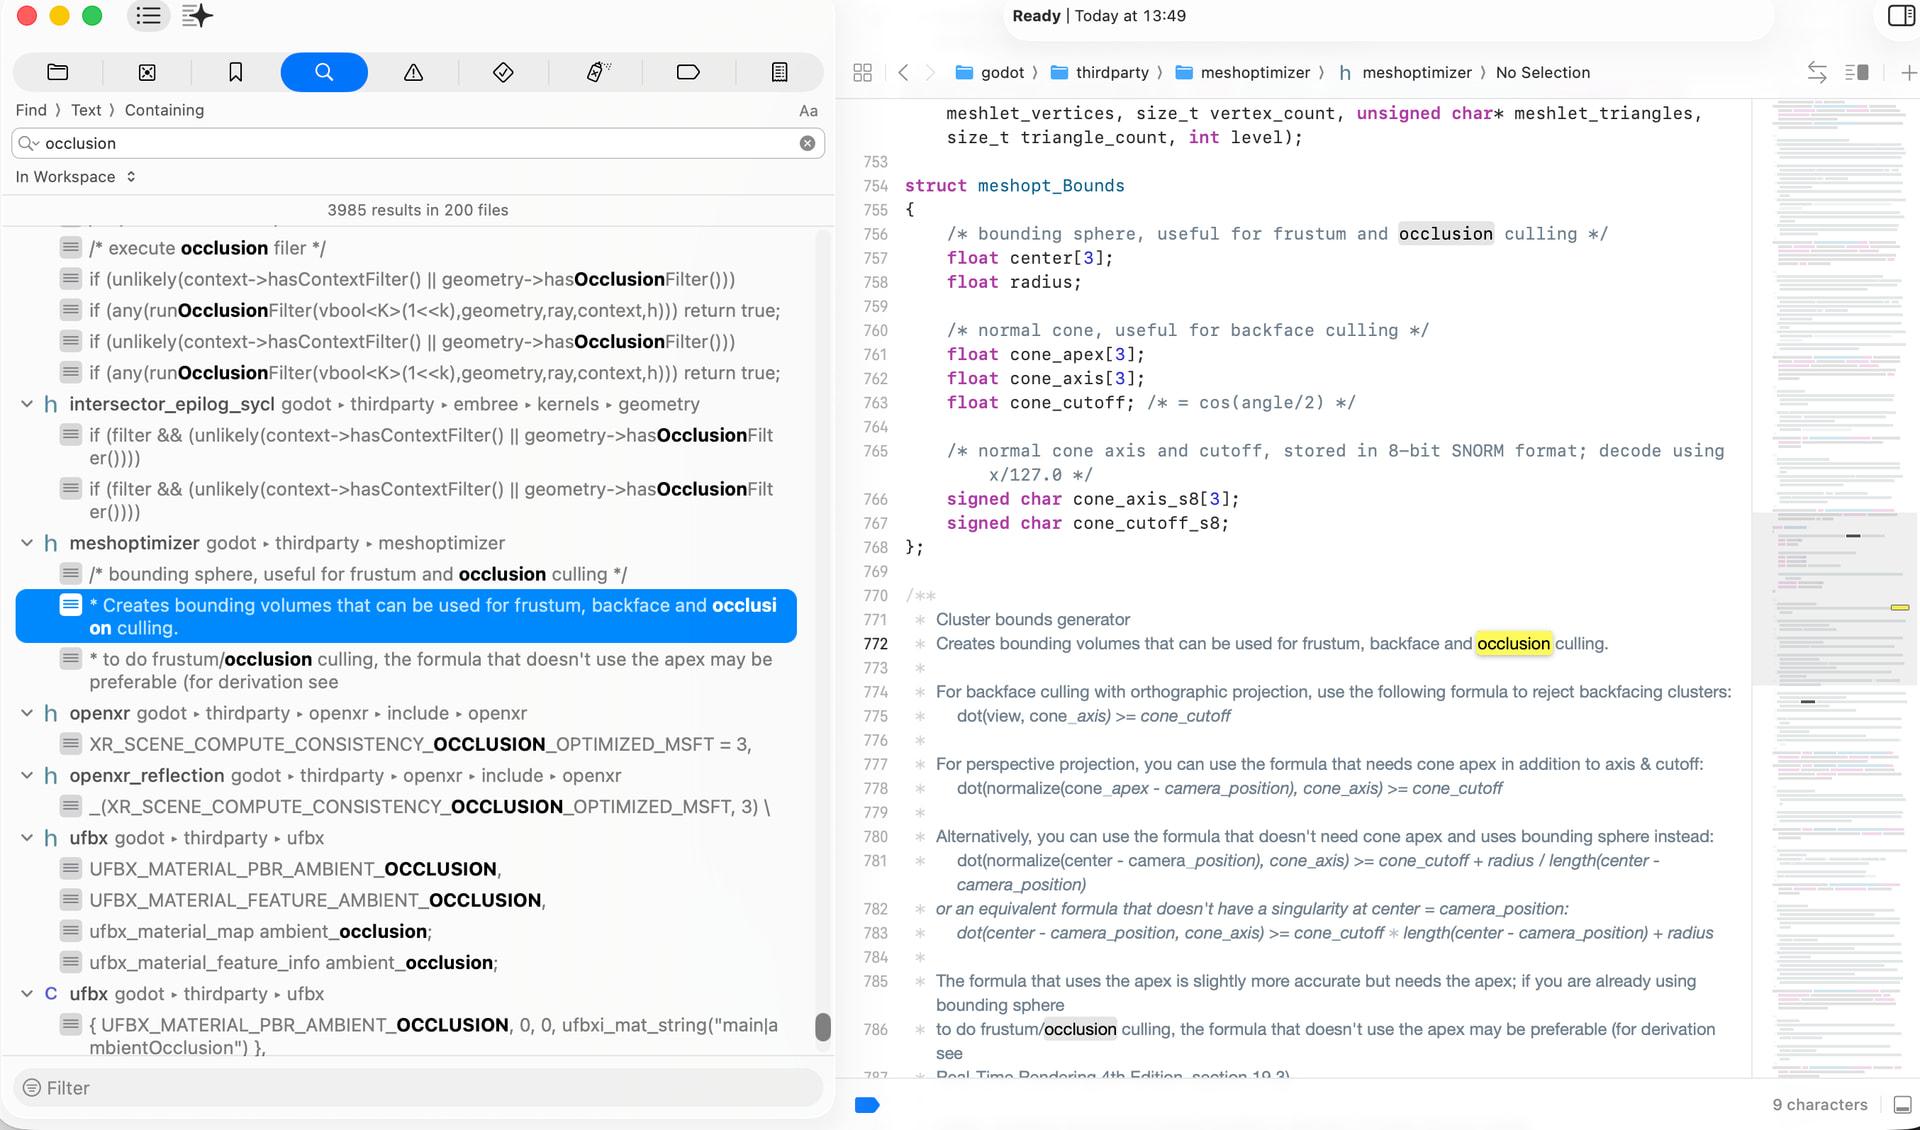
no its done with the occlusion system. The information is all in the docs.
Occlusion culling — Godot Engine (stable) documentation in English
You could make an occlusion object from the terrain mesh, or use the quad tree and create a list of boxes that go up to the chunk AABB’s from the zero point and create occlusion objects from the data.
1 Like
There is also a depth prepass that first draws everything to the depth buffer then helps with fast rejection of fragments for the rest of the render.
I dont know what that BVH cluster volume does but i think it is used to determine whether the BVH cluster is occluded, not to automatically occlude other objects. You would have to make an occlusion object then check, im fairly sure the entire cluster gets culled if behind an occluder. A good way to start is with invisible occluders.
The GLB format is also already fairly optimized, I think there are export options in Blender.
1 Like
Blender Split mesh:
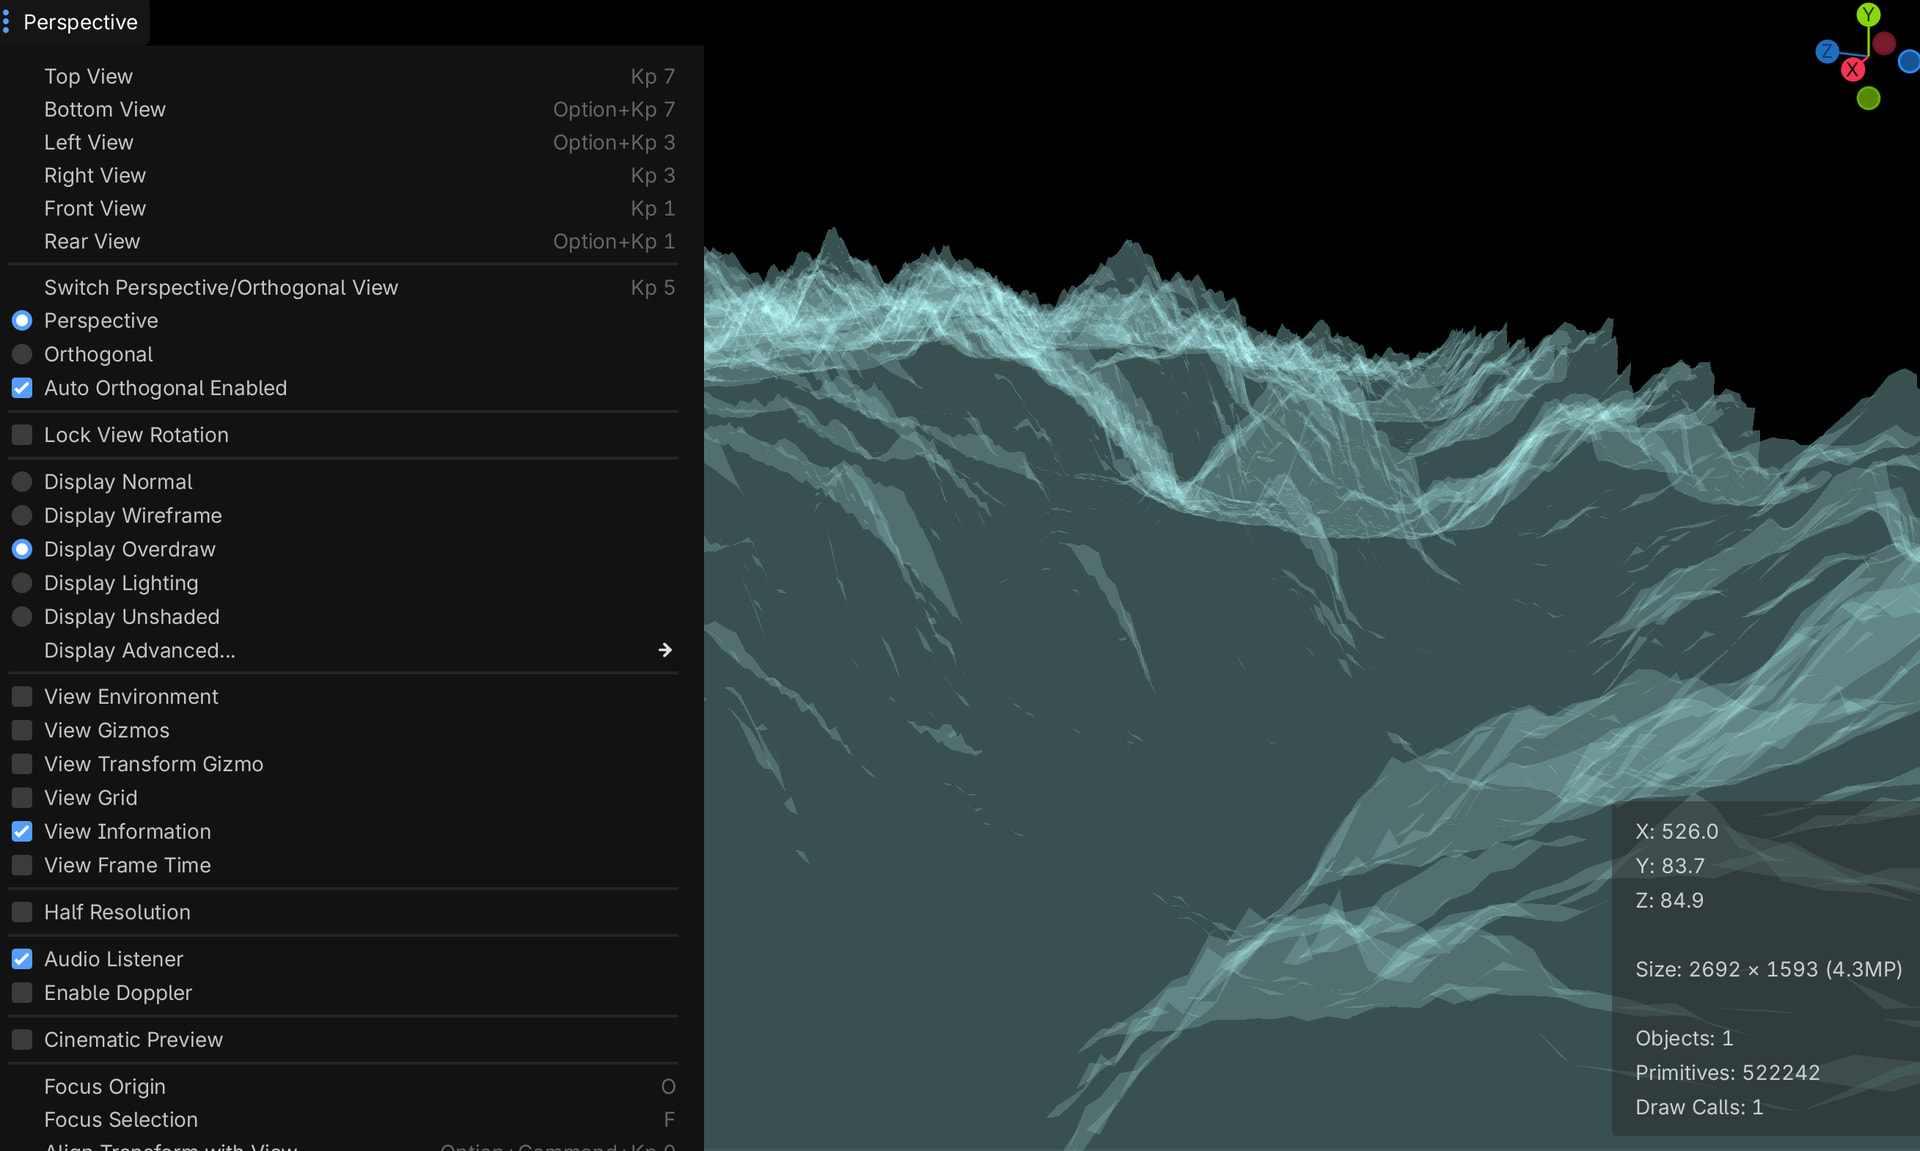
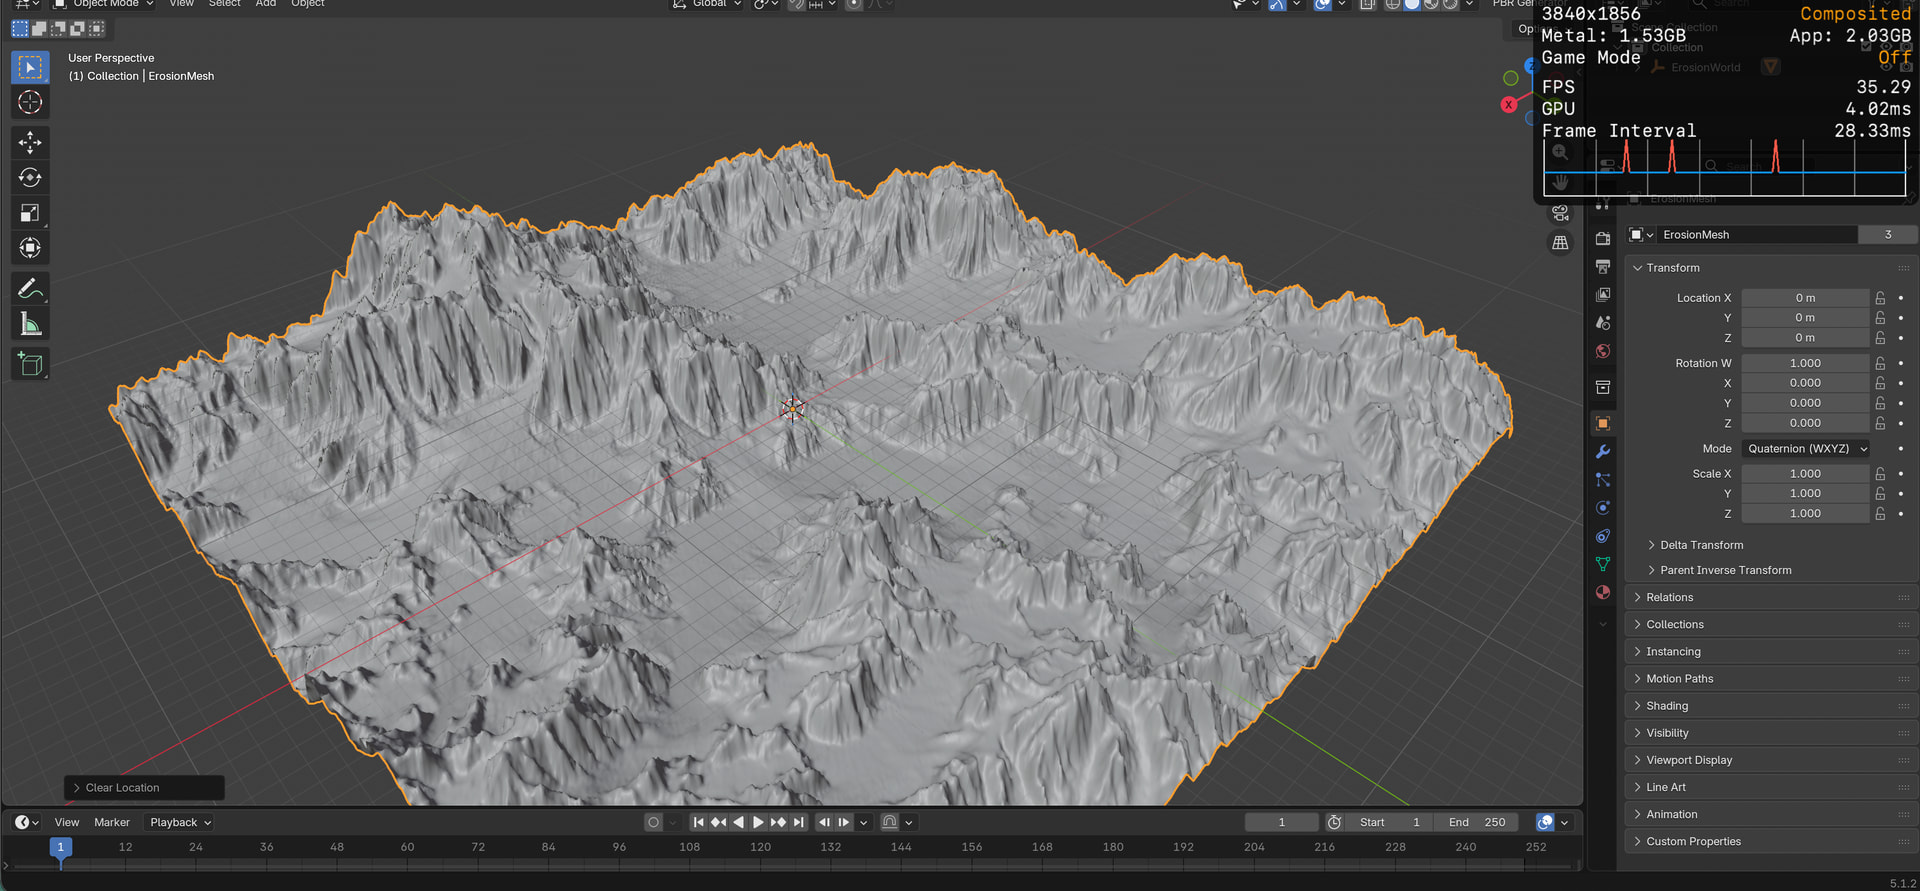
I’ve been doing some more experiments with LODs, split meshes, and occlusion baking in Godot, and I found some pretty interesting results.
The number of objects being drawn is actually pretty much the same whether occlusion culling is turned on or off. The real difference is in the draw calls—a single large mesh heavily outperforms the split meshes. Because Godot batches a single mesh so efficiently, splitting it up is actually hurting my draw call count right now.
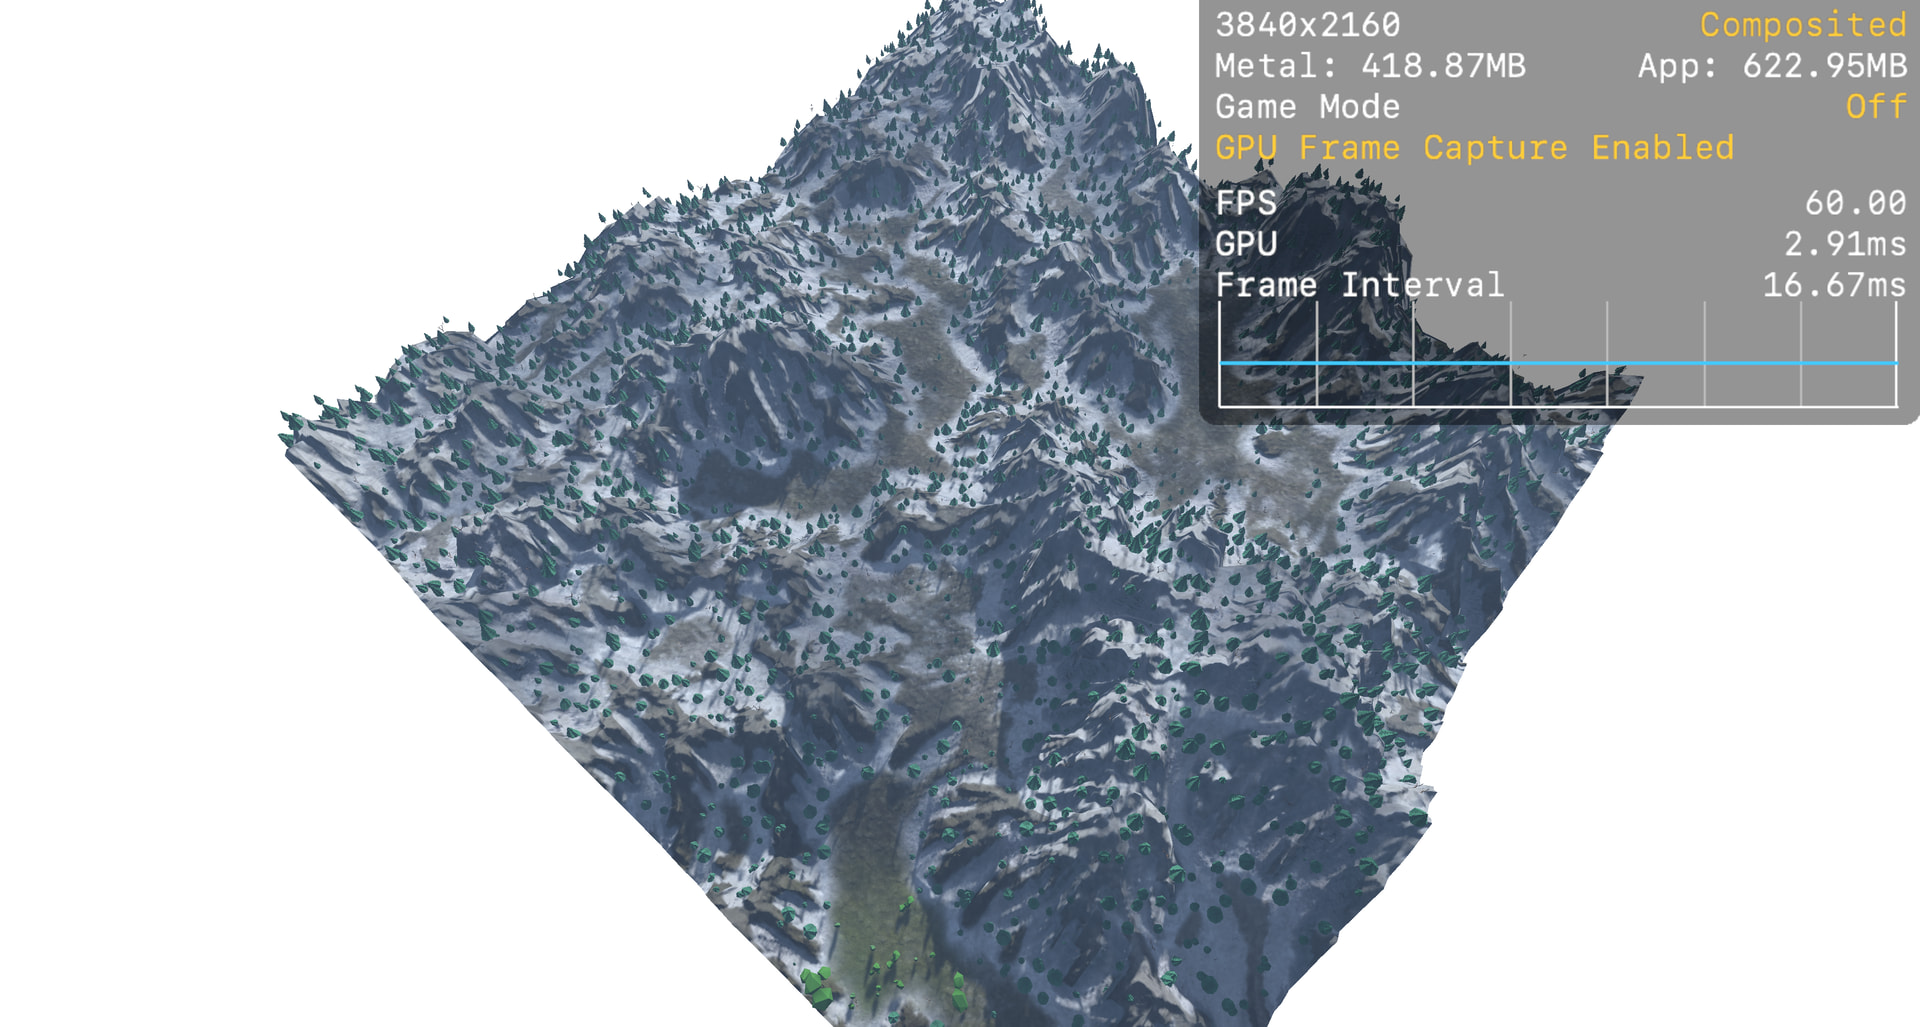
To push this further, I want to make the scene a lot more densely populated. I’m going to integrate a grid-loading script to handle this, and I want to see how we can improve the setup so it smoothly streams the grid chunks in and out around the player.


2 Likes
Have you thought doing this in a micro blog of sorts? So that you have a permanent dedicated space to showcase and be usable as teachable moments by others godoteers?
Cheers !
2 Likes
Thanks for the kind words. I hadn’t thought about a micro-blog, but I’m glad to help fellow godoteers! Any suggestions on which platforms to use, or how to keep the format transparent?
1 Like
Resource usage update: Heightmaps vs. GLB
Here is a quick breakdown of resource usage for a 511x110x511m mesh across different formats:
GLB: 69 MB (Used by Godot as default)
EXR Heightmap: 1.1 MB (32-bit float, 512x512) (Used by Terrain3D importer)
PNG Heightmap: 431 KB (16-bit, 512x512) (Used by Apple’s workflow or terrain generation)
Blender - glb
Apple’s terrain - png
Terrain3D - exr
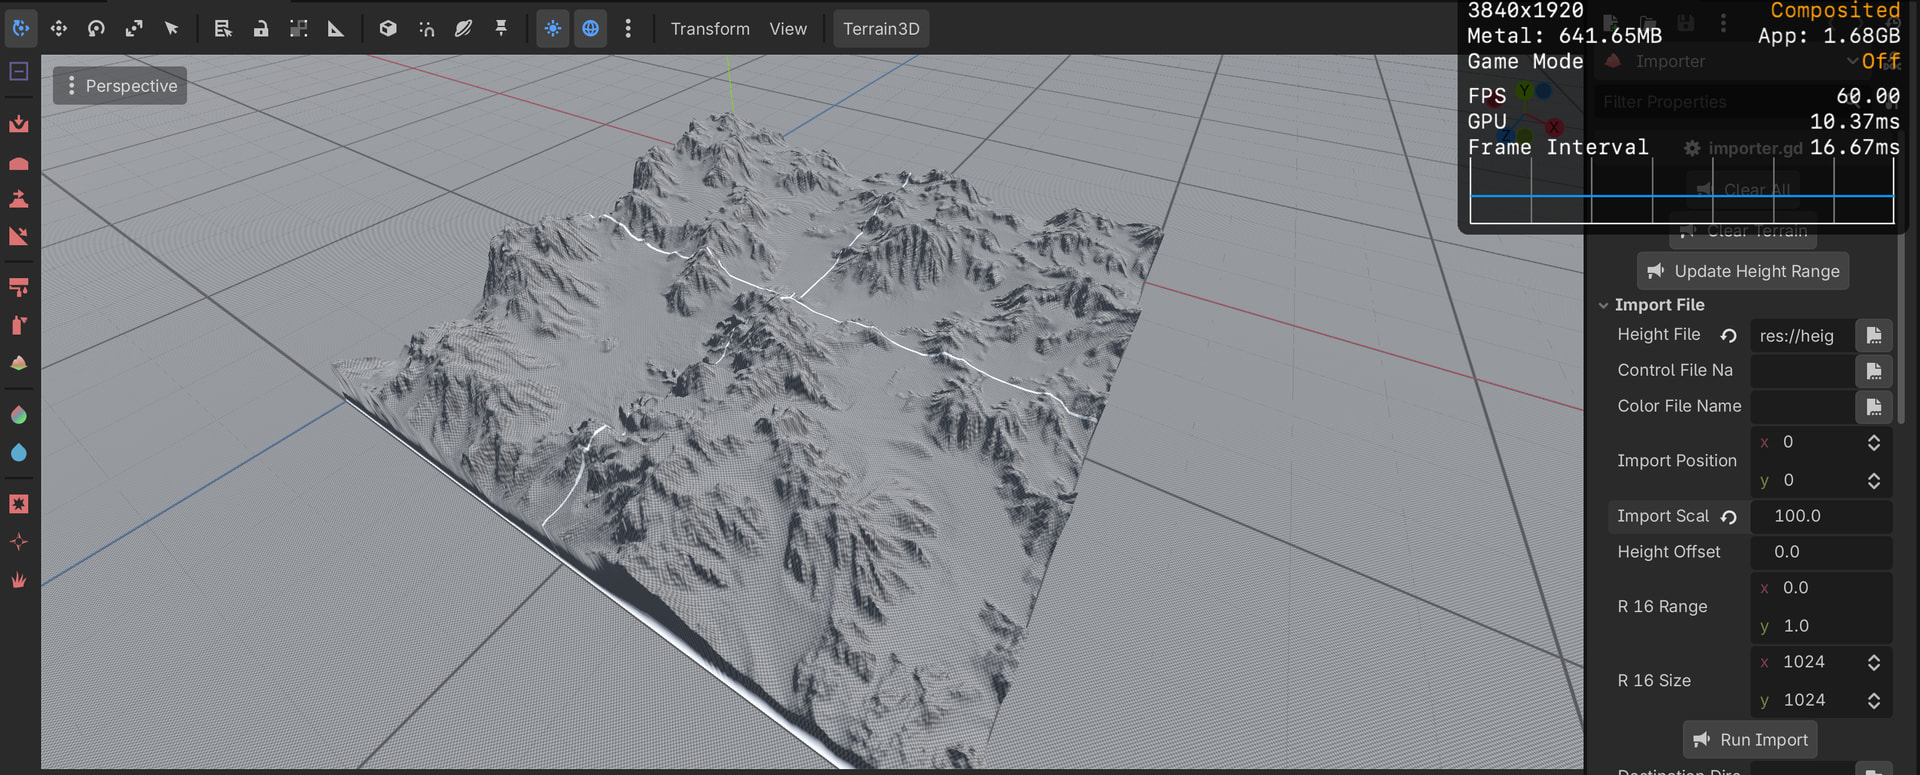
1 Like