Water Rendering - A pet project to get used to shaders in GoDot

So I just got into GoDot last week, started learning and eventually couldn’t resist making shaders and gave in to my obsession. :roll_eyes: So I started with a simple water shader - as one so often does. Anyway here’s my progress.

It’s far from usable and has little to show for except fancy moving normals, no real simulations, no physical waves or anything. But getting used to GoDot’s shader workflow, it might actually be going somewhere.

Anyway, the more I think about it, the more features come to mind, but for now I think I’ll tackle transparency effects next and see if I can bypass Godot’s depth buffer to be able to render shadows on a transparent surface.

Will keep this posted, if there’s any interest, and feedback is of course welcome! :slightly_smiling_face:

12 Likes

I have absolutely zero idea on how shaders work and will probably pass a lot of time before I try to understand them (and 3d developing as a whole, for that matter).

But this looks AMAZING. Really, if in a week you got a grasp on how to make them on the engine (even though as I understand you seem to have knowledge about shaders outside of Godot) then it is really surprising.
Good job dude, really.

3 Likes

Impressive work so far.

3 Likes

Thank you very much for the feedback everybody! :slightly_smiling_face:

So I’ve been working on 2 things these past few days, the first is visible tiling and the second is the surface looking like molten plastic.

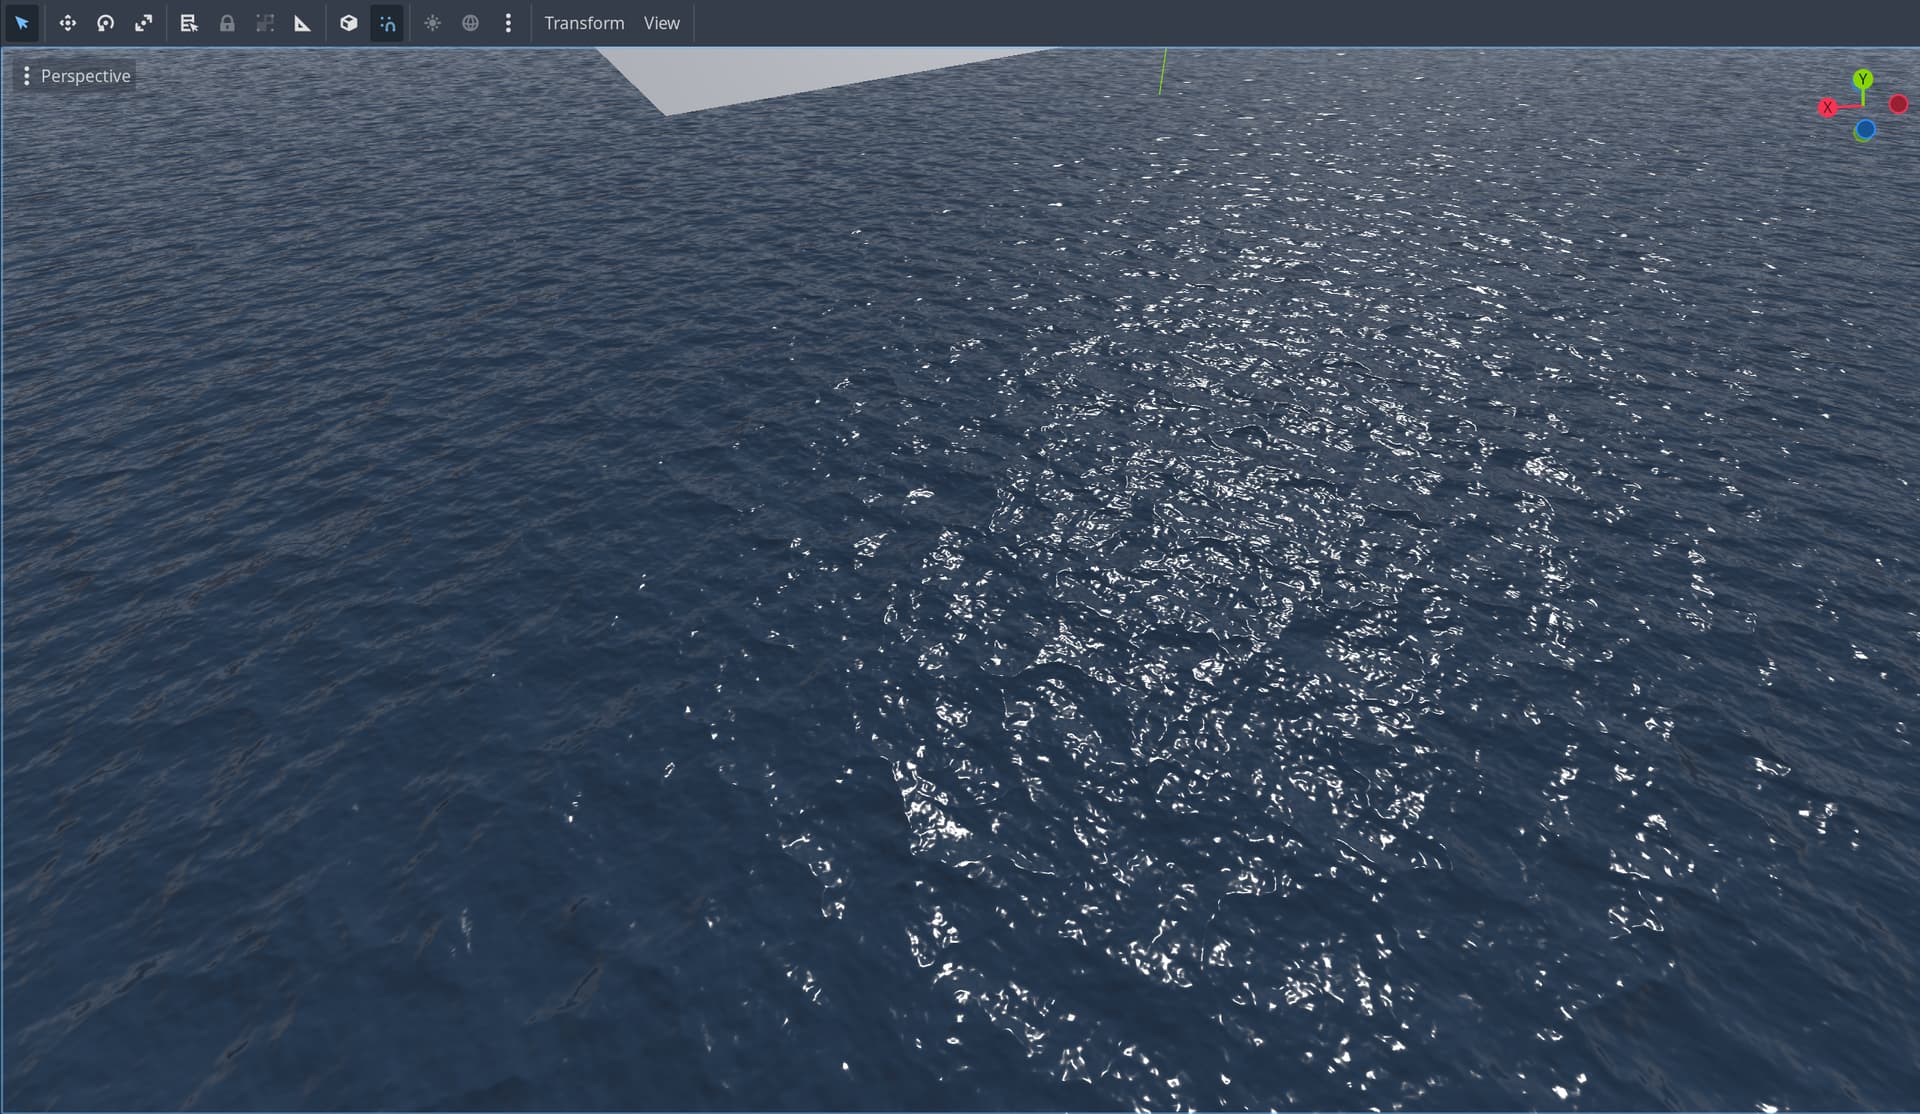
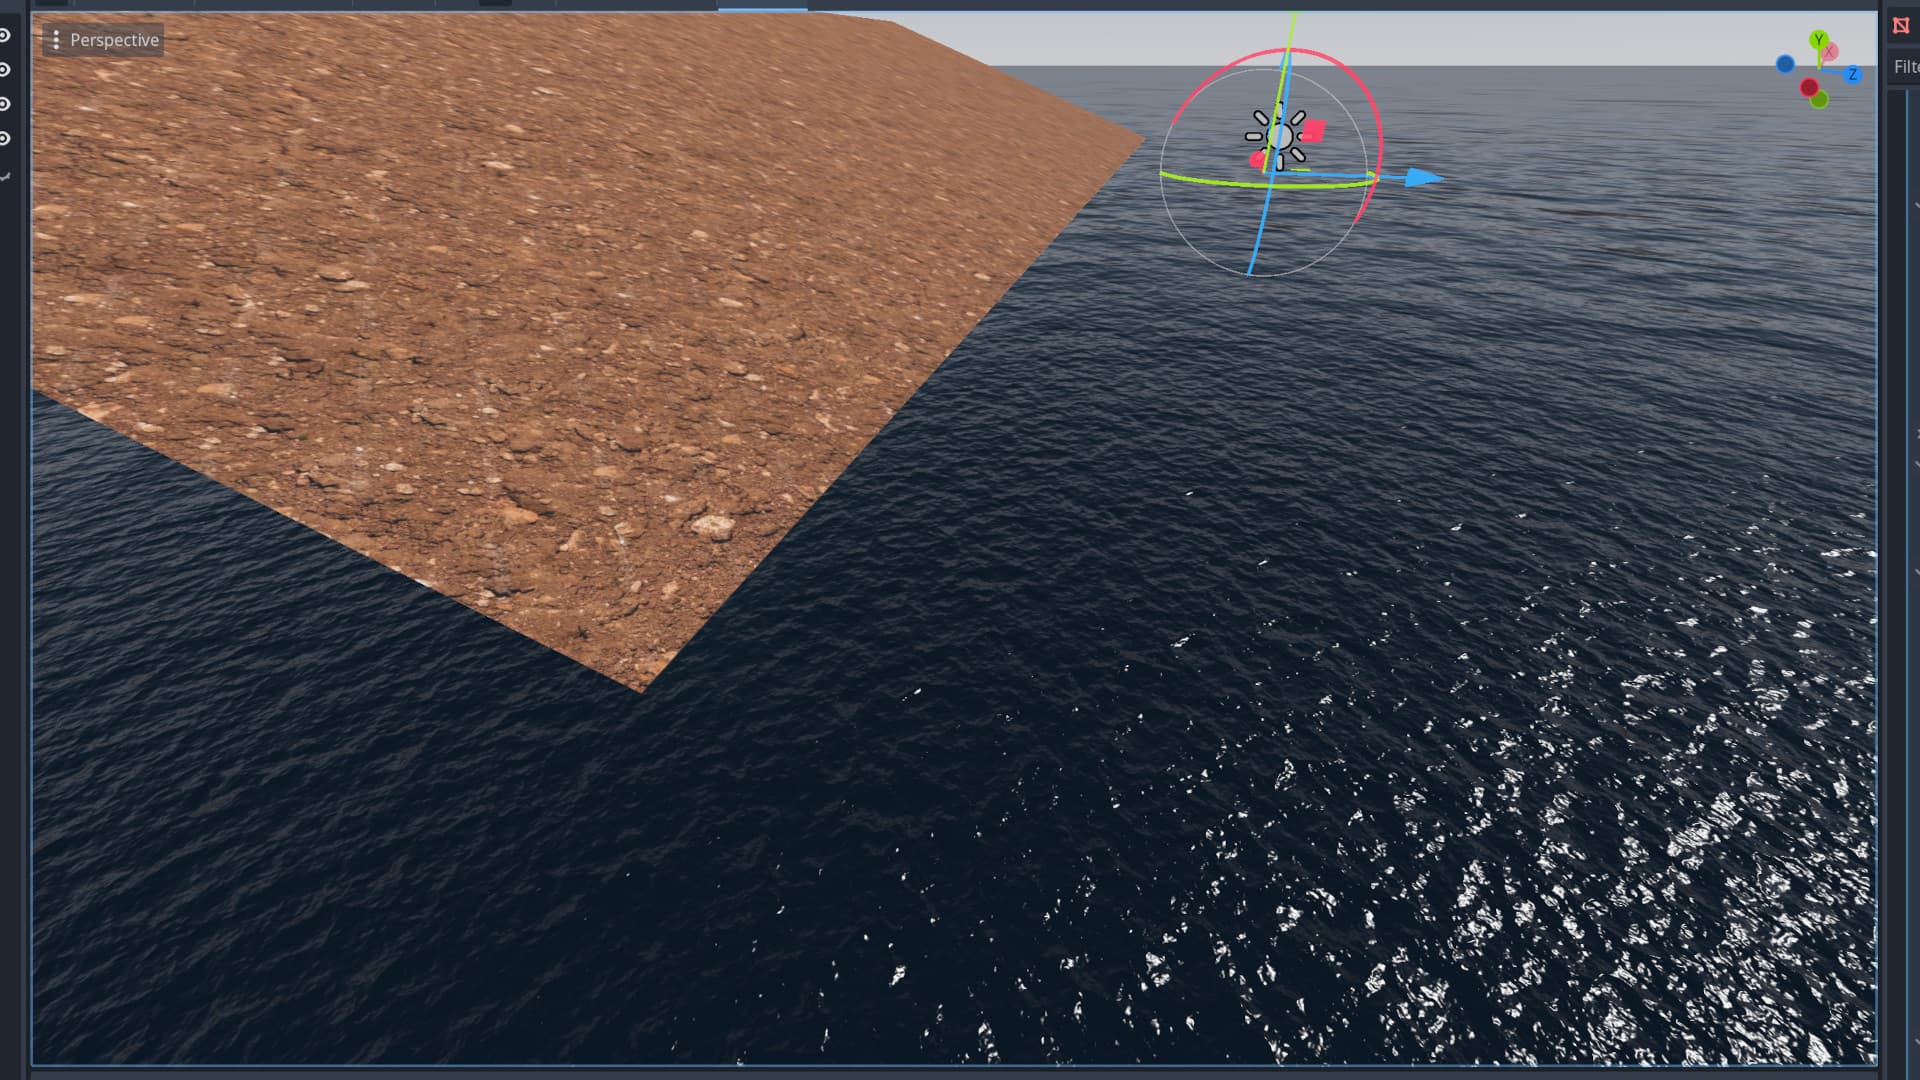
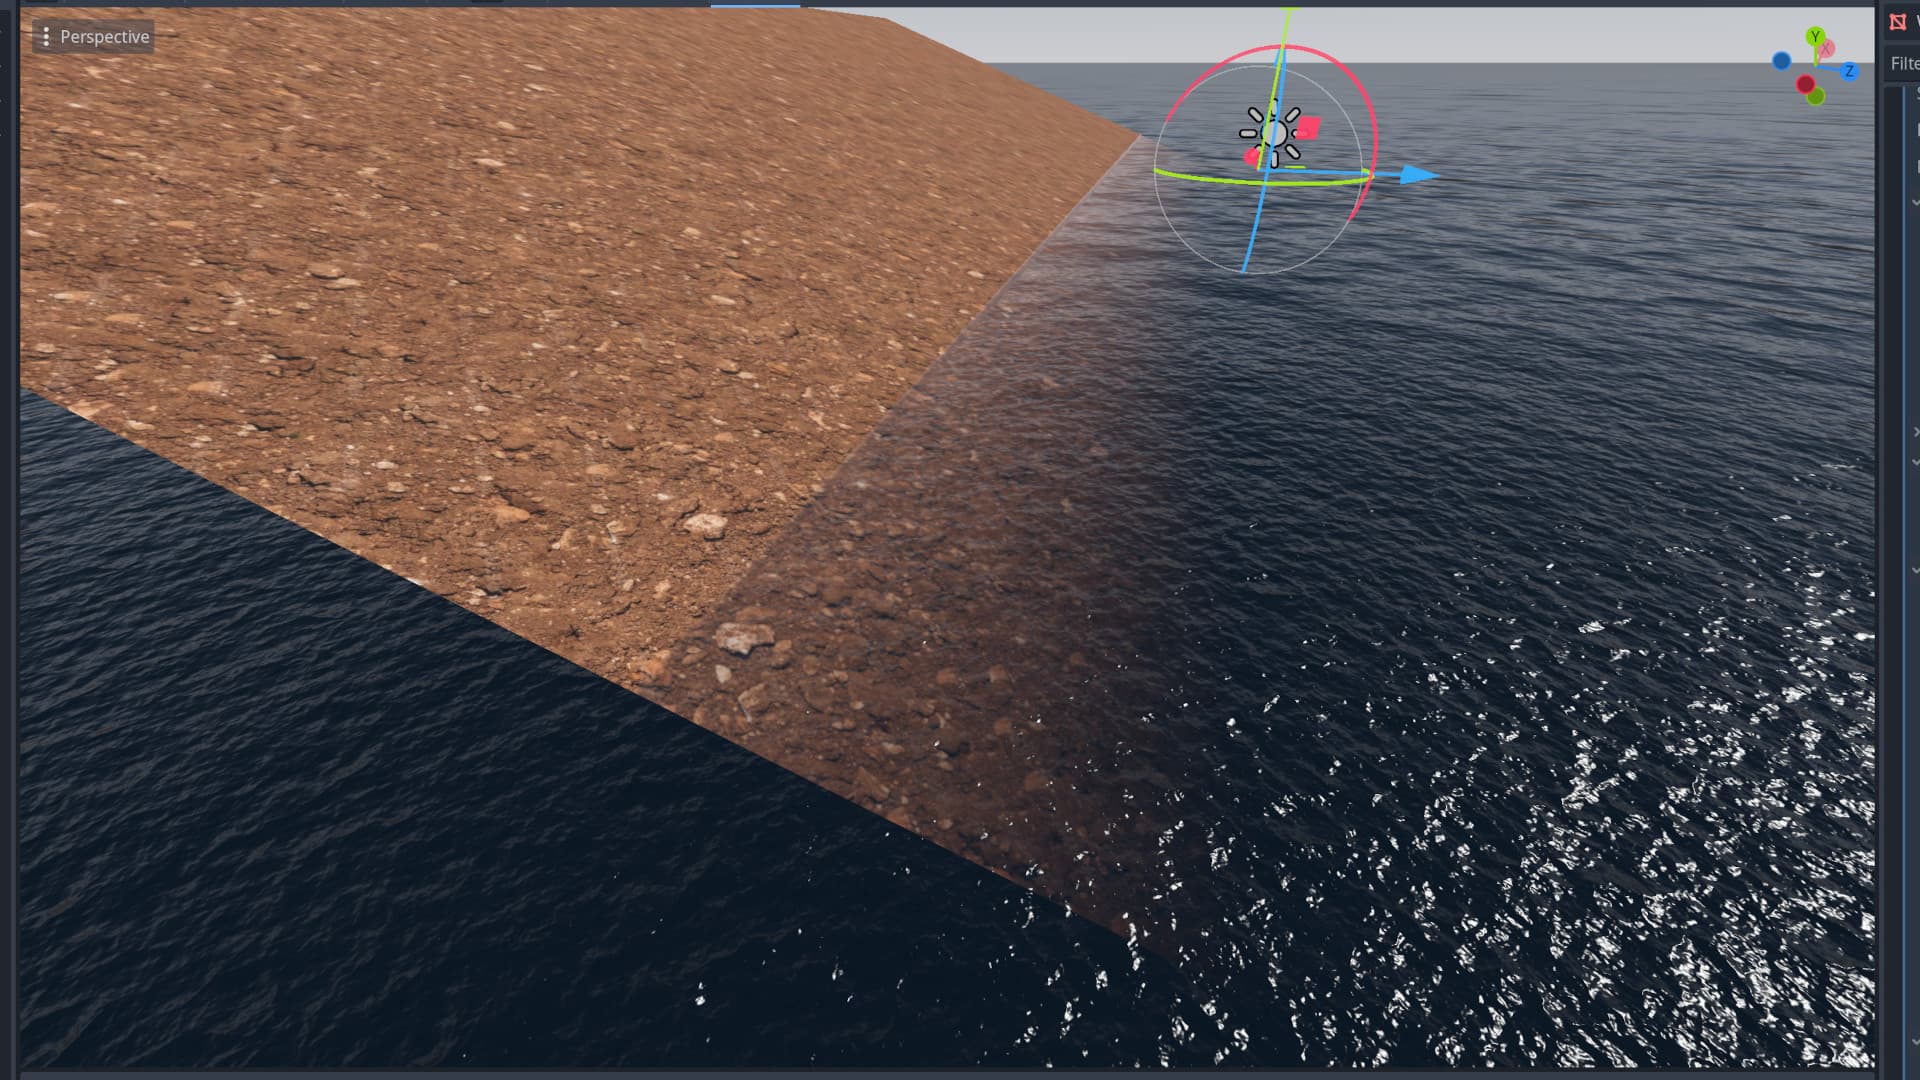
The visible tiling doesn’t usually become a problem unless the water is observed from farther away, but if one wants a large surface, it has to be adressed. To deal with this, I sampled the normal map 3 times with different tiling values based on how far away the camera is. The samples ‘distance-blend’ smoothly into each other.


Distance-based tiling off


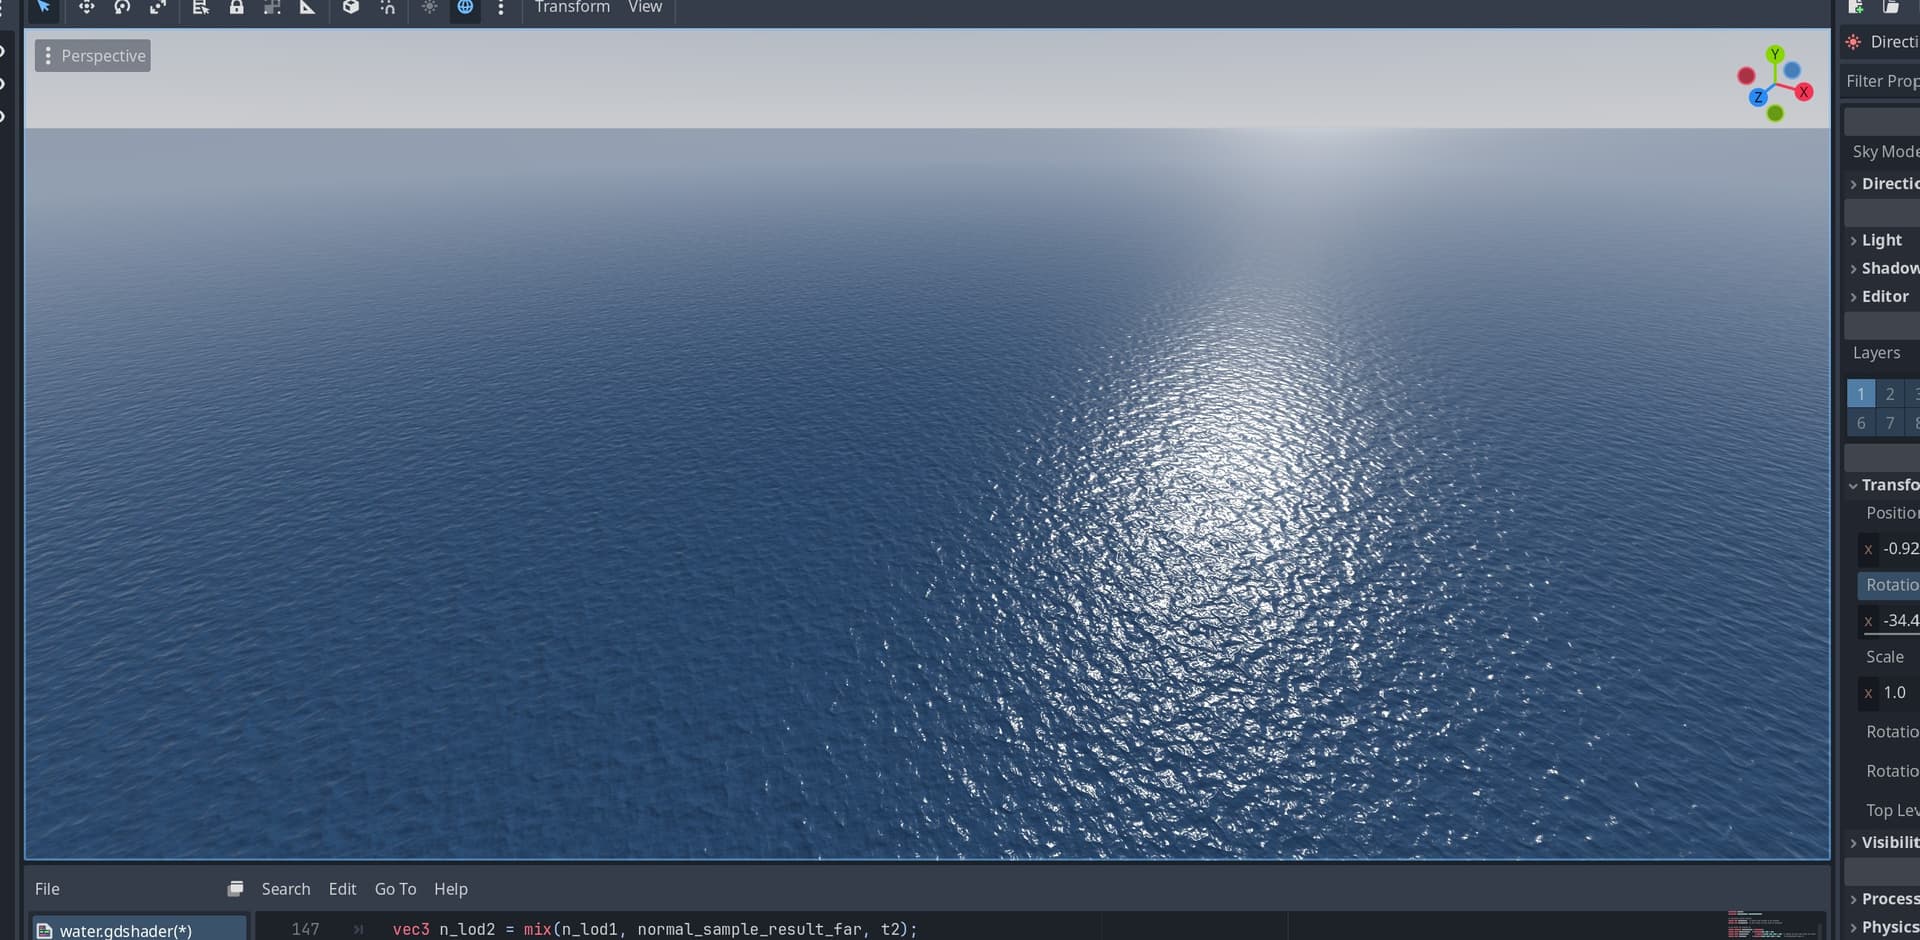
Distance-based tiling on

It doesn’t eliminate visible tiling completely (you can still see it if you go ridiculously far away), but it’s much less apparent and intrusive and more difficult to spot so it doesn’t take away from what else is going on in the scene.

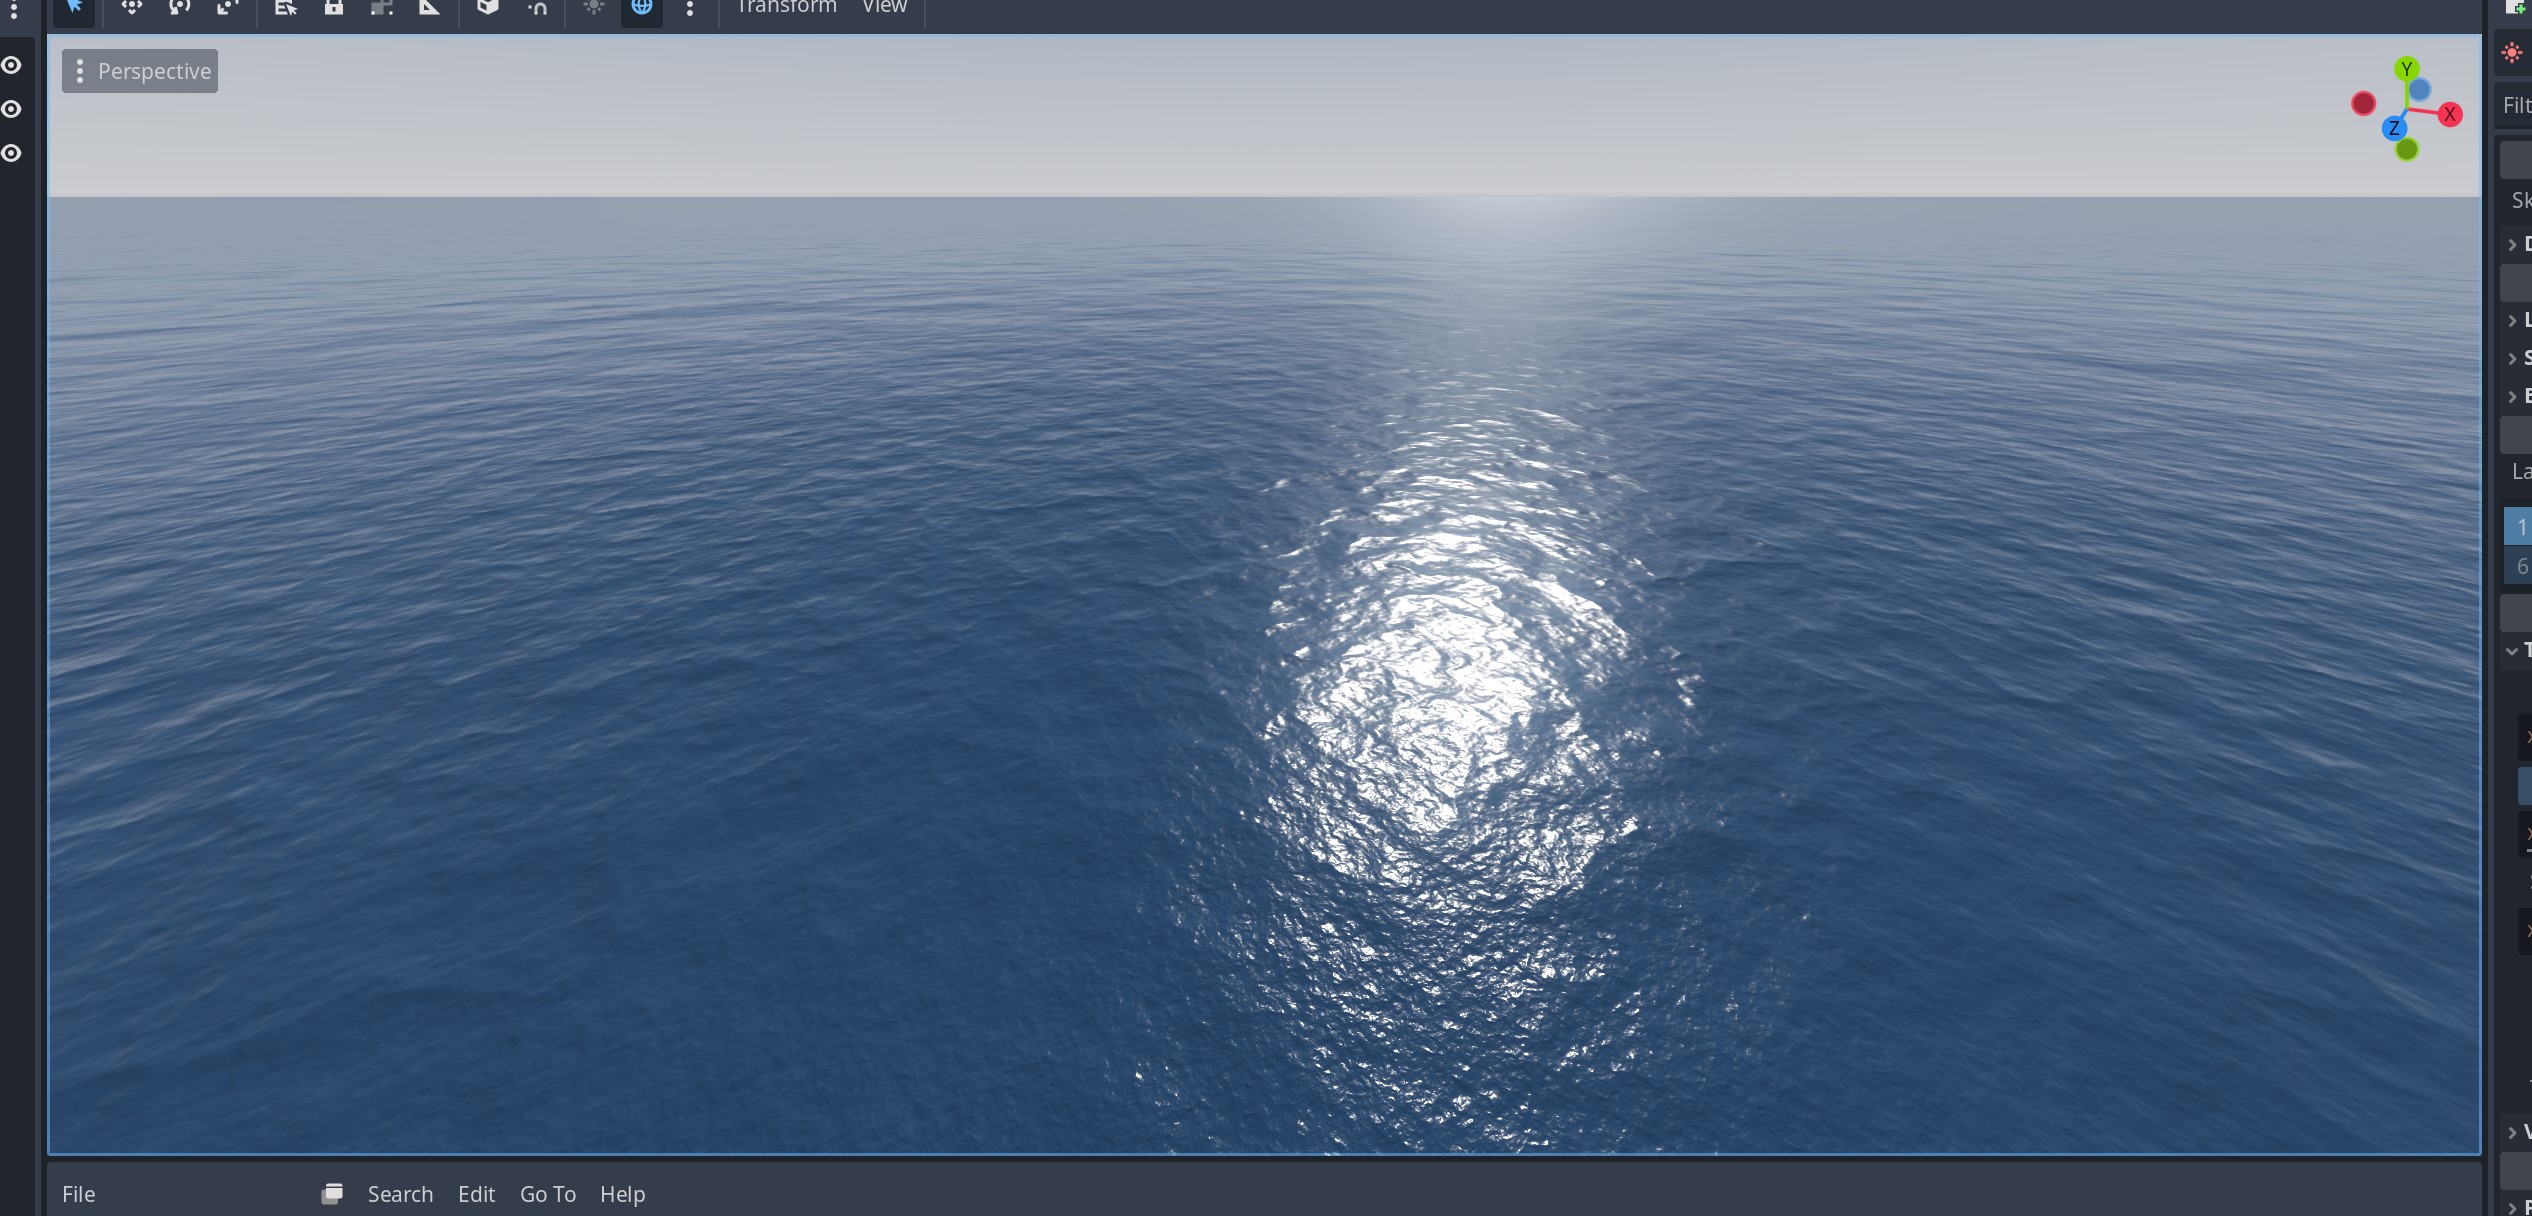
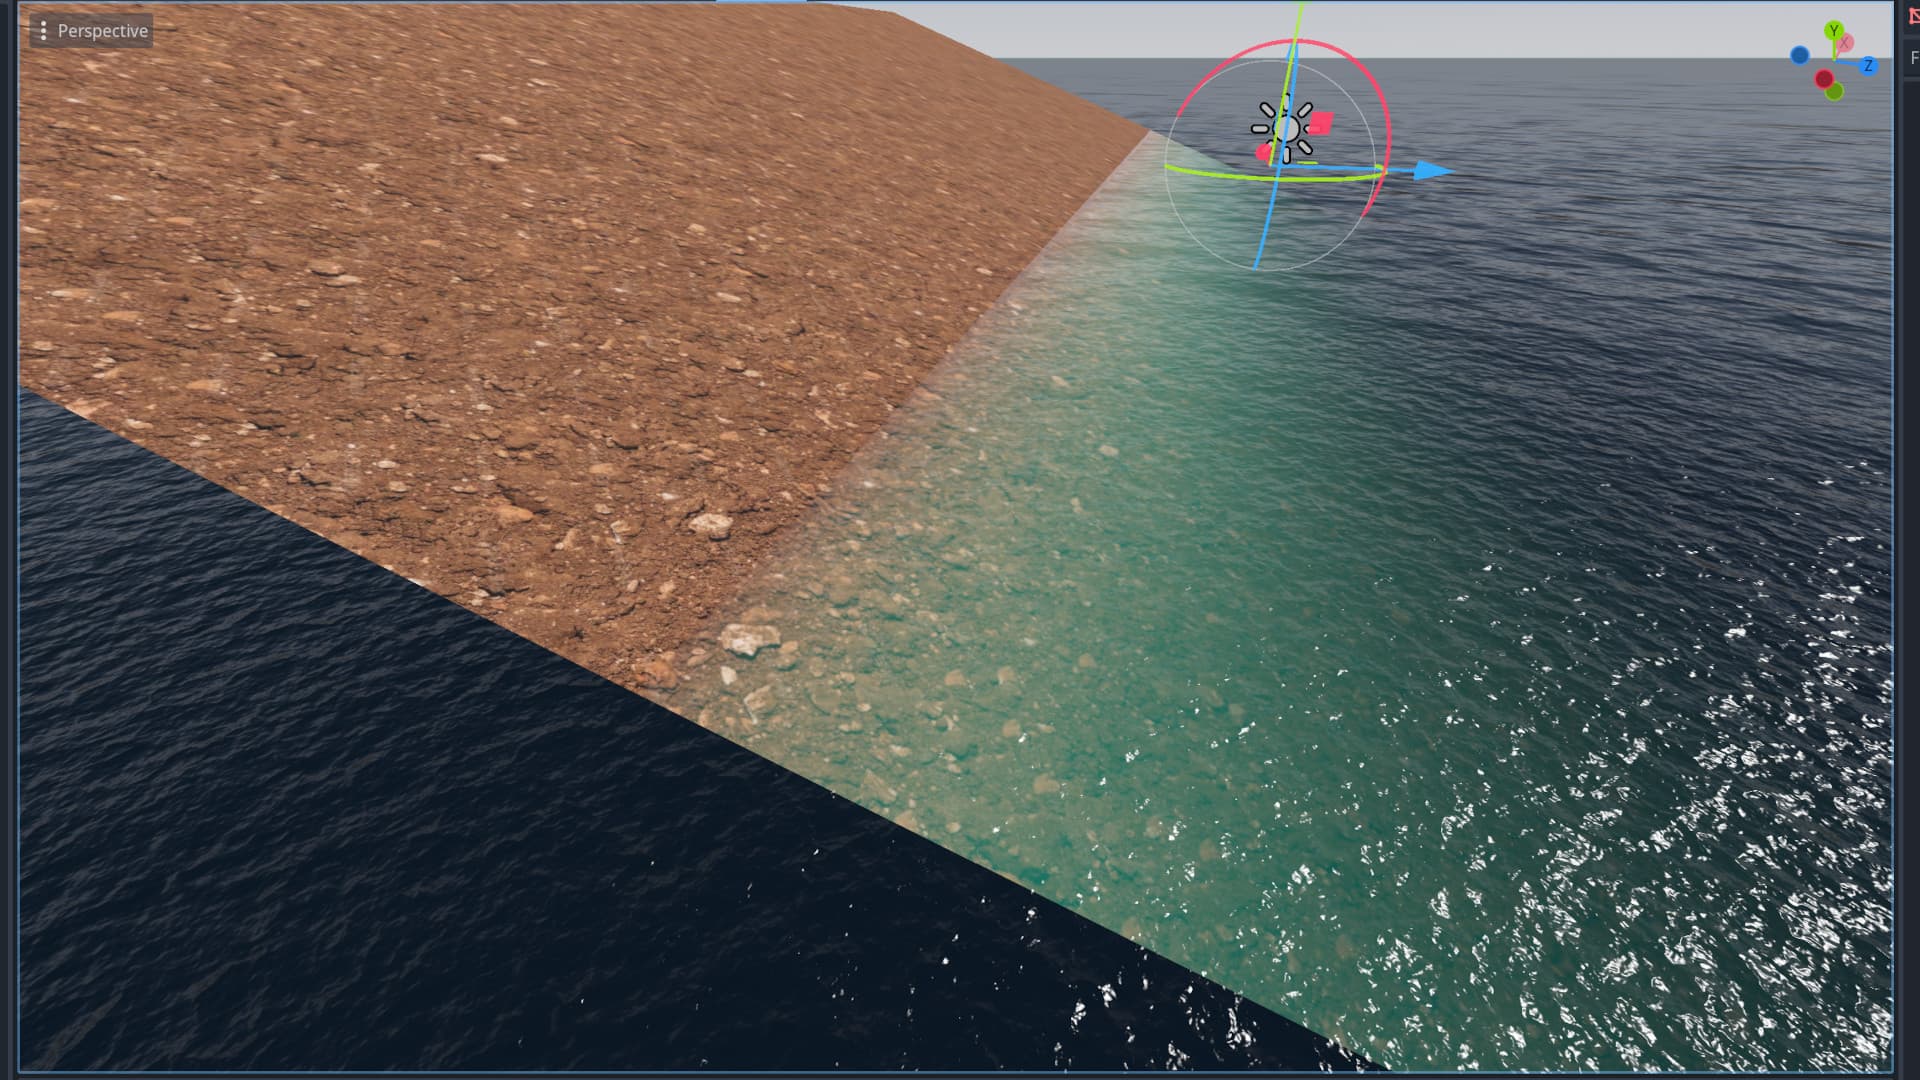
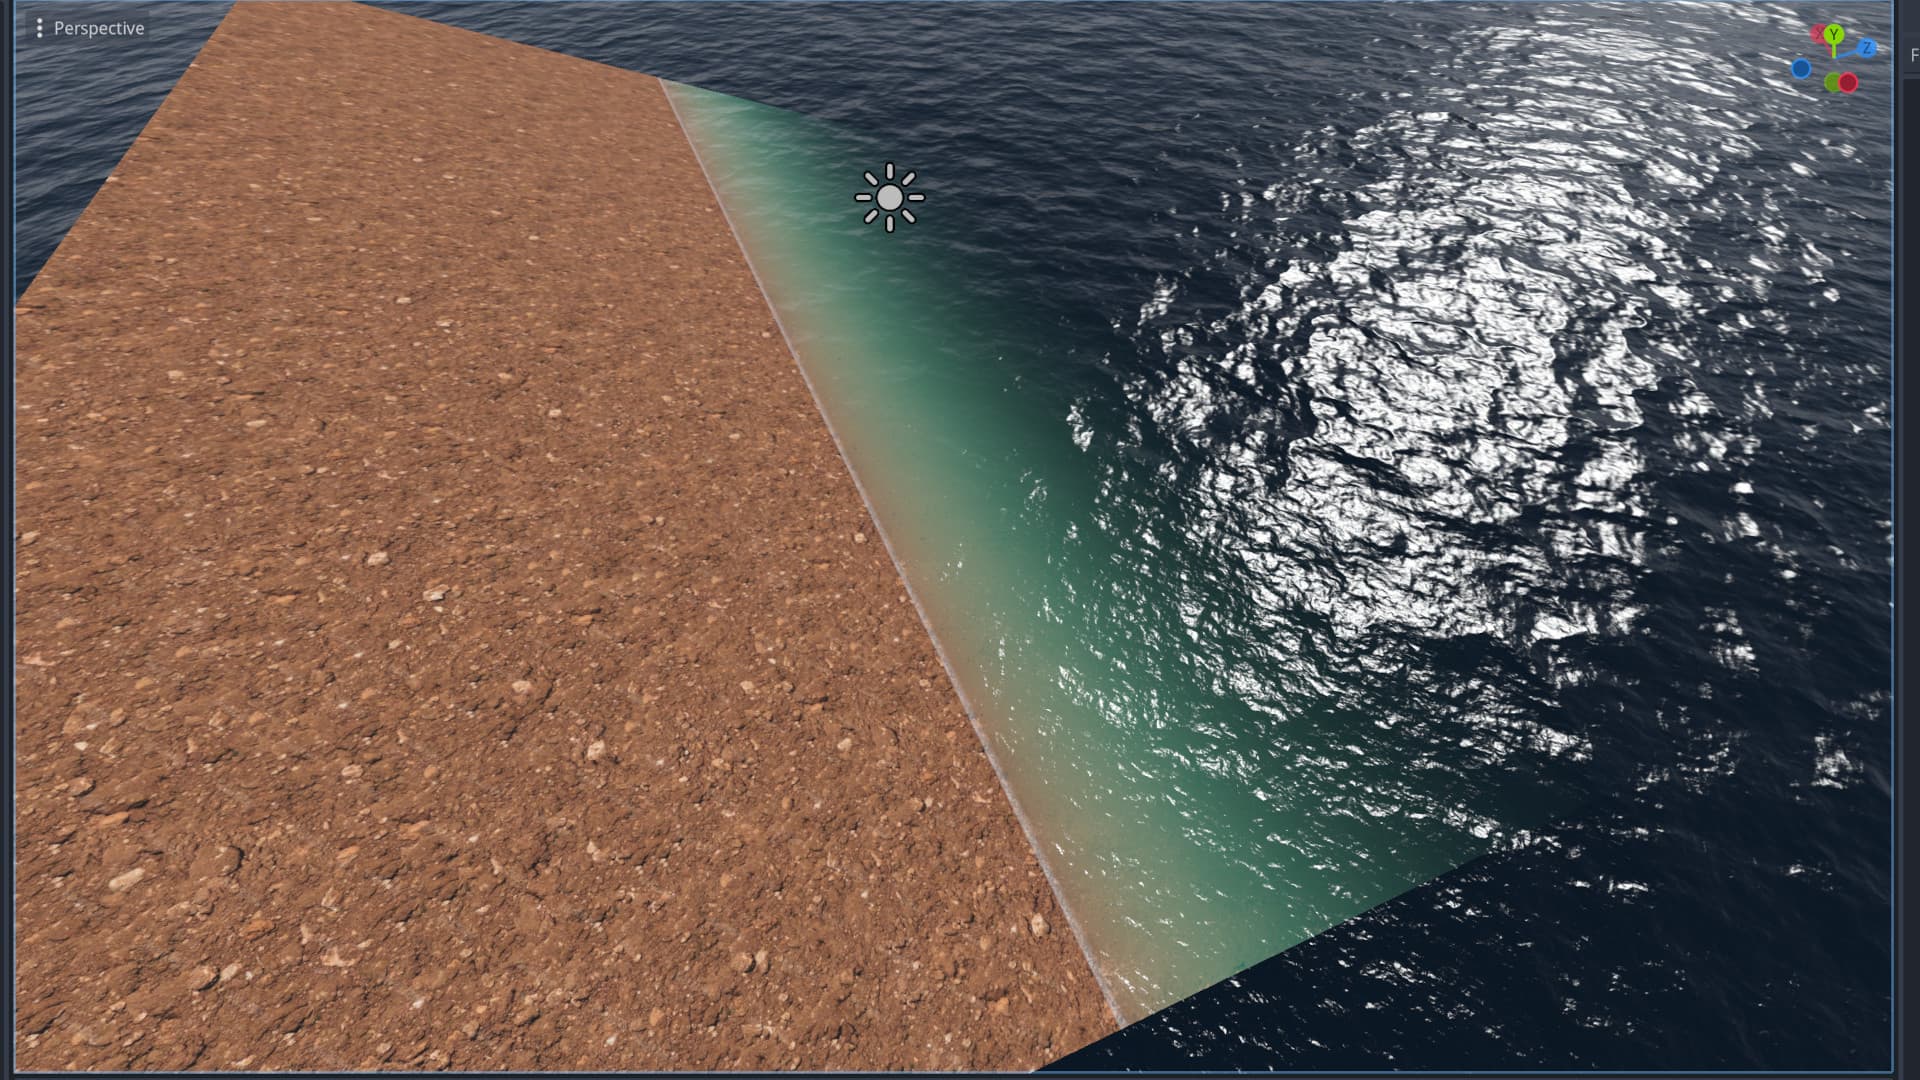
The second thing I’ve been working on is that the surface looks a lot like plastic. So for molten plastic this would already work because it’s fully opaque. Water interacts with light differently in that surface areas that point away from the sun aren’t usually darkened all that much because water is translucent.

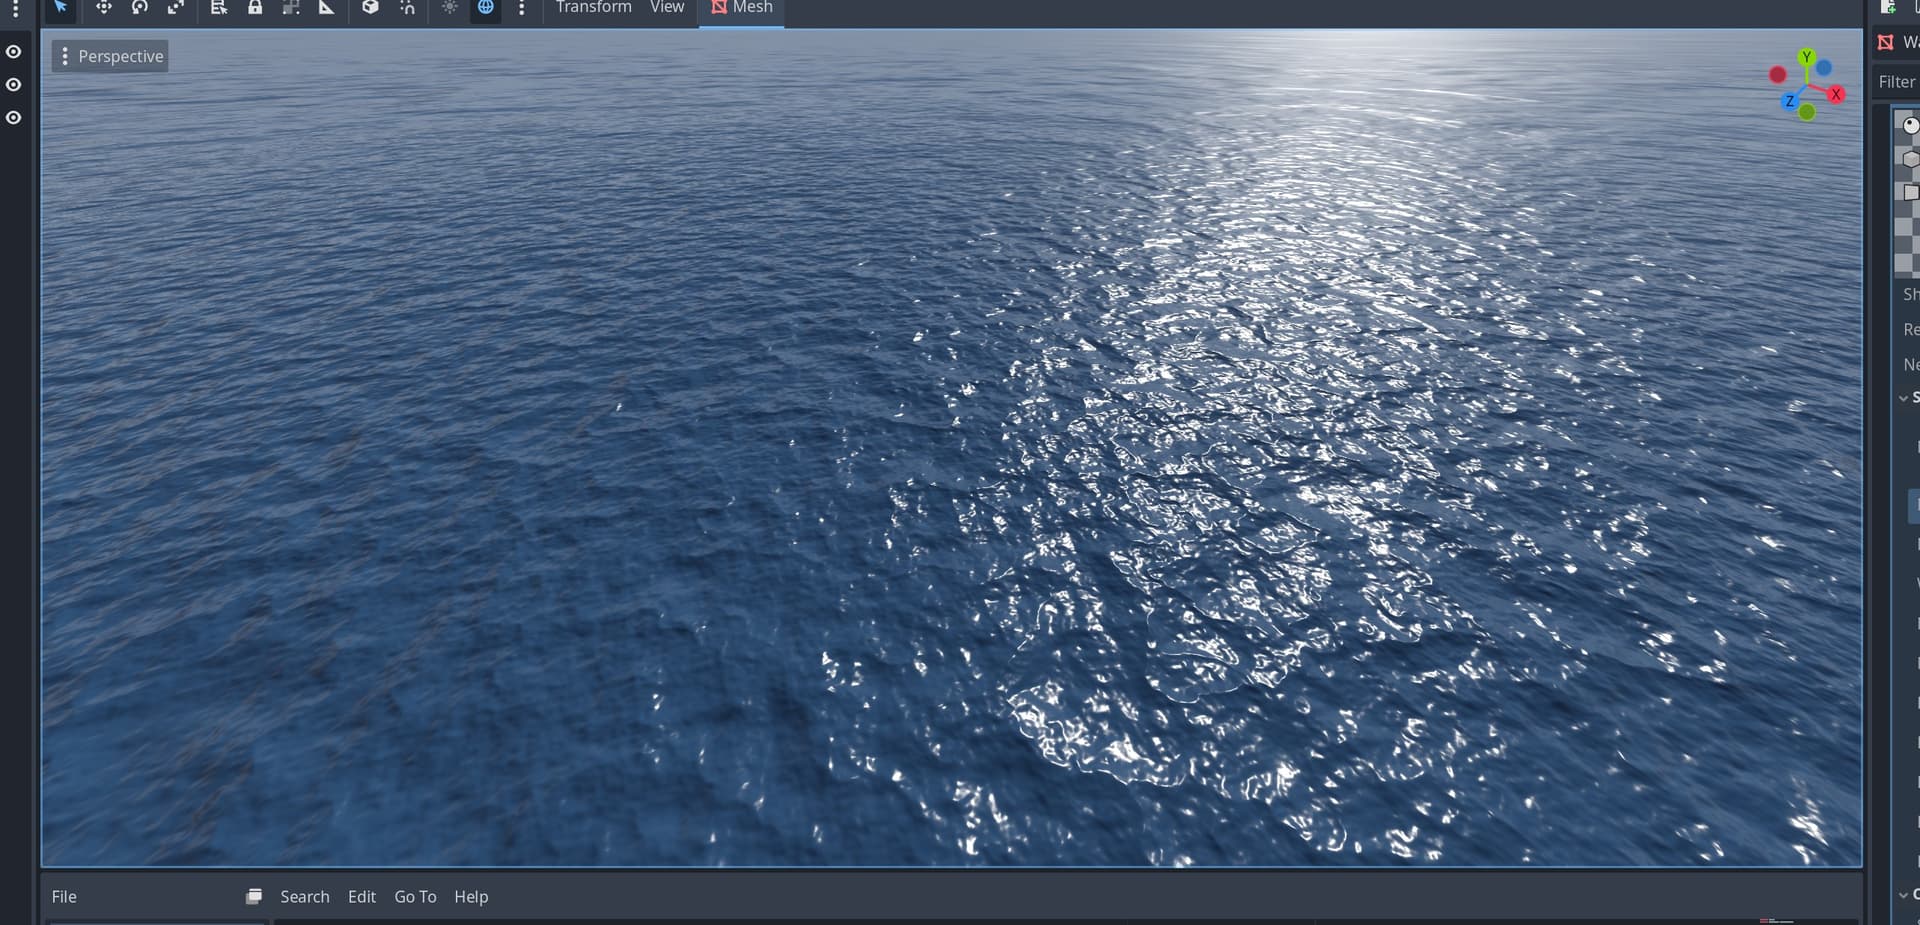
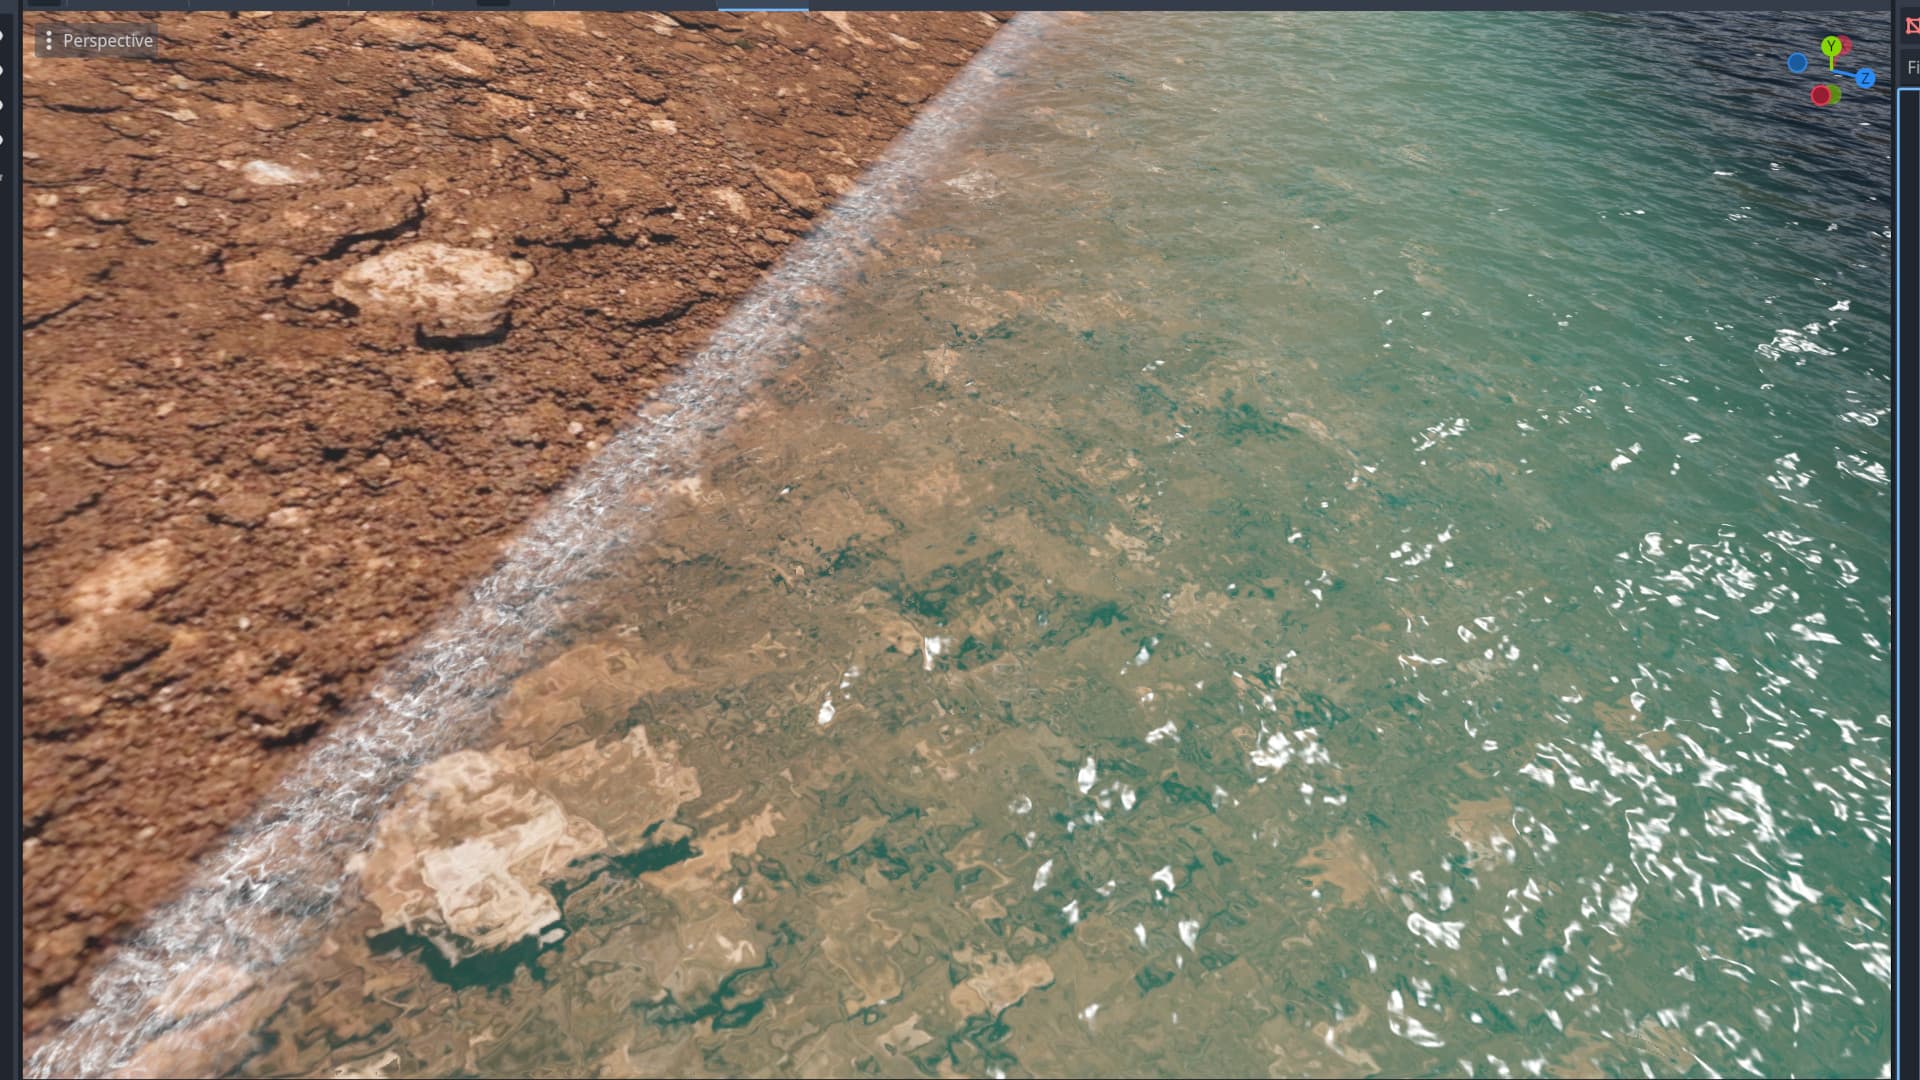
I didn’t want to get into translucency before I have any transparency feature in place, so I opted for light wrapping. It’s a cheap screen-space only way to approximate the same soft look.


Godot’s PBR model without translucency


Custom lighting with light wrapping

Unfortunately, Godot shaders don’t have a built-in material parameter for light wrapping, so I had to override part of the lighting model in light(), to modify the diffuse term and preserve specular highlights.

I’m pretty sure, this will get me into trouble down the road when I dive deeper into the lighting calculus, but it’s easy to revert from. Maybe it becomes unneccessary, once translucency works.

Anyway, here’s a little showcase video to sum it all up.

@carmxdev weeell, I’m not really familiar with the engine yet - shaders are probably the one thing that is consistent across almost all engines so not much learned yet. :sweat_smile: However I want to see if I can get realtime reflections working, so I’ll have to get deeper into Godot’s scripting architecture eventually. As for shader programming, I know it’s difficult at first because you need to look at the code a bit differently, than you would for cpu-code in that all it does is run once for every vertex/pixel and outputs a color. It’s a bit harder to debug, but in the end it’s just that cou write code that computes a color.

Agan thank you for the feedback everybody, and I’ll keep this posted. :slightly_smiling_face:

5 Likes

This looks amazing! :exploding_head:

I’ve never heard of this technique, and attempts to search for it only gave me pages about green-screen compositing in video editing. Do you have a reference and/or could you explain more?

2 Likes

I’ve never heard of this technique, and attempts to search for it only gave me pages about green-screen compositing in video editing. Do you have a reference and/or could you explain more?

I realized, you’re right, not much pops up on Google for this term. :sweat_smile: But it’s a valid one, I assure you. :wink:

So basically here’s what it does:
Imagine holding an apple under a lamp. In a strict math model, half the apple would be lit and the other half completely black. In reality, light scatters and bounces, so the dark side isn’t pitch black right at the border. Light wrapping fakes that by shifting the shading curve so the lit area extends slightly into what would otherwise be shadow. The result looks softer and more natural. That’s why it’s often used for skin, foliage, or other materials that benefit from a gentler light transition.

In standard Lambertian lighting, a surface is brightest when it faces the light and then drops off sharply as it turns away. Light wrapping softens that falloff by allowing the light to “wrap around” the edges of the object a bit. Instead of cutting off abruptly at the terminator (the line between light and shadow), some light bleeds onto the shadowed side.

For water specifically: without light wrapping, you see small patches that darken strongly wherever the surface tilts away from the light, even if the overall surface looks bright. Light wrapping smooths those dark spots out, giving a more even, natural appearance.

If you’re interested, NVIDIA’s GPU Gems 2 has a chapter on real-time subsurface scattering that discusses light wrapping (they call it wrap lighting :grin:) as part of the approach:

EDIT: Can anyone kindly tell me how I can reply quoting a post by someone? :sweat_smile:

5 Likes

Thanks for the enlightening explanation and the link! Smoke and mirrors, eh? I don’t suppose that we still need to encode such simple math in a texture anymore in 2025 – compared to Lambertian shading, it’s just two extra additions (one of which can be precomputed) and one division.

Select the text, then a toolbar appears above your selection where you can press Quote :slight_smile:

4 Likes

Exactly! Back when this was introduced, divisions and even a few extra ops were so pricey, that people leaned on lookup textures as a shortcut. On modern hardware it’s just a couple of ALU ops, so there’s no need for that anymore - you just write it directly in the shader.

Here’s my code for the lighting modification, if you’re interested:

shader_type spatial;

uniform float light_wrap_intensity : hint_range(0.0, 4.0) = 0.0;
uniform float light_wrap_amount    : hint_range(0.0, 2.0) = 0.3; // how far the diffuse wraps around the terminator
uniform float light_wrap_power     : hint_range(0.25, 4.0) = 1.0; // curve shaping (>=1 tightens)

// -----------------------------------------------------------------------------
// Per-light pass: light wrap diffuse + simple specular to preserve highlights
// lambert-ish diffuse with simple spec model.

void light() {
    vec3 N = normalize(NORMAL);
    vec3 L = normalize(LIGHT);
    vec3 V = normalize(VIEW);
    vec3 H = normalize(L + V);

    float ndl = max(0.0, dot(N, L));
    float ndl_wrapped = clamp((dot(N, L) + light_wrap_amount) / (1.0 + light_wrap_amount), 0.0, 1.0);
    ndl_wrapped = pow(ndl_wrapped, light_wrap_power);
    float diffuse_term = mix(ndl, ndl_wrapped, light_wrap_intensity);

    DIFFUSE_LIGHT += diffuse_term * ATTENUATION * ALBEDO * LIGHT_COLOR;

    float shininess = mix(8.0, 256.0, clamp(gloss, 0.0, 1.0));
    float spec_term = pow(max(0.0, dot(N, H)), shininess) * specular;
    SPECULAR_LIGHT += spec_term * ATTENUATION * LIGHT_COLOR;
}

If you put the light function below the fragment shader, you should be able to see the effect.

3 Likes

It’s amazing anyways, and you seem to be improving quickly

2 Likes

Ok, so in the past days I’ve worked on depth effects and refraction, both of which came with their own set of challenges.

So here’s where I left off last time:

Starting with depth fading to add some depth-based effects.

I first tried to just replicate Godot’s proximity face, but for some reason it behaves odd with large objects like a water plane. The fade was constantly warping and moving as the camera was moving and rotating. It just looked wrong and I haven’t yet been able to figure out why. I ended up locking the fade to the vertical axis and it works well enough for now, but still it keeps bothering me. Anyway, once blending worked I was able to add a multitude of intersection-based features:

1. Transparency

2. Beer-Lambert-style color absorption (slightly modified, so absoprion begins at a given color, instead of the light color and ends at a given color instead of black - to add more artistic control)

3. Soft shoreline with some foam + Refraction

For the refraction I first took the simple route of displacing screen UVs by the normal’s rg, but of course this causes artifacts in submerged geometry with visible silhouettes. I added functionality to mitigate the issue by depth testing and it kinda works, but not perfectly. I’m not even sure I won’t just simply keep the simple uv distortion without depth testing, just to keep the shader as slim as possible.

Anyway here’s an aerial view:

And a video showcase of all this:

I think that works well enough for now, so next I’m going to try to add real time reflections. I think I’m not going to be able to avoid gdscript on this one. :grin:

8 Likes

This is awesome. I’m really interested in how you did the tiling effect? The difference between distance-based tiling off and on is huge!

1 Like