Difference between Nodes w/script added vs. Nodes created with a custom type?

Godot Version

4.4.1.stable

Question

I noticed that when adding a Node of a custom type defined with class_name by selecting the class name in the Create New Node dialog, the added Node has a grey script icon, which, when hovered over, shows this message: “This script is a custom type.”

This behavior doesn’t occur when creating a Node of a built-in type and then adding a script that defines a custom type with class_name. Is there any functional difference between these two setups? The changed icon and tooltip make it feel significant, but I can’t find any documentation that suggests a meaningful difference. The only thing I can see is that the Node added using the custom type has its script defaulted to the corresponding script, rather than no script.

The greyed out script tells you this is the default script for something custom you built. You can then easily see if you add your own script by it being white instead of grey, that you’ve added a different script to the default object. It’s an awesomely useful feature, but it is not documented.

1 Like

Would you care to elaborate how is this awesomely useful feature?
I’ve never used it myself, I always build and save a proper .tscn that I later load into the scenes. And I fail to see why I would want to create a node this other way instead.

Thanks!

1 Like

Absolutely.

This is useful for any object where you can use it as-is, but also might want to make an enhanced version. Basically to create new node types that are specialized.

For example, I use this for my State and StateMachine nodes.

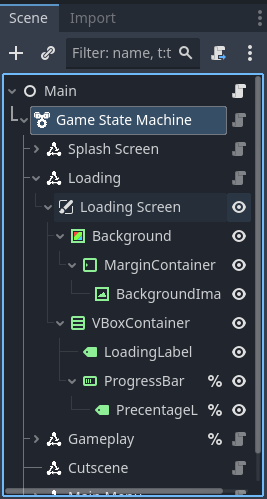
As you can see from this screenshot, my Game State Machine node is default version of a node - in this case a StateMachine node. I know this because I have no custom versions of that node. You can also see the Extend Script button at the top of the screen instead of the Add Script button. This tells me I am extending a custom script instead of extending a built-in script.

If you look lower in the shot, you can see the Splash Screen state. This is also using the default script of its type. Hovering over it I can see that it is of type GameStateSplashScreen. So I know that it’s using custom code for a State, but it is a State I have purposefully created for re-use. (I use it in all my projects.)

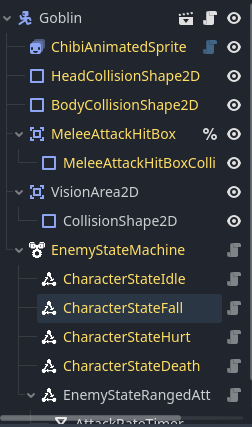
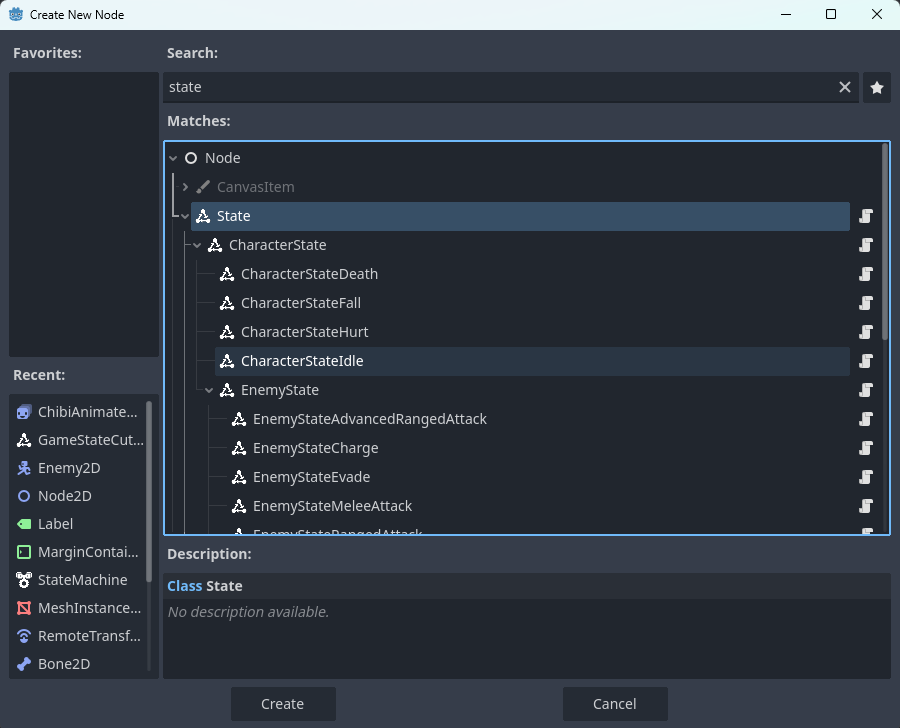
Now let’s take a look at another example. This is an inherited scene. It is goblin.tscn inheriting from enemy_2d.tscn, which has a more complex node structure. I.E. it is not one node. So I can’t just create it by pressing Add Node even though it has a script with a class_name.

All the yellow nodes are inherited from the parent scene. The kinda greyed-out blue script icon next to ChibiAnimatedSprite2D tells me that this script is a tool script (it’s blue) and that I haven’t modified it in this inherited version of enemy_2d.tscn.

Furthermore, ChibiAnimatedSprite2D actually has an exported variable called Sprite Root Folder.

Screenshot 2025-07-18 123531

Normally, I would need to create a default scene and instantiate it even though it doesn’t do anything other than give me a way to edit that value. However, since I can create this node by using Add Node, I don’t even need to create a default scene. There is none in my project.

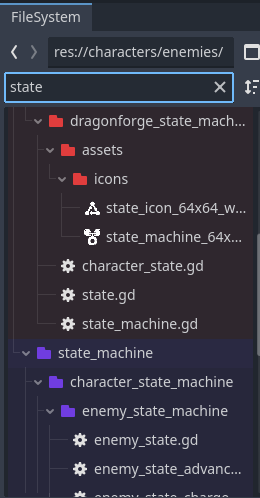
This both saves disk space (especially in the exported game where I care more about that), but it also means my folder structure is much cleaner. A lot of my reusable, more basic objects don’t need scenes.


The last thing it does is helps me determine what scripts I’ve finalized. As I was constructing all the states under EnemyStateMachine, if a script was white it meant that I was still working on it. Once I finalized it, I would delete the existing node and re-add it, as it now had no custom code to it. It was it’s own object.

I think it’s an awesome little quality of life feature!

2 Likes

That’s super interesting approach, thanks a bunch! I’ll look through my projects now to see where I could benefit from that. I can definitely see the potential in some one-node classes that don’t necessarily need to be a saved PackedScene.
Thanks! Always nice to learn something new from you :slight_smile:

1 Like

No problem. Also, something I forgot to mention. When you use Add Node and your inherited object has a class_name it now shows up in the tree of the Create New Node dialog. It’s really useful for finding things quickly. If I search for State I get to see everything immediately and anything I click on can be instantiated. I don’t have to sort through unrelated results in the FileSystem window like icons, textures, etc that might share the same name or be part of the object but not what I want.

2 Likes

Thanks for all the detail and for explaining how you utilize this, it really helps seeing examples! I can see how this would be useful, I may adopt some of your practices myself :slight_smile:

1 Like

This topic was automatically closed 30 days after the last reply. New replies are no longer allowed.