Well, I only design small-to-medium maps for a PvP arena shooter, but I think your best tools are the following:
- Pencil
- Paper
- Google Docs (Optional)
Congratulations! You can now design any video game map!
That wasn’t satire. You use the pencil and paper to draw out a top-down view of the map. But open world maps are pretty big, so you’ll have to split it between POIs that interest you.
You use Google Docs to take notes wherever you go! Got an idea, just type it out (or write it down).
For measurements, until you have a player character implementation you’re happy with, it’s all guesswork and a big waste of time.
But once you DO have a player character implemented, you can design the distance between thing based on the character’s base movement speed, jump height, and any other movement modifier your game has.
As an example, I finalized my project, Monkanics’, movement design relatively recently. And I’ve started to experiment with map geometry to see what works and what doesn’t.
Side Note: It’s also extremely helpful to base your map, POI, building, etc on something that already exists. Preferably something you really like.
That sounds like your being unoriginal, but your personal preferences and your game’s differing design will naturally distort it to become something completely different. That’s what iteration is.
It makes your life 10x easier as a game designer.
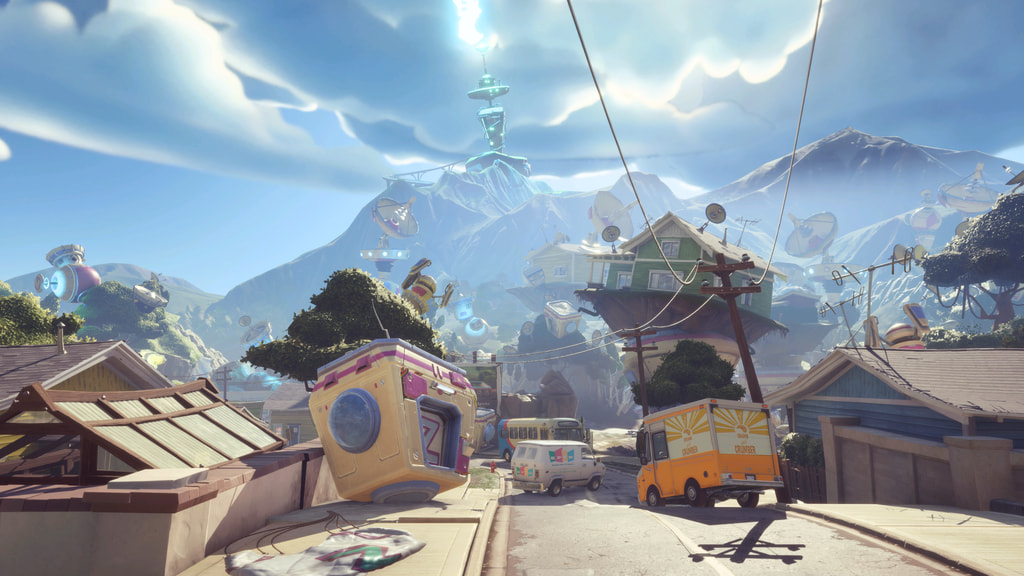
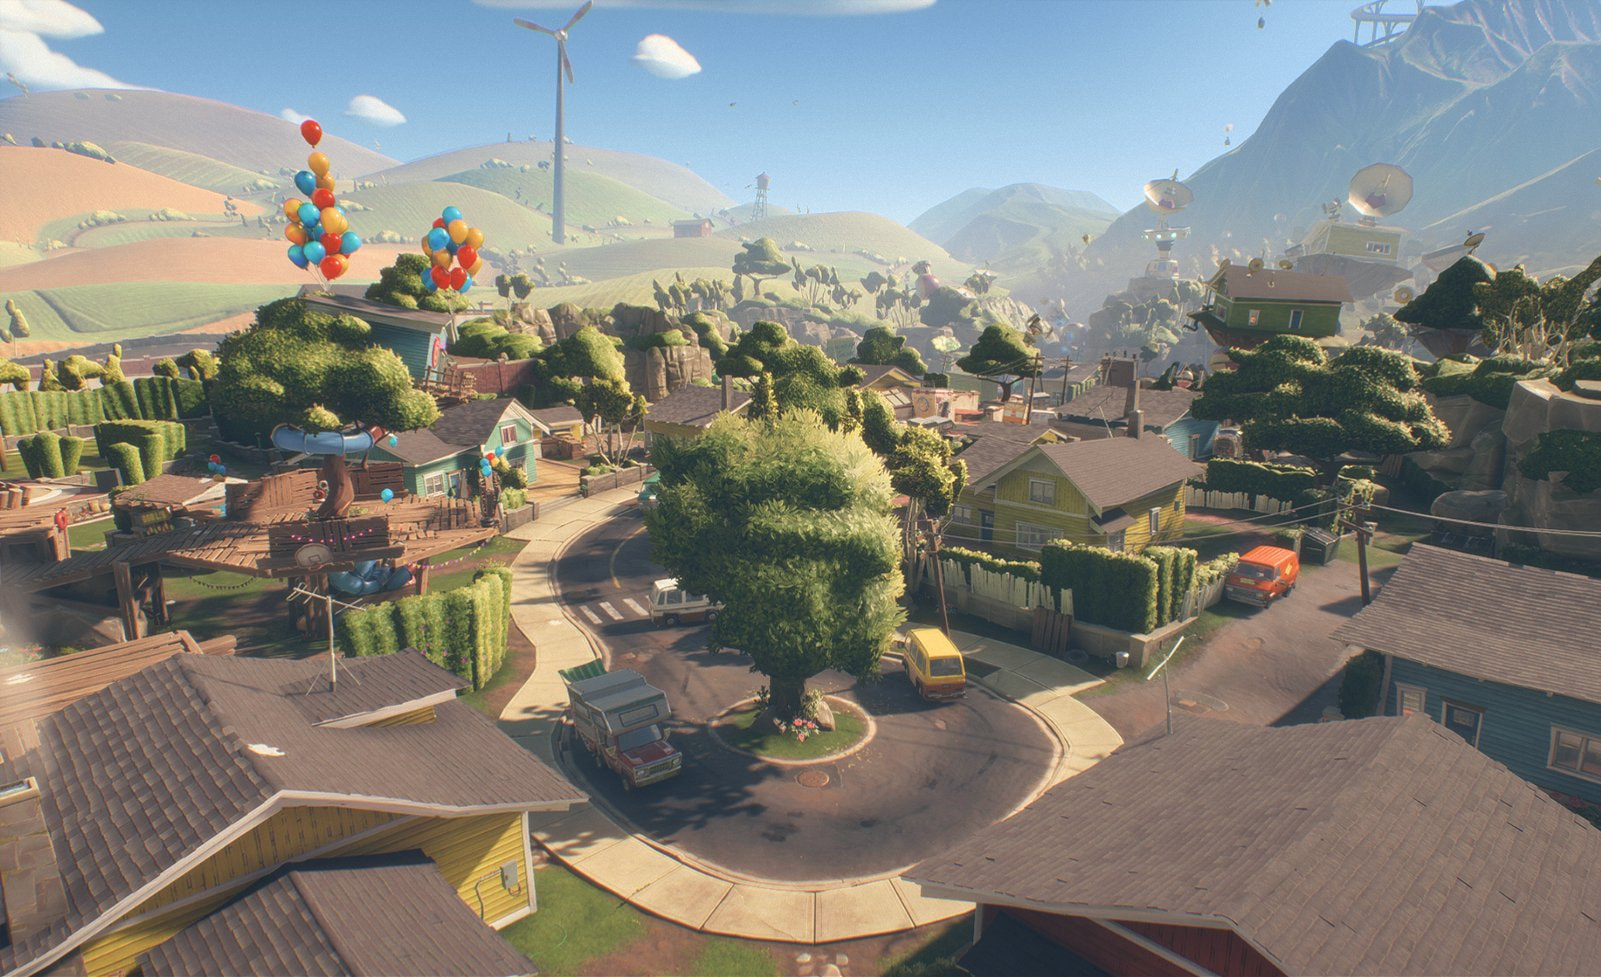
For my first test building, I used a house on a map from my favorite game of all time: Plants vs Zombies: Battle for Neighborville (BFN), on the Team Vanquish map: Daisy Drive
Daisy Drive in BFN for reference:
(Sharing this makes me giddy with glee, because I get to share my hyperfixation in public!!!)
It’s my favorite Team Vanquish map by a mile for how open it is (compared to BFN’s other maps that are segregated) and the multi-function geometry of the houses creating fun combat encounters.
So, I wanted to remake one of the houses in Monkanics to:
- Test my map tooling via trial and error, and
- To figure out some of the obvious principles for Monkanics’ map design.
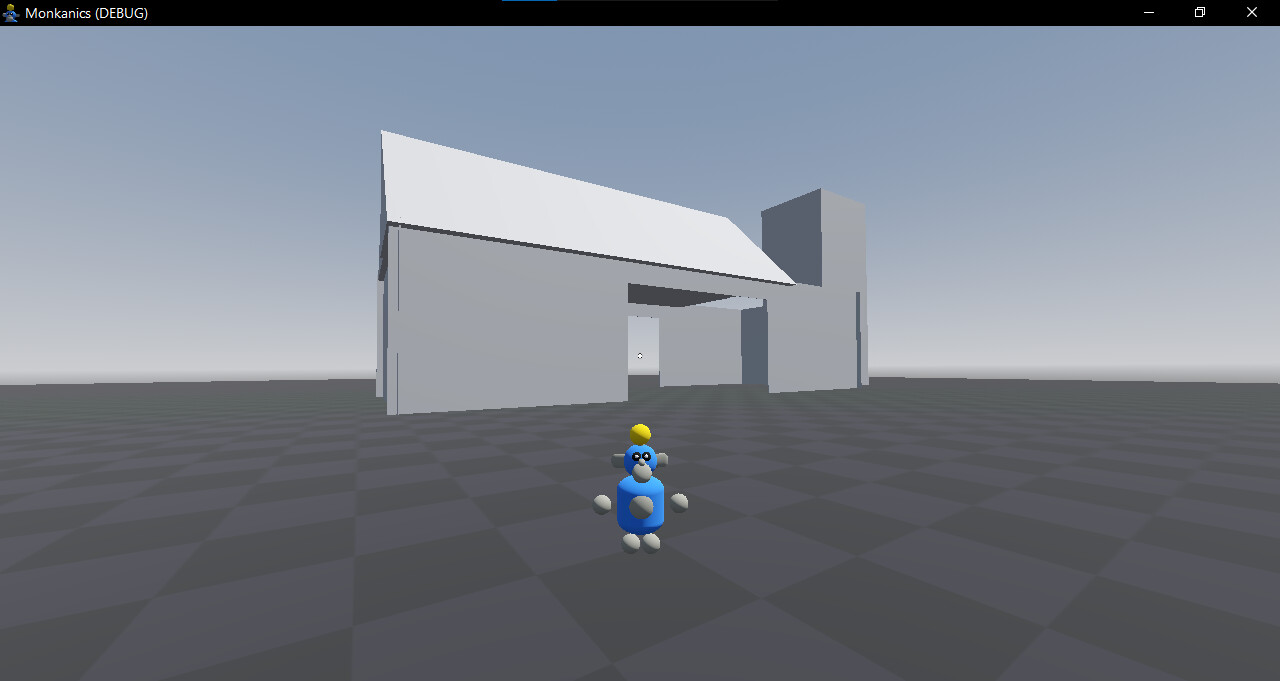
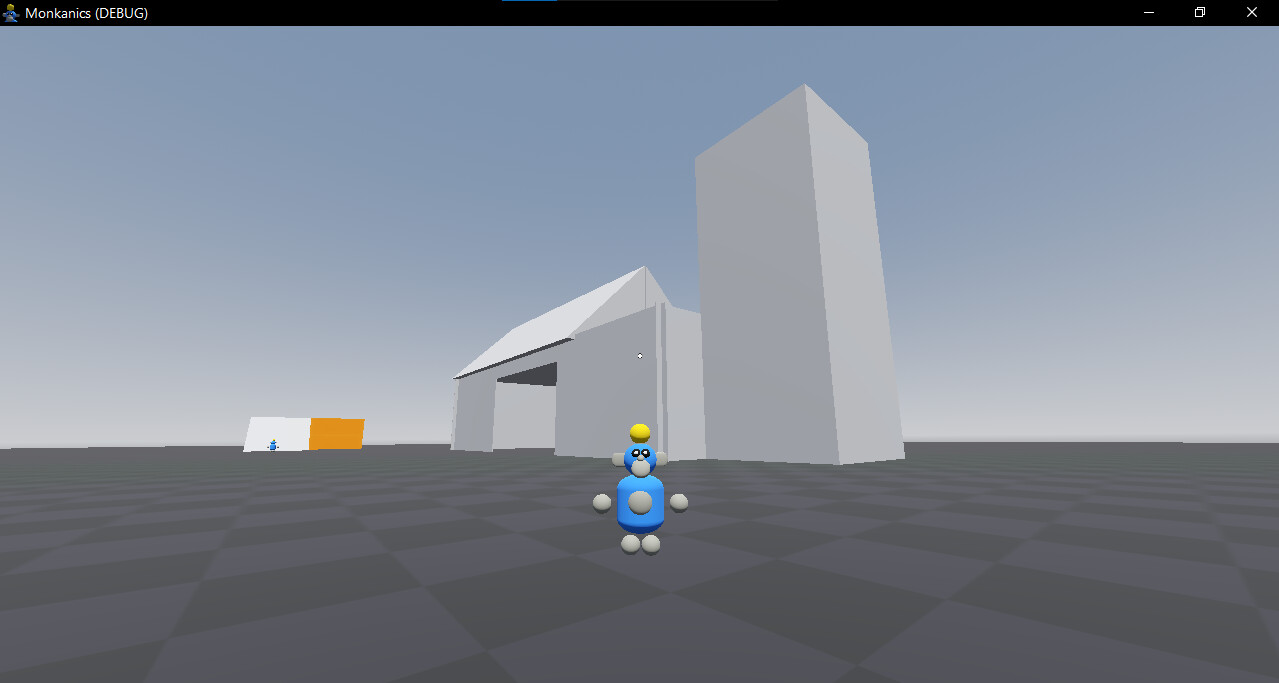
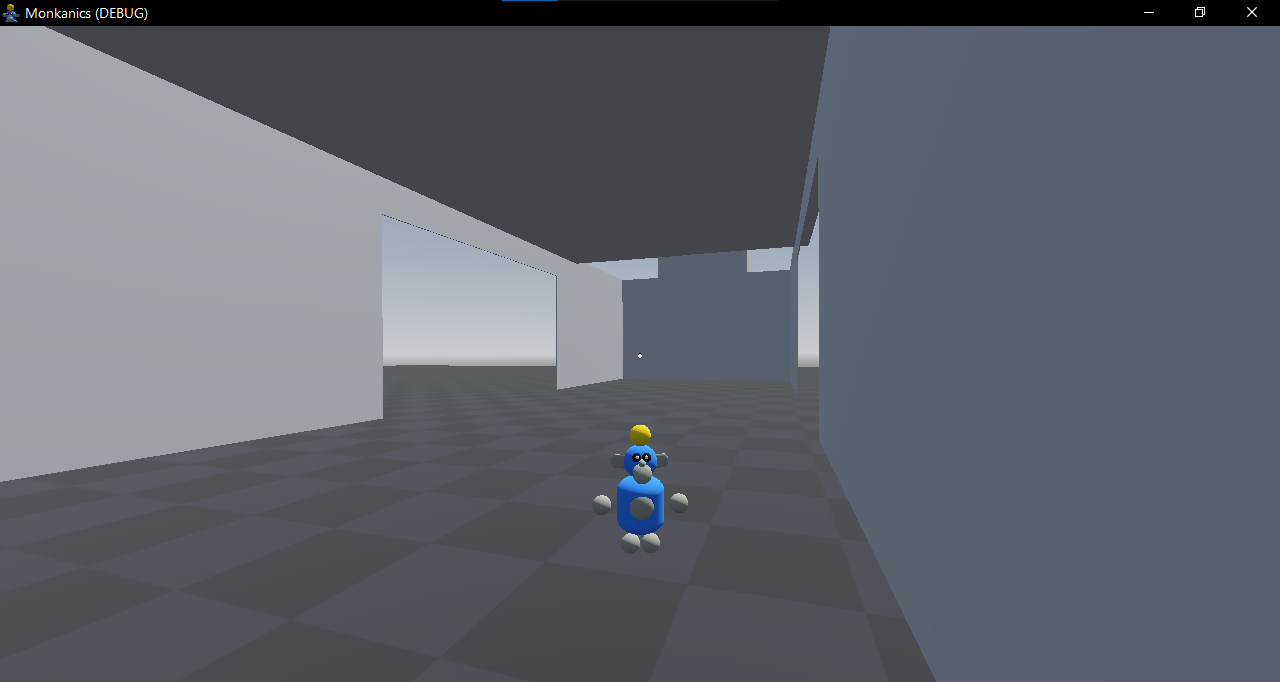
This was the result:
Firstly, AAAAAAAAAHHHHHHHHHHHHHH, I LOVE THIS!!!
Secondly, I learned a few things about how I need to design Monkanics’ geometry:
- DO NOT USE GODOT GEOMETRY (AND ESPECIALLY CSG SHAPES) TO MAKE MAPS. DON’T, FOR THE LOVE OF GOD!!! Use Blender. It’s a learning curve, but I’m only doing playtest worth geometric blueprinting.
- Because of Monkanics’ climbing system, I had to remove the protrusions from the roofs in order to make them climbable. So the “house” looks like a pyramid. (Also, I made an interior for the house, which BFN did not have)
- Doorways should be about 6-10 player lengths wide (For easy movement) and 4-6 player heights high (Because jump height is about player height in Monkanics).
- All climbable surfaces (most vertical surfaces) must be at least 4 player lengths wide to be easily climbable.
- Small vertical holes/openings don’t work, because the 3rd-person camera will clip. You just gotta make them WAY bigger.
- Climbing on ceilings and overhangs are a NO-GO, because of the 3rd-person camera.
And way, way, WAY more notes I took while making this. I think you get the point.
I kinda forgot this was supposed to be an example. Whoops.
Anyways, the main point is that you need to:
- Design and implement your player character FIRST, before designing the map.
- Take a lot of notes to remember your cool ideas (I’m going to assume they’re cool).
- Build the map around the implemented character, use your notes as reference, playtest, and iterate based on feedback and your gut.
I’m really not sure how useful this was, as I spend 30 minutes typing it all out. Try building something smaller to get a feel for the sub-craft.
Good luck!