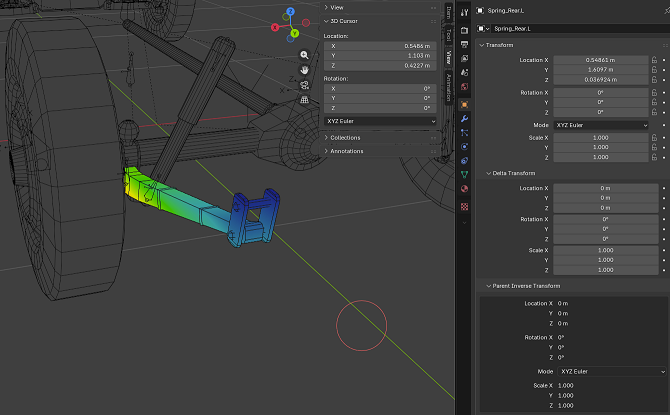
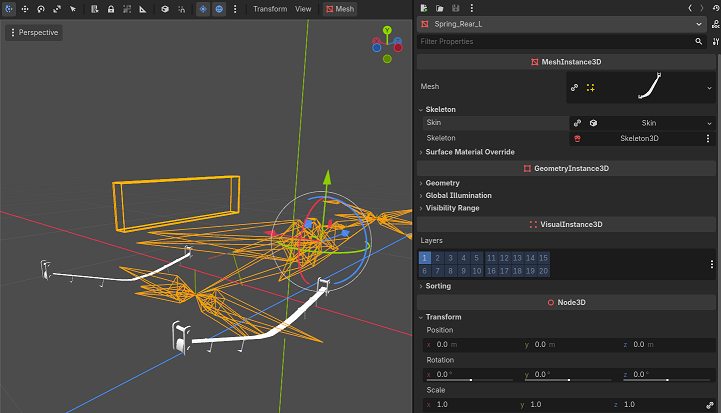
I’d like to understand what is being added to the object’s data when an Armature Deform modifier is applied in Blender, like one would do when wishing to paint vertex weights on a mesh. Whatever it is, it seems to confuse Godot when I import it. The origin ends up at 0,0,0, the transform seems to be somewhere random and the actual geometry is still where it’s supposed to be.
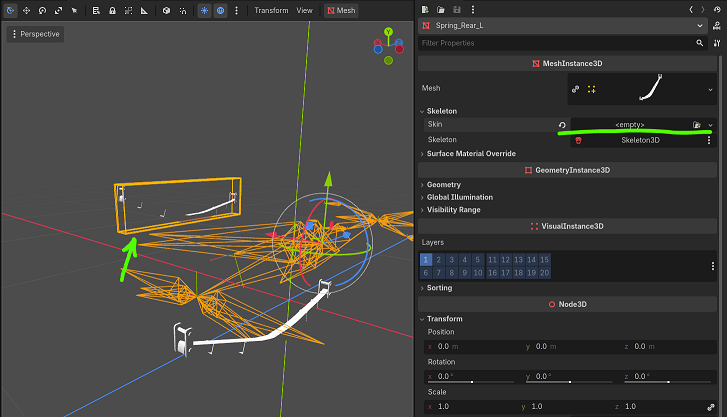
When I clear the Skin property (which I do need, but for demonstration purposes) the geometry pops into the orange box. That’s not where it’s supposed to be, but at least something now lines up. The origin is still not where it is in Blender.
Please help me understand what I’m doing wrong here. The goal is that the geometry, transform and origin all line up in Godot as they have been set in Blender, so the skeleton-driven animation can work correctly. (It’s a spring, it needs to go boing).
That is not exactly the case with Armature Deform modifier. Godot recognizes it and creates a Skin property.
If one was to apply it, then the painted vertex weights are lost and the mesh is no longer deformed by the bones’ movement, like so:
I accidentally figured out what was causing this issue. The mesh objects all have zeroed out transforms in Blender, however they are child objects of the Armature object. On import, any transforms that the Armature has, are added to the transforms of the mesh objects, resulting in this misalignment.
Its not evident when importing meshes that are children of individual bones, only when meshes are parented to a misconfigured Armature.
The obvious take-away is, don’t be a dummy and do put your Armature at 0,0,0 in Blender when you start building the skeleton. If you however are related to me somehow and make the same mistake, here’s how to fix it:
Not a single thing should move on your screen. If anything does, then some meshes or bones are not parented to their right object and need to be fixed.
Save and re-import into Godot, all transforms should now match the geometry.