Basalt: The Cursed Vein

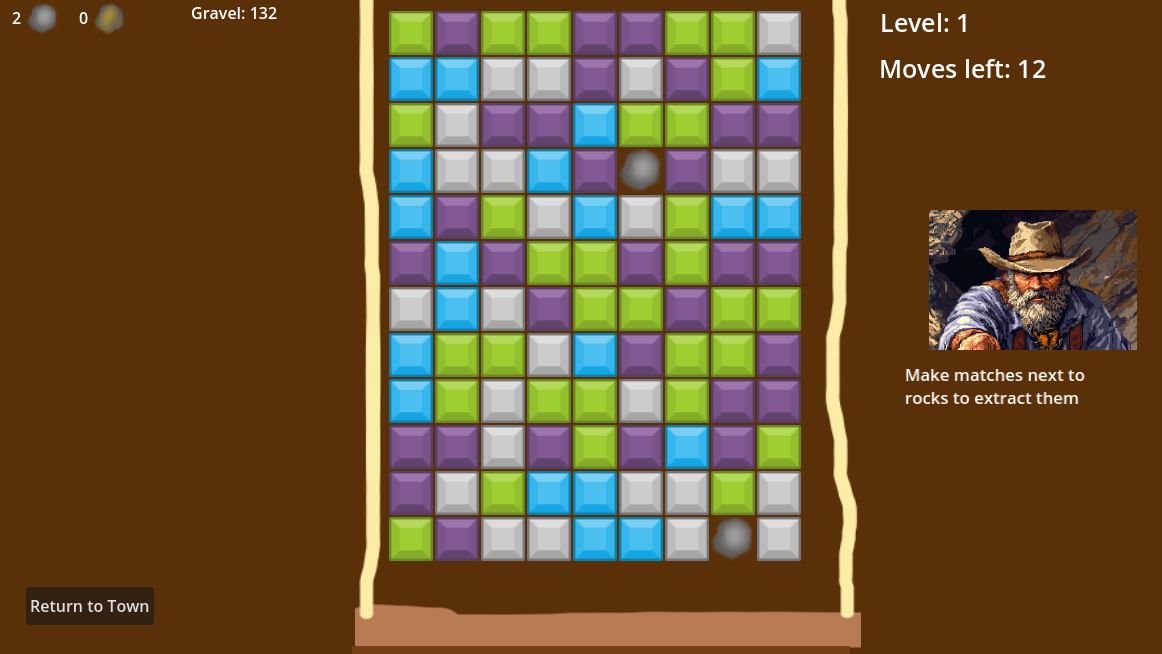
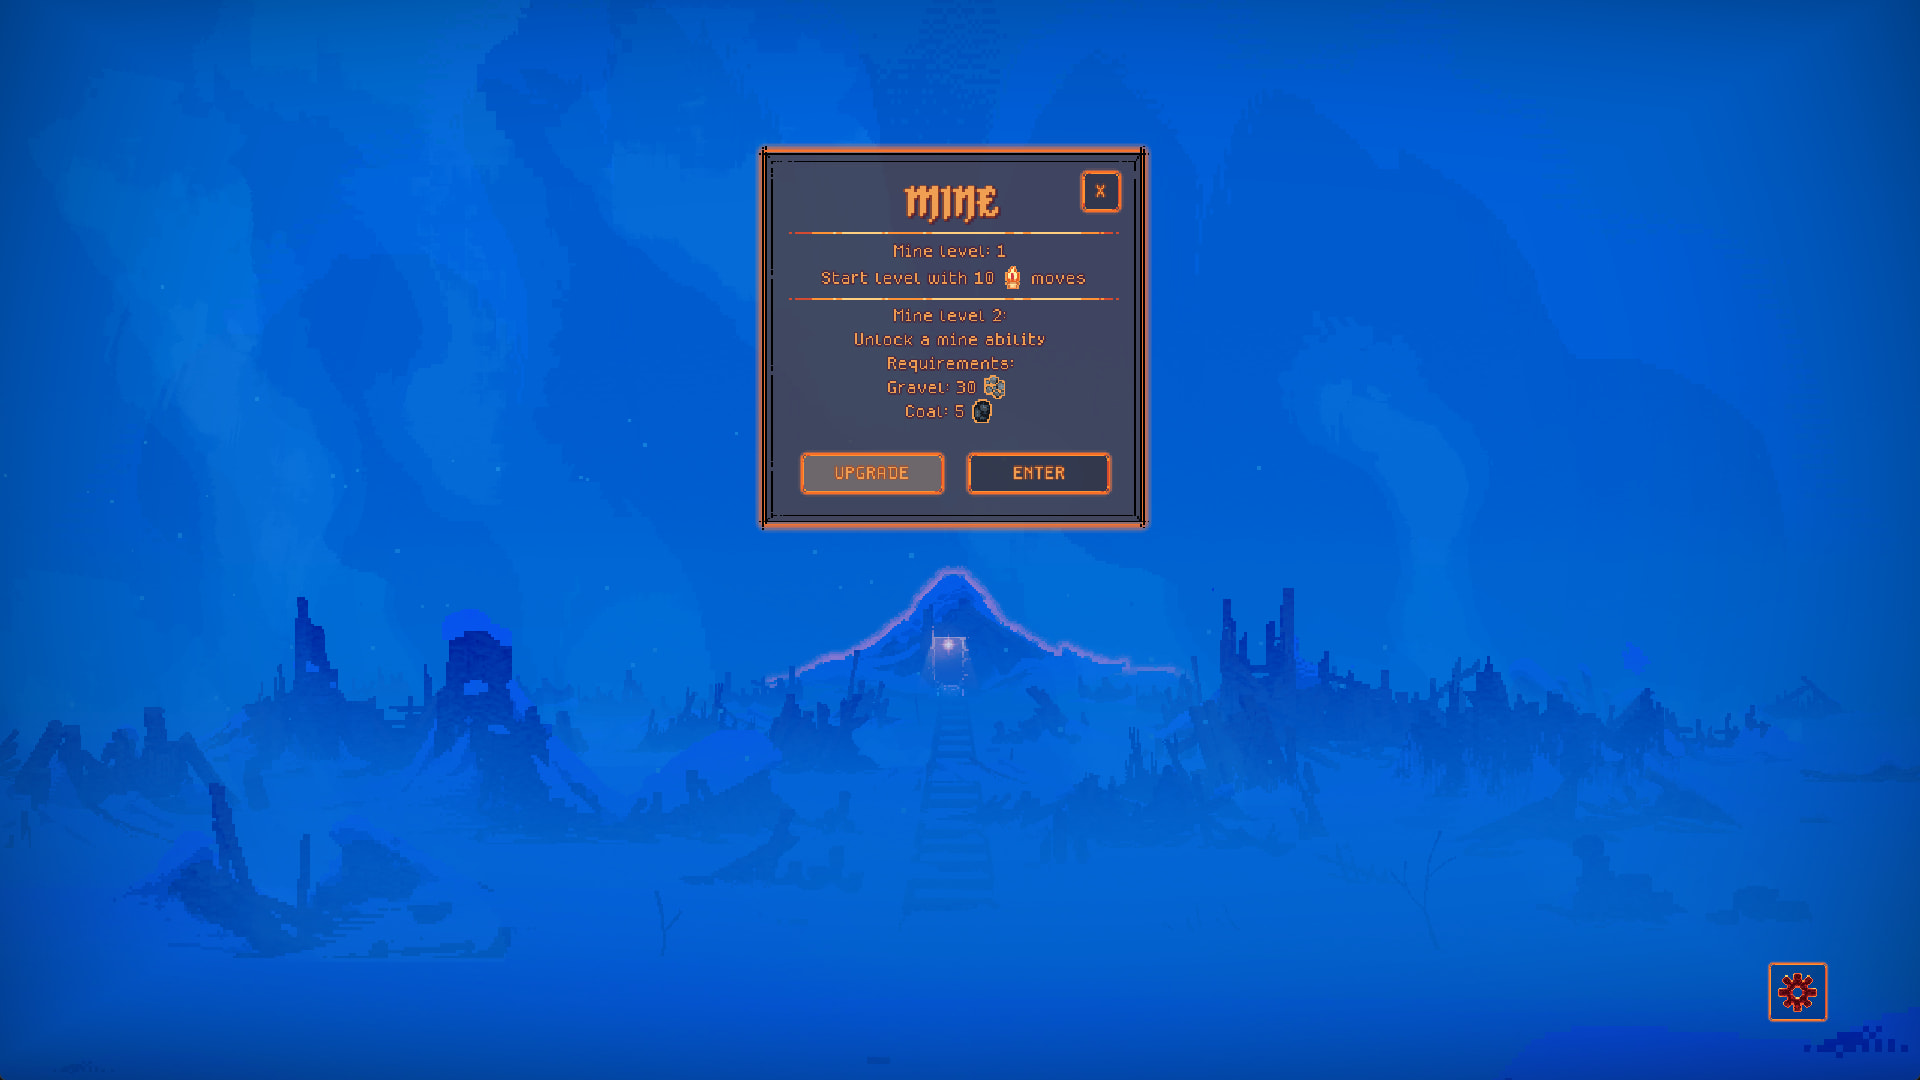
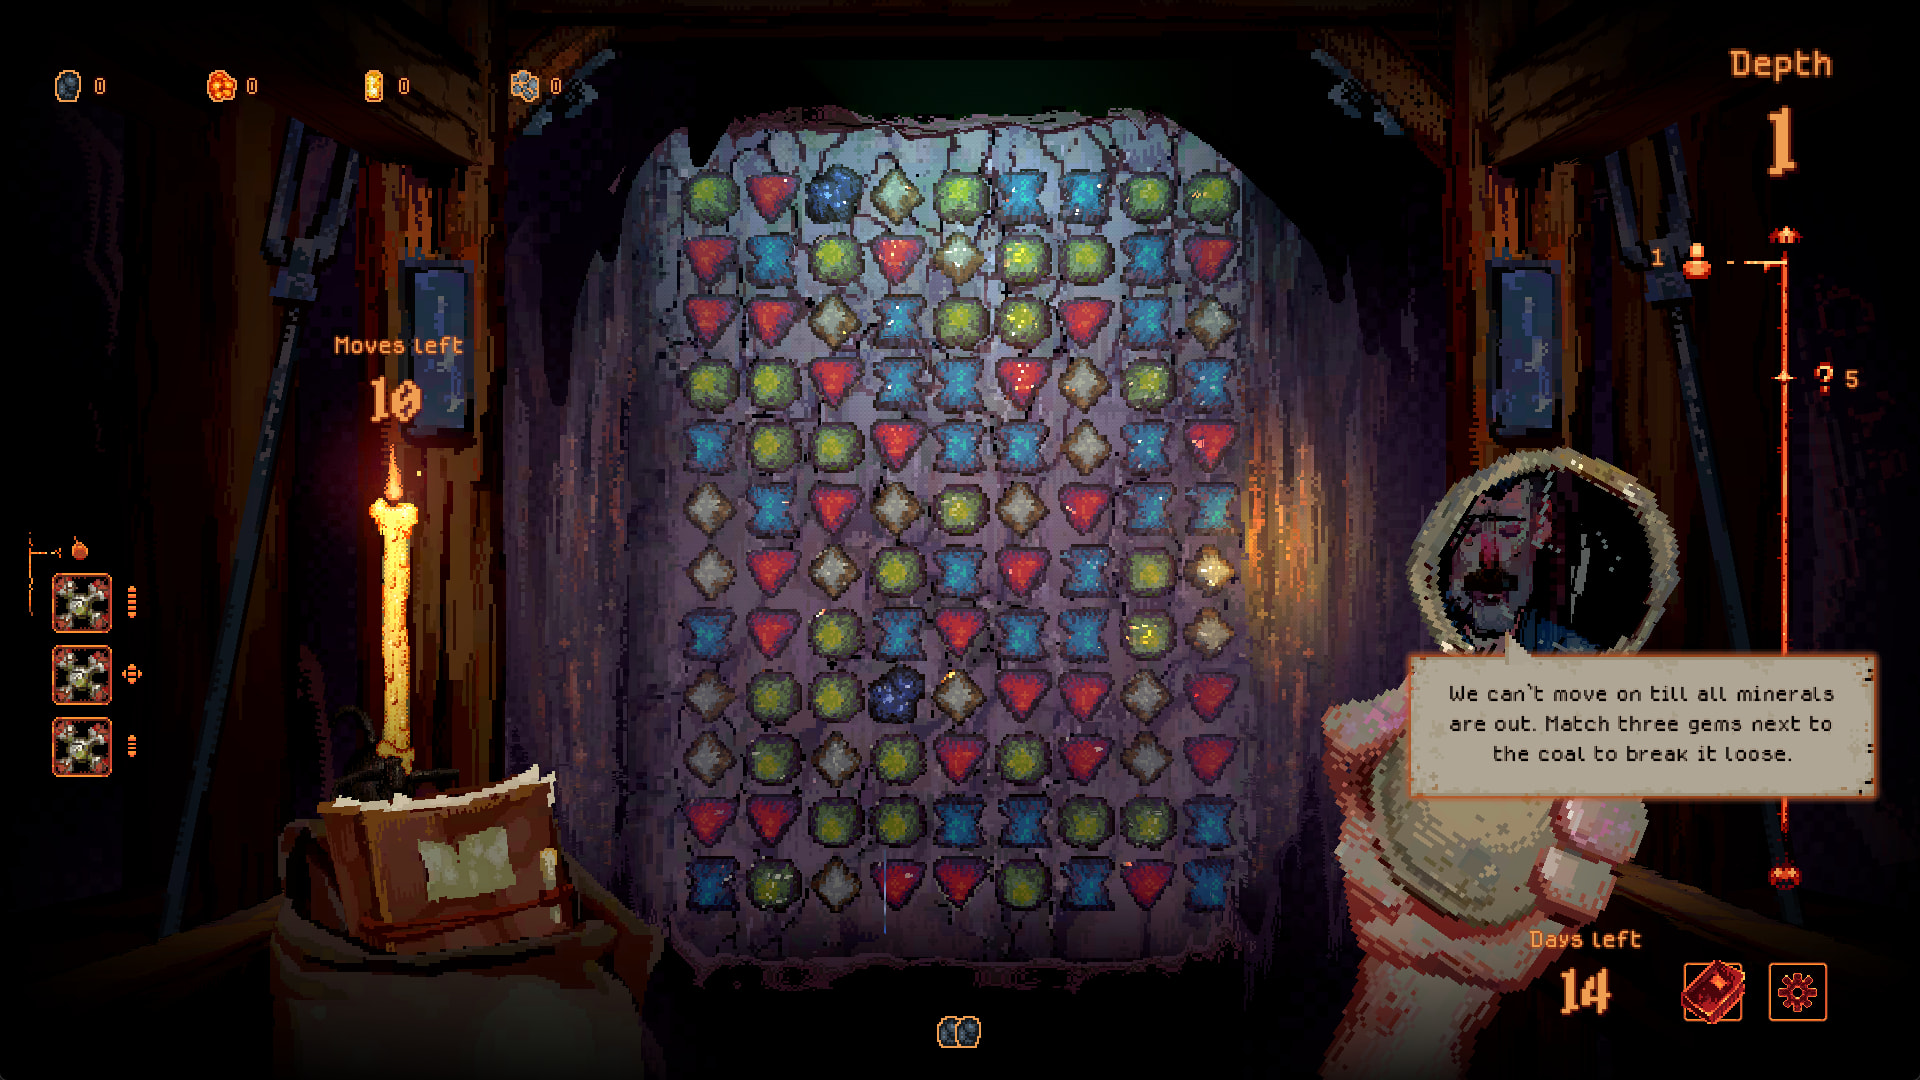
Basalt is a roguelite match-3 game, currently in an early phase, but still it’s fully playable. In the game you match gems to dig deeper into the dark depths of this abandoned mine. The inhabitants of the old mining town strongly advices you to not dig too deep, but without explaining why. Well, there’s only one way to figure out.

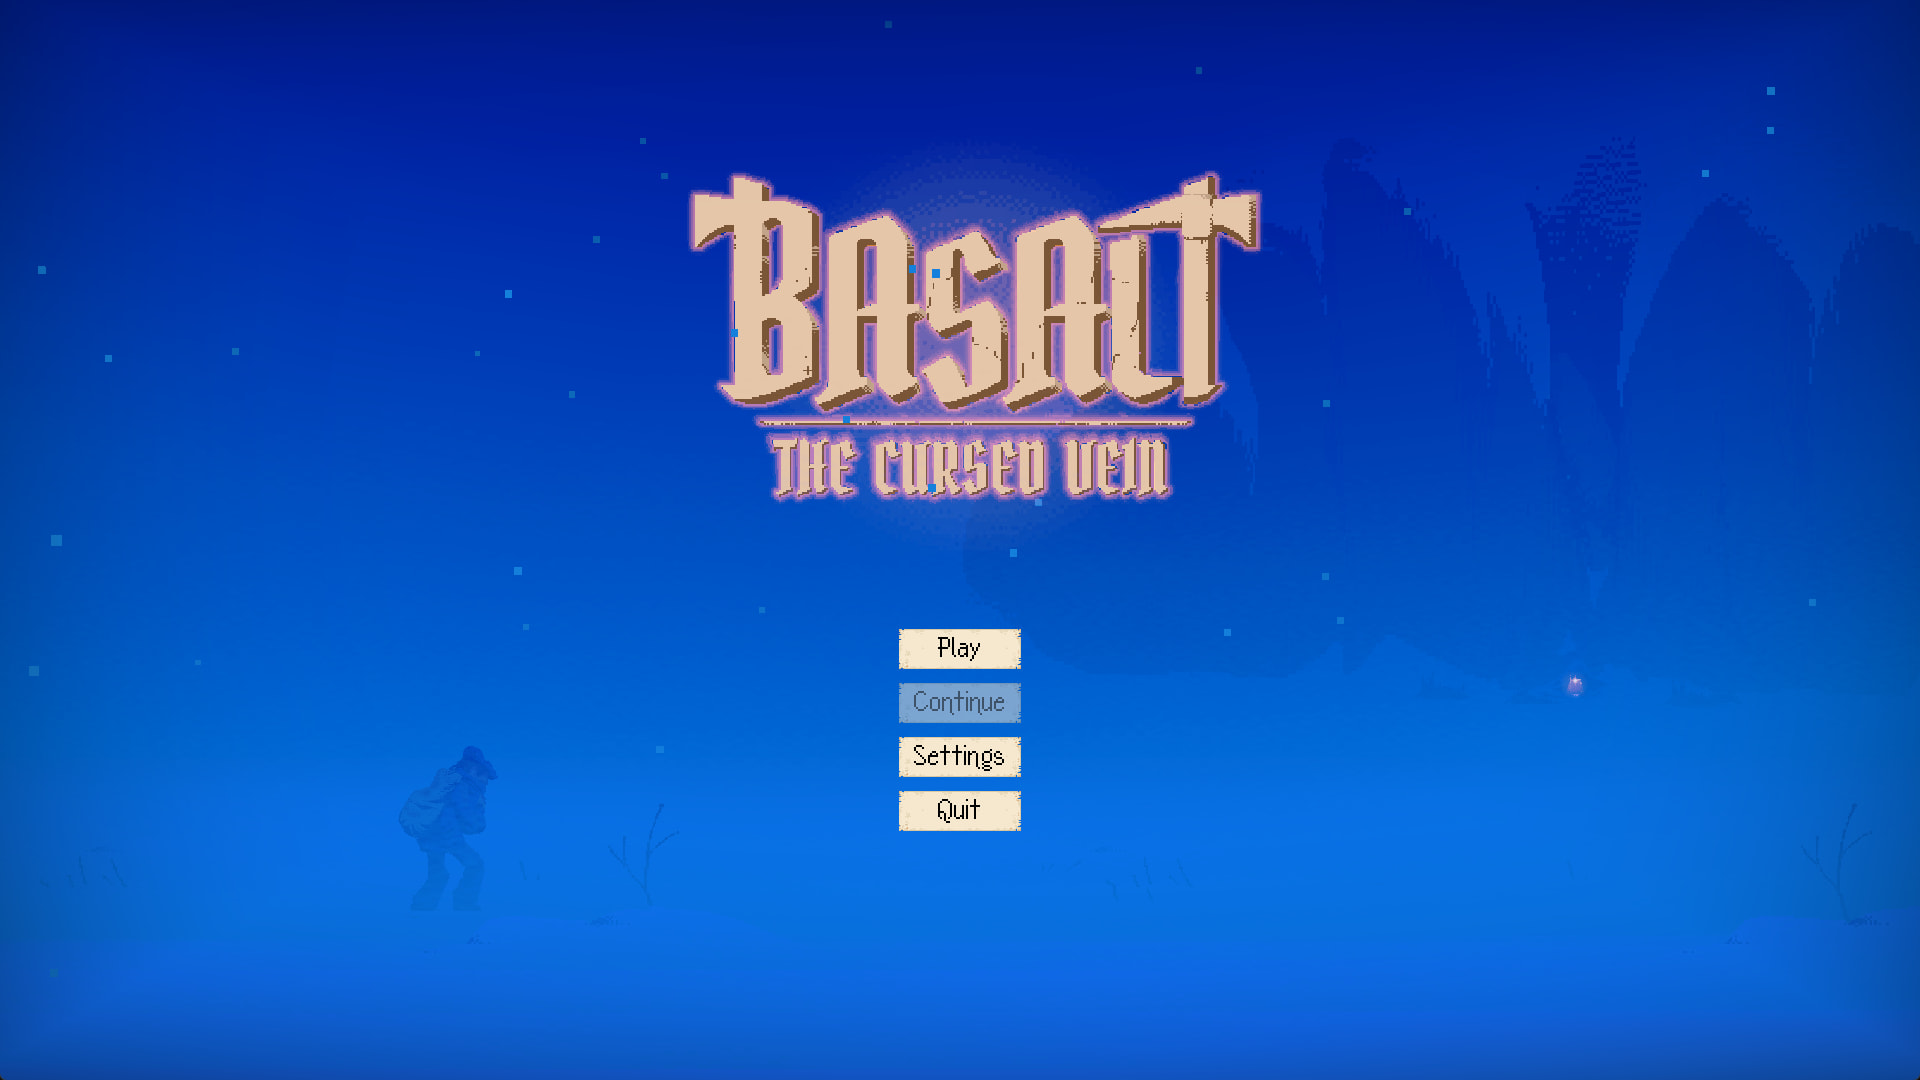
The announcement trailer

About the project

This project is a co-production between two companies, Games People Play and Rubarb. We are both located in Oslo, Norway (Scandinavia), and we’ve known each other for quite some time. Jack, from Games People Play, approached us with a game idea he had been working on. It looked like a prototype, it had some bugs here and there, but we immediately saw the appeal.


I’m sure you see the appeal, too. :smiley:

Together we wrote an application for a development grant from the Norwegian Film Institute, which has a fund for video games. In June 2025, we got about $50.000 NOK to start developing.

The actual work started in late August, beginning of September. In late November, we had squashed the last breaking bug in the matching and gem-dropping system, and the game reached a new level of stability. Since then, we haven’t had another breaking bug.

The team

Jack (Games People Play)
Jack is the game director and is responsible for the game design. He also does the heavy lifting of financing and pitching.

Simon (Rubarb)
Art director, animator, designer, shader artist and programmer. Everything in the game that you can see, was made by Simon.

Dan (Rubarb)
Audio director, and responsible for all the music and every little piece of sound effect and ambience. Dan has the ability to create complete soundscapes that go perfectly together to create just the right mood.

Thomas (Rubarb) (This is me)
Technical director. I write code and make things work. I create systems that allows Jack to implement new content and mechanics in a safe way, but without limiting his creativity too much. I care about stability and performance.

Cooperation

Simon is a man of many talents, and one of them is the ability to write code, very fast. Not to be disrespectful of his code, but it doesn’t always reach the level of quality needed for a public release, which is fine. Early in the project, we realized that his speed could complement Thomas’ lack of. If Thomas were to write all of the code, we wouldn’t have come as far as we have.

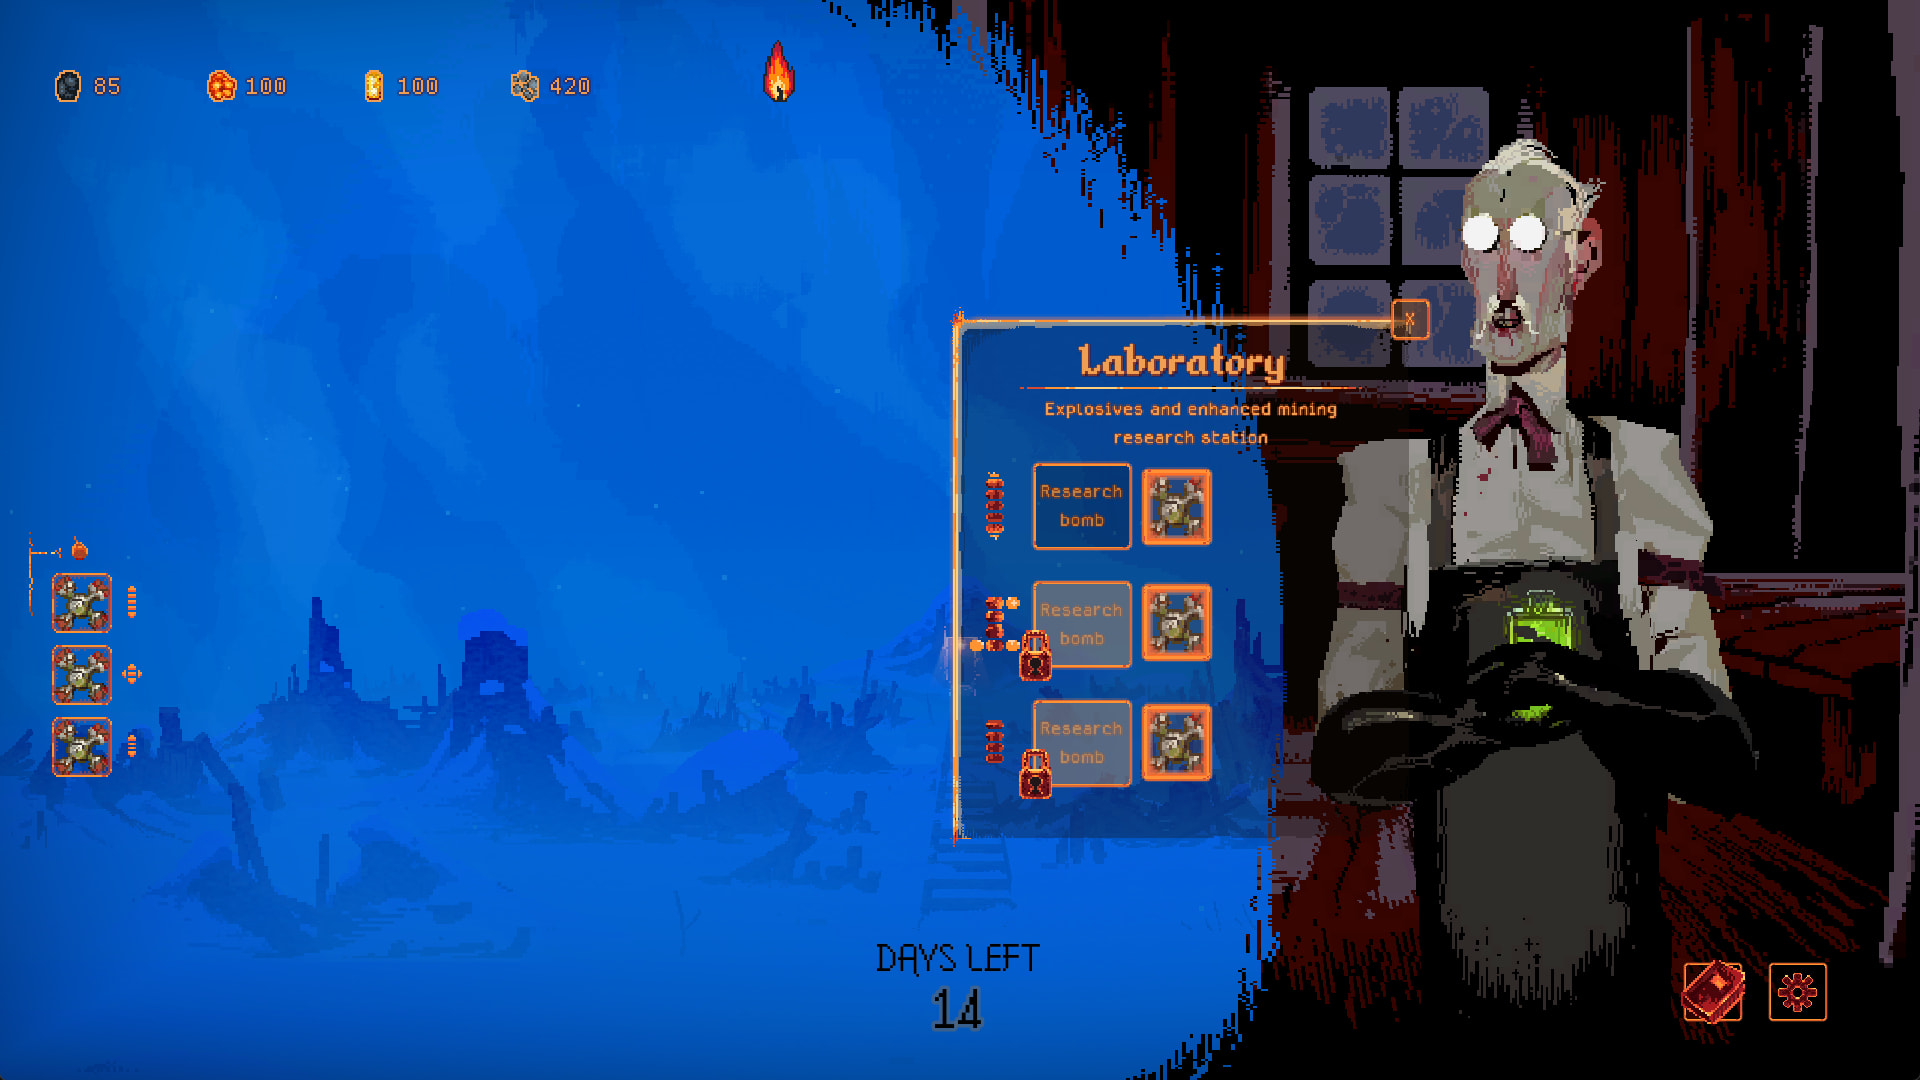
To take advantage of Simon’s coding abilities, we decided that he could prototype and hack together mechanics based on input from Jack. Together they would try new things and figure out how things are supposed to work. Later, Thomas starts rebuilding the code to be more stable and scalable. Once he’s done, Jack comes in and pushes the systems to its limits. :slight_smile:

As the technical director, I had to accept that the code base consists of shippable code and prototype-based code, and that over time the prototype code will eventually become shippable. As we like to put it, Thomas creates the dinner table and each of the plates, and the others are allowed to add as much spaghetti to the plates as they like, as long as it doesn’t spill over. This way of collaborating has turned out to be very effective for us.
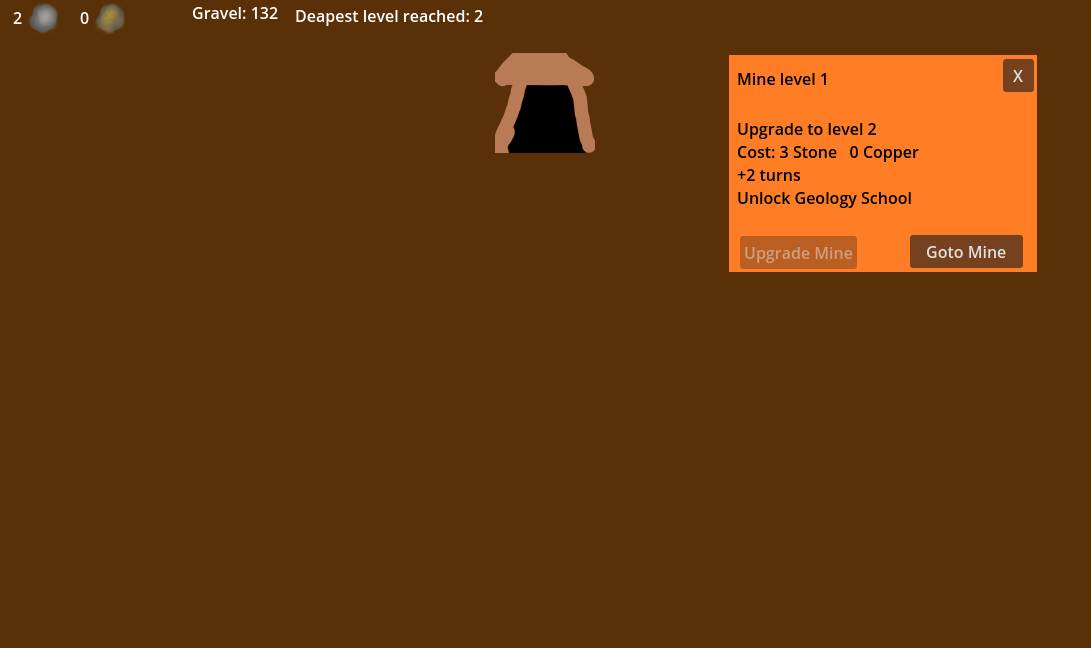
The game today

Basalt has changed quite a bit from Jack’s prototype, but the core of it is still there. As mentioned, we are still in early development so things might change.
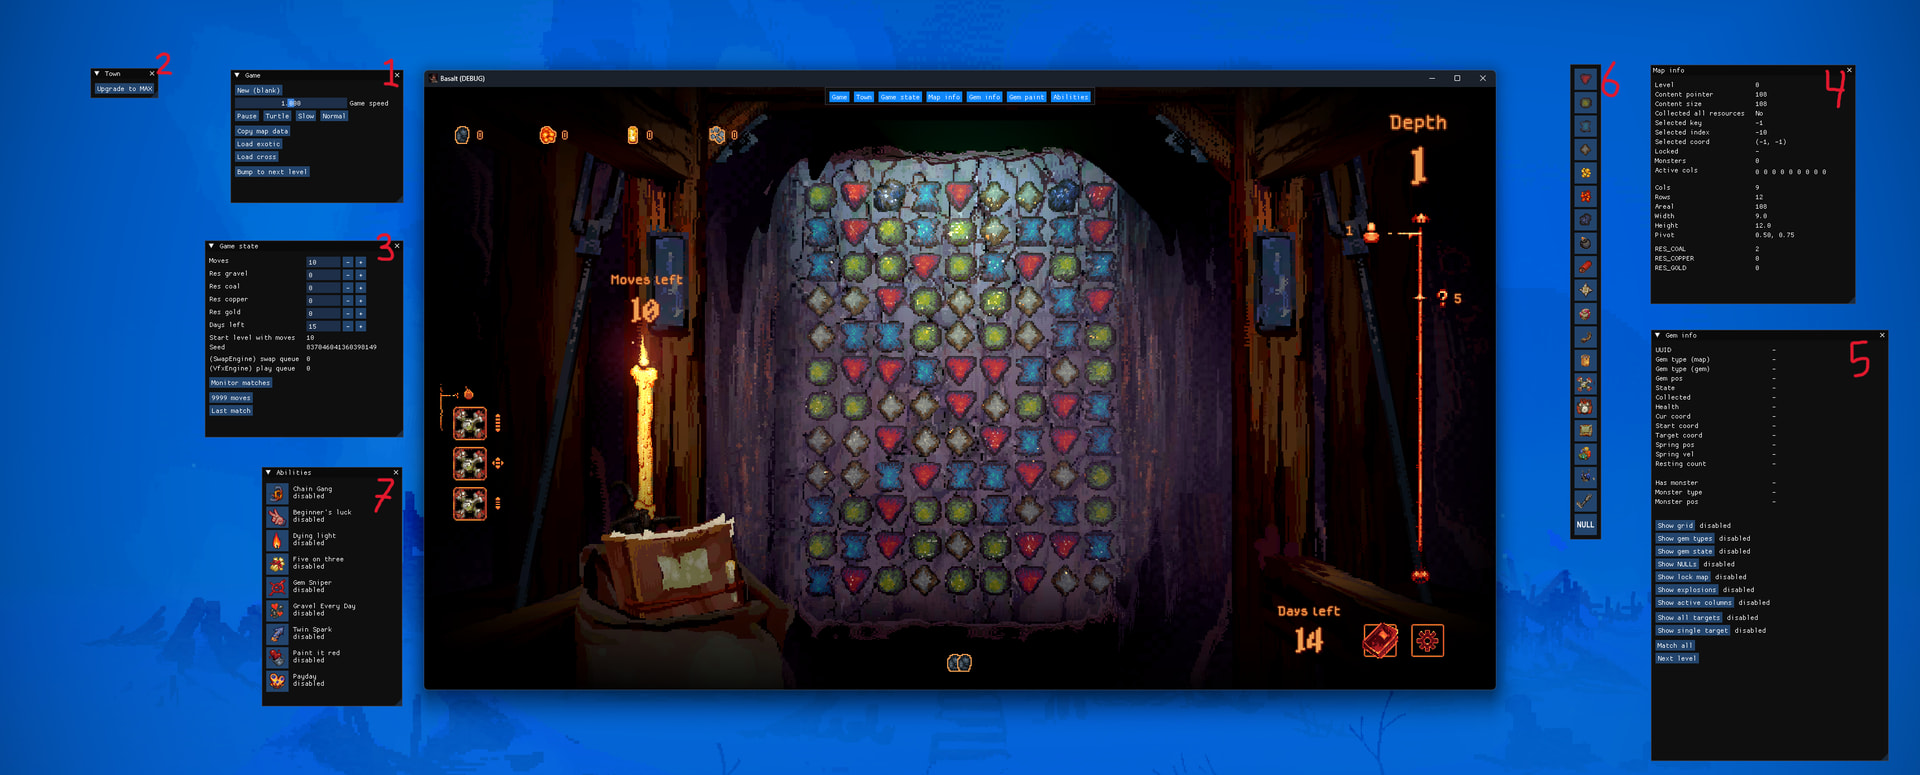


About this devlog

Needless to say, this game is being developed in Godot. We are on version 4.5, and we usually upgrade the engine to the latest stable release. I would like to use this devlog to write about technical aspects of the project. I’ve written devlogs before, and it’s always been a very good experience. I get to clear my thoughts and put words to my experience, and sometimes others find my writings useful or inspiring.

I have started drafting posts about

  • The system architecture. How the game is built, what parts it consists of and how they communicate with each other.
  • Editor tools. My experience with different types of editor tools, and how to make them, and why we have made ours the way we did.
  • Build and distribution system. The process of building different versions of the game, with different sets of features, for different platforms.
  • Coding in C++. How I setup the project for building GDExtensions, how I debug them and the workflow for implementing the extensions in the game project.

I hope this will be of interest to some. Stay tuned for the next post. :slight_smile:

– Thomas

3 Likes

Editor tools

The need for tools came very early. We needed to decide how to implement them.

As with any other engine, Godot can be extended with custom tools. I’ve gone that route many times before, in Unity and other engines. I’ve never been too happy about them. They can be hard to find. Some are accessible via system menu’s and others are tied to resources. Depending on the engine, they can also be hard to make (looking at you, Unity and UIToolkit). Most of the tools end up being useful only when the game is not running. The tools are tied to the game engine, making them less portable.

For Basalt, I wanted tools that satisfied the following criterias:

  • Super easy to make and adapt
  • Live inside the game
  • Easy to use

By using Dear Imgui, via the godot-imgui addon, I was able to satisfy all criterias. Immediate mode UI is simple and effective to use, and is fully authored from code. It demands very little code, making the tools easy to adapt to changes in the game. All the tools live inside the game, making them ideal for both editing the game state and changing data and settings. We store entity data and settings in text files, using the TOML format. And lastly, the tools are very easy to use, from a user’s perspective.

The tools

When all the tools are opened, they look like this.

1: Game

This one is useful for making changes to the game, such as the game speed, loading save points, advancing to the next level.

2: Town

This only works when the player is in town, and over time it will be expanded with more tools for adjusting the town’s state. For now, we only have one button that fully upgrades the town.

3: Game state

This is one of the most used tools. It allows us to, in real-time, change the number of moves left, how many resources have been collected, etc. It also displays info such as the random seed used.

4: Map info

Map info is a read only window that shows all the info a map has. What level it represents, values related to content generation, size of map, currently total number of ore on the map, etc. It’s only used for verifying that the information is correct.

5: Gem info

Shows all the information we have on a single gem. When we move the mouse cursor over a game, this window gets populated with lots of info. This type of info allows us to quickly understand the game state and what is going on. There are also a few buttons that toggles extra info rendered on top of the gems. We can toggle the grid, show colored dots that represents the type of gem, which coordinates are not occupied by any gem, which gems are locked, etc.

To have all of this information rendered over the game is very handy when recording gameplay. When debugging the matching and gem-dropping system, I recorded videos of the game, with all the necessary overlays. In the video, I could move forward and backwards, one frame at a time to inspect the way the game state changed. I have unearthed lots of little bugs this way.

6: Gem painter

This is by far the most useful and fun to use tool. It allows us to paint new gems onto the map. We click on the gem we want to paint with, and the tool hijacks the input system, routing input to itself instead of the swapping system. The Gem painter makes it trivial to set up test cases that are hard to get through play.

7: Abilities

This one hooks up to the abilities system, and allows us to enable and disable abilities. With this we can bypass all of the requirements for acquiring the abilities, and any randomness in the selection of which abilities the player gets. Makes it quick and easy to test specific abilities.

Setup

As mentioned, I use the godot-imgui addon. But, I had to make a change to it, so that it wouldn’t register as an autoload. I want the freedom to choose which builds to include the addon in. I’m ok with including it in a debug build for internal testing, but not in the final release. For that to work, I had to manually import it when I need it instead of using it as an autoload. It is possible to exclude an addon in the export settings, but I ran into troubles when that addon also registered as an autoload. Godot didn’t manage to remove the autoload even though I chose to not include the addon.

To make it easier to remove all of the dev tools in release builds, I put them all in the same scene and load the dev-tools scene only in debug builds. Since I exclude the entire folder of dev-tools from release build, I could not leave a reference to the dev-tools scene in the bootstrapper. Therefore, I opted to use a config file with a list of the scenes to load on startup. Switching between debug and release build is only a matter of adding or removing the dev-tools scene from the boot.ini file. Simple and easy to maintain, and the dev-tools leaves not a single trace in release build.

About leaving no trace, I made the tools such that they get a reference to the game classes when the game is ready. That way they can read the game state, hook up to any signal they might need, and they can write to the game state. In the game code, there is not a single reference to any dev tools. The dev tools inspects and manipulates the game, without the game knowing.

4 Likes