Dynamic pixel art skin

I’ve been working on a system to have a dynamic skin for the player character in my 2D top-down pixel art game. This would allow me to have hundreds of armor pieces, without needing to draw the hundreds of thousands of animations to accommodate for all the possible armor combinations. After getting the basic UV mapping done (link to forum post below), I finally have a working skin swapper. There are three basic components: a sprite sheet, a skin map, and a skin index.

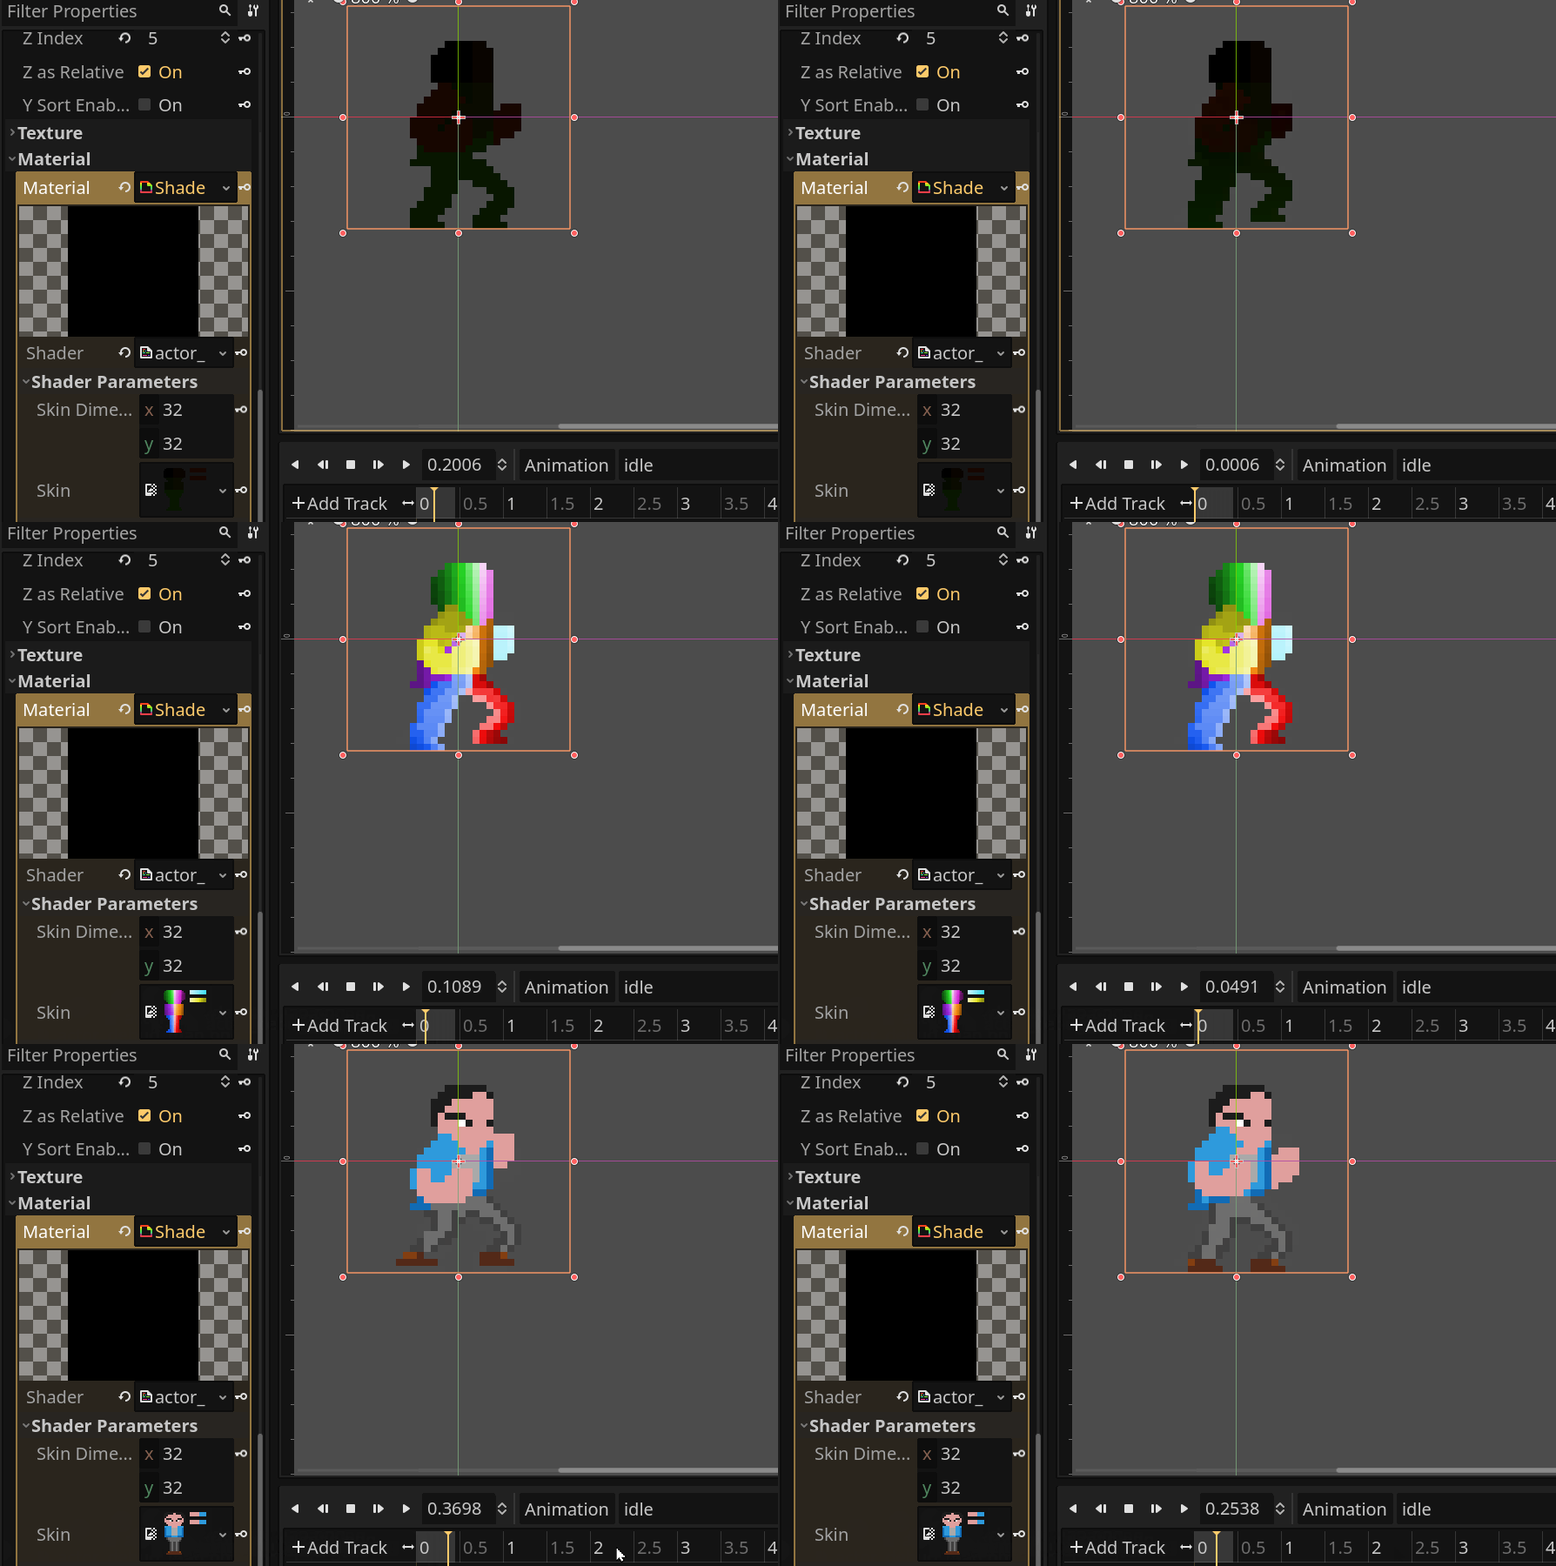
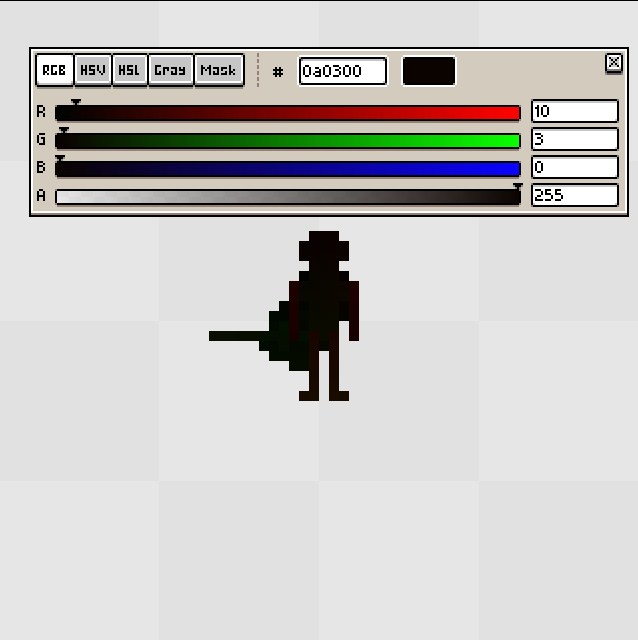
The player sprite sheet, whose pixels act as coordinates is used as the sprite2D and has the shader from my previous post assigned to it. In my previous post I used the player character’s nose pixel as the example, so I will do that again. The player’s nose always has rgba values of (10, 3, 0, 255).

Above is an example of the sprite sheet for the first frame of the forward idle animation, if you look closely, you can see that each pixel has a slightly different color. These colors are based on the the UV coordinates of each pixel of the player_skin_map. For the example of the nose, the pixel that represents the nose is 10 pixels to the left and 3 pixels down (give that the top left pixel is (0, 0)). Here is the base player_skin_map:

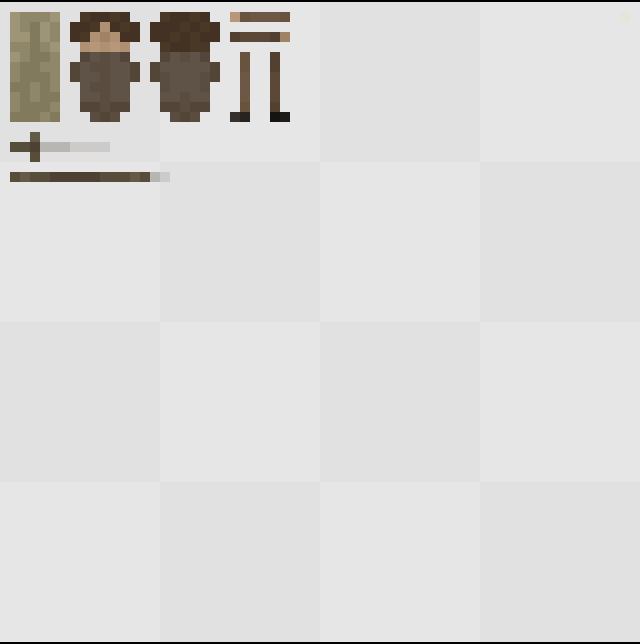
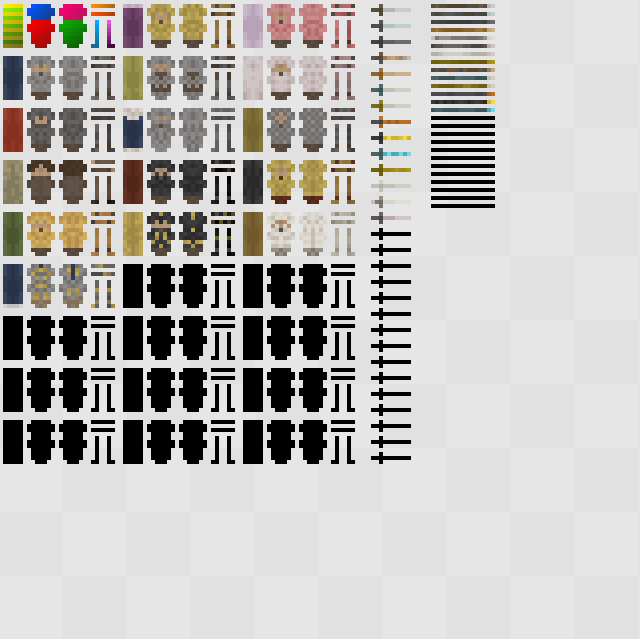
The last component, the skin index, is just a collection of textures I can assign to the player_skin_map in order to change the player’s appearance. This, from a development standpoint, makes it really easy to change the look of armor sets and weapons. I just have to update this texture:

My system for applying textures from the ‘skin index’ to the ‘skin map’ just involves collecting rect2 values from the index and setting them on rect2 values of an ImageTexture of the ‘skin map’. Each armor piece has its rect2 stored in a skin database script and each armor location on the skin map also has its rect2 values stored.

Here’s a clip of it all working. I think this is a really cool system, so I’d thought I’d share it in case someone else wants to use similar techniques.
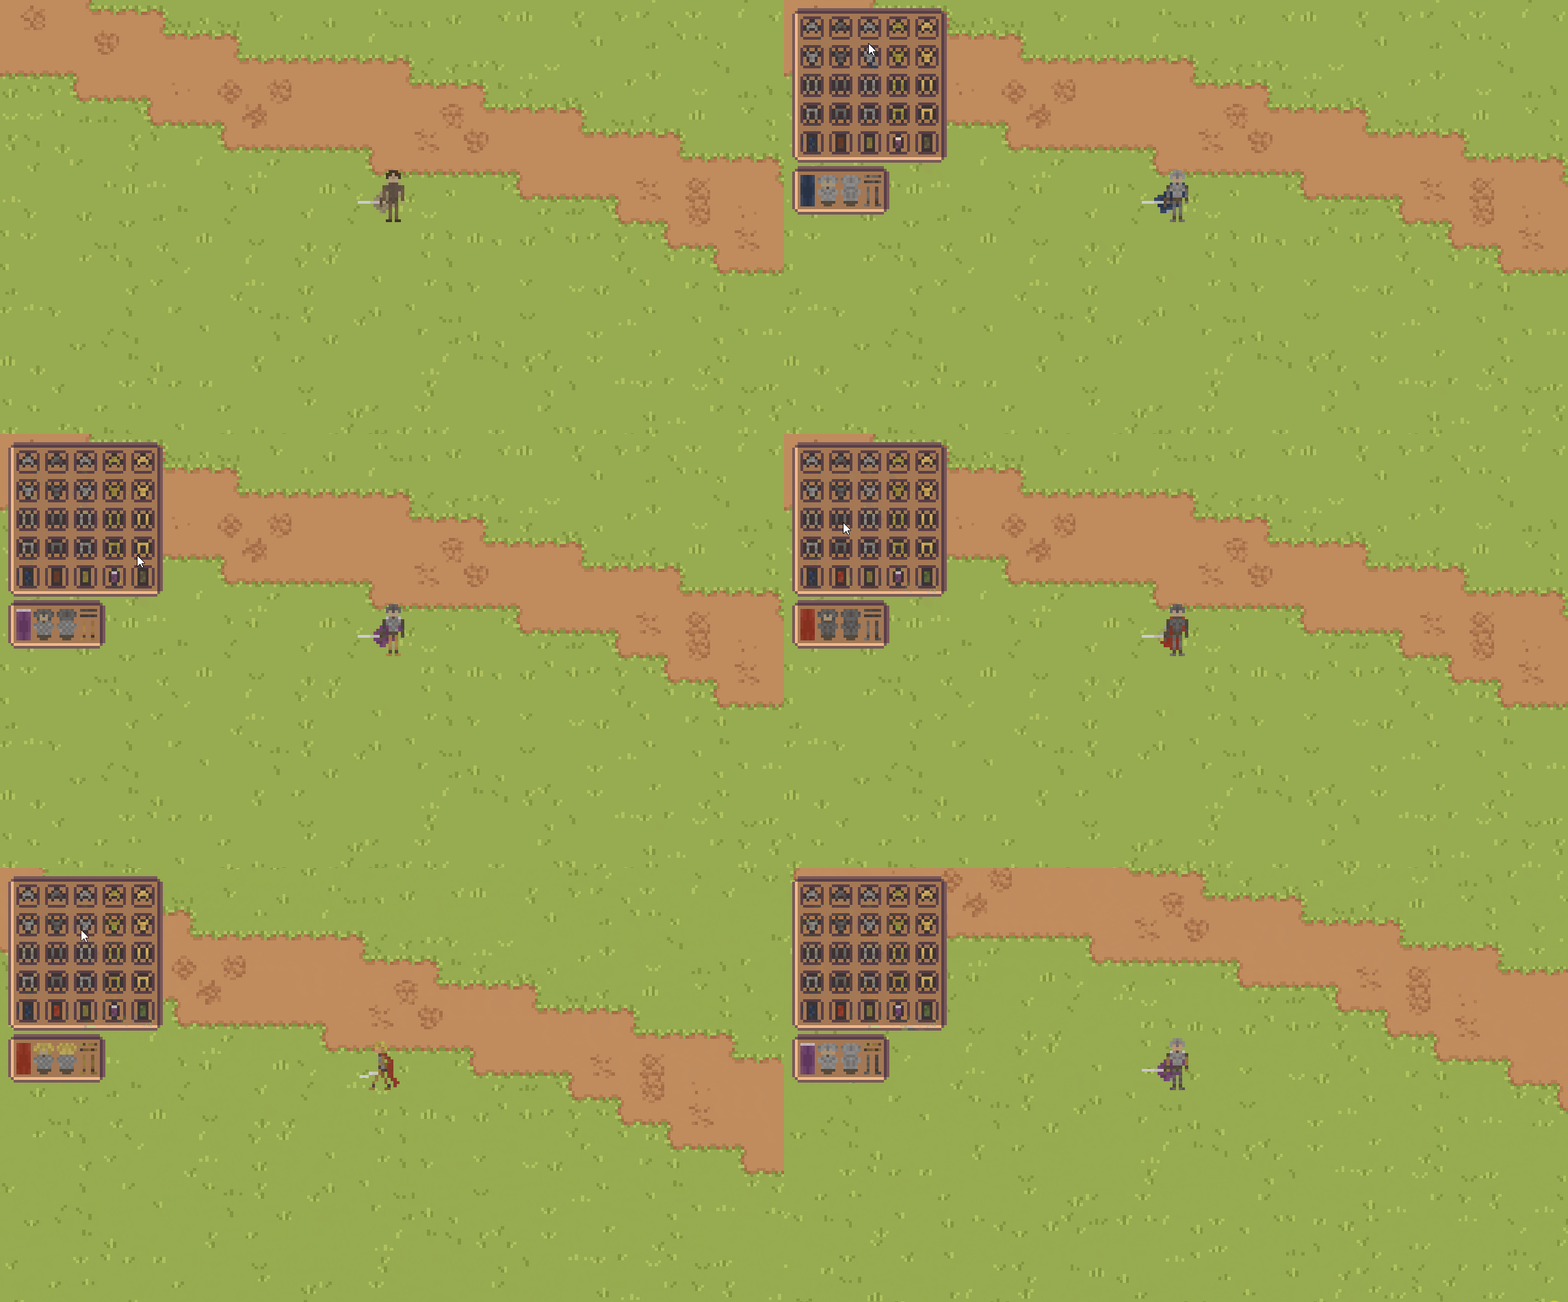
skin-switching-showcase1

If there is a lot of interest, I can go more into detail about all the scripts I have for this system. But I’m sure most other people could do it better than me honestly, because I’m still pretty new to coding and gamedev.

Original post:
14 Likes

I also recently started to dig on Pixel art animation approach as well. Thank you. It gives a lot of help for my confusion on Aartificial’s video

1 Like

pardon for my confusion. i still have certain confusion.
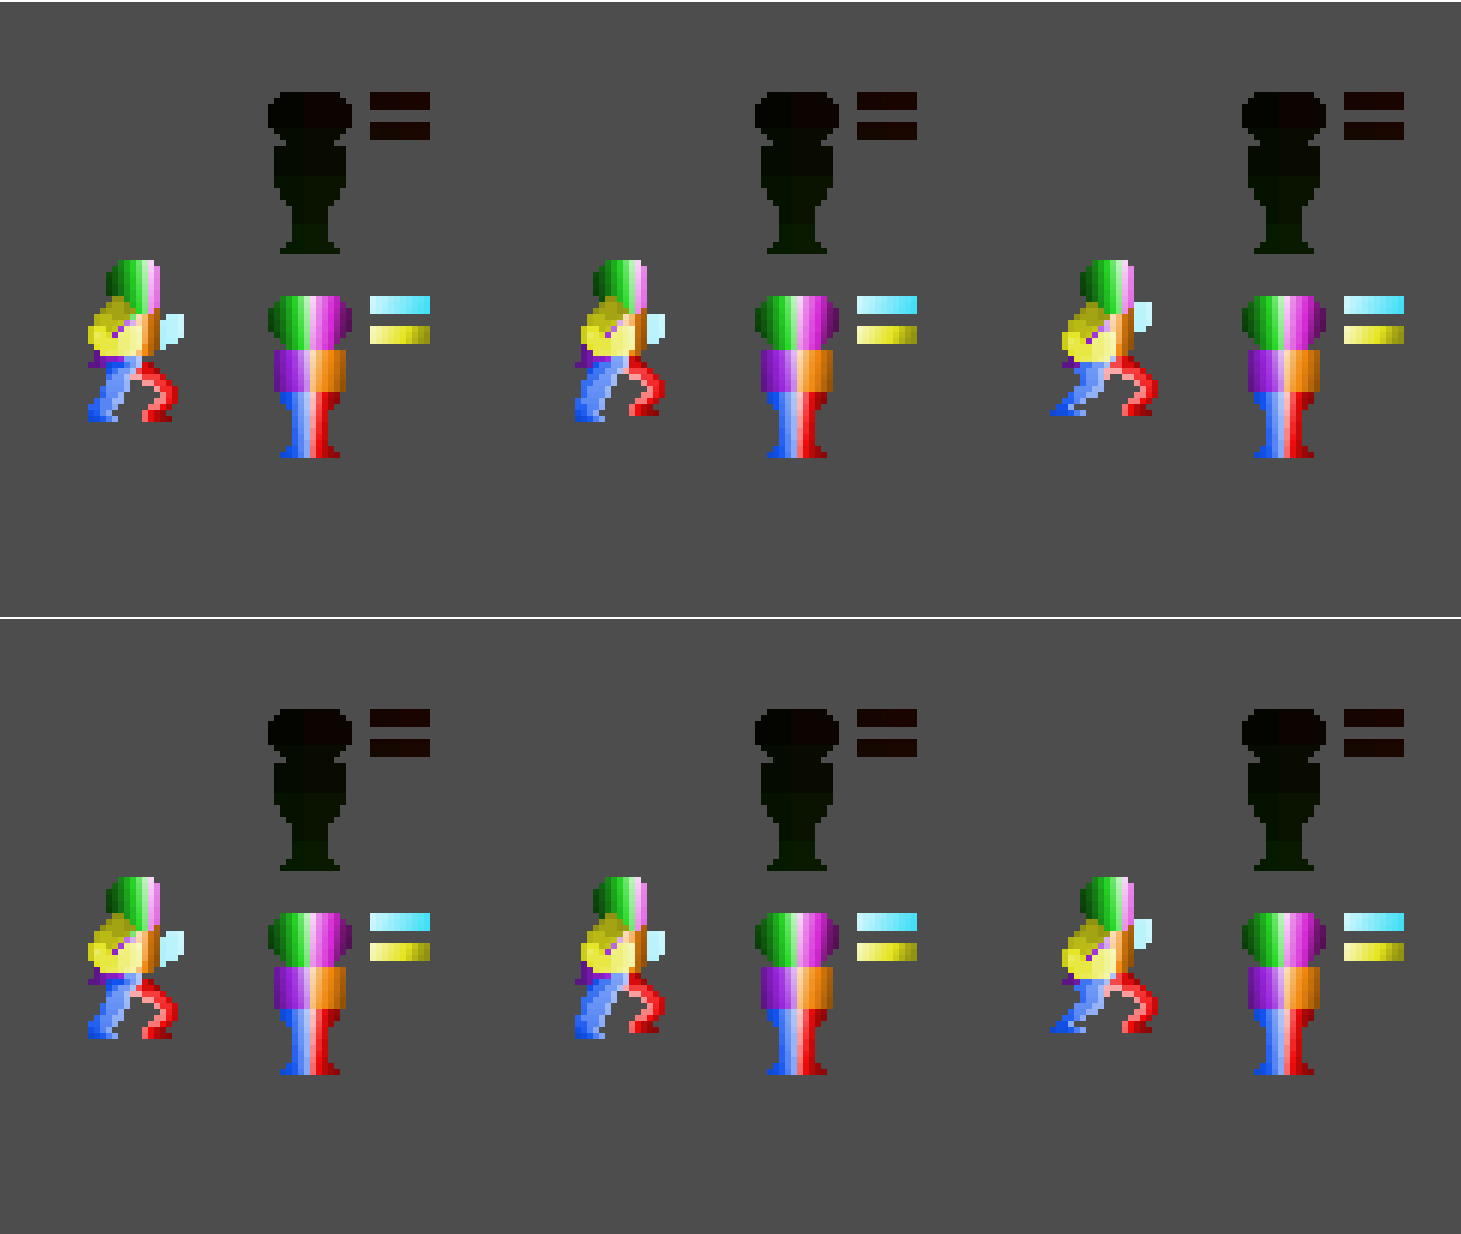
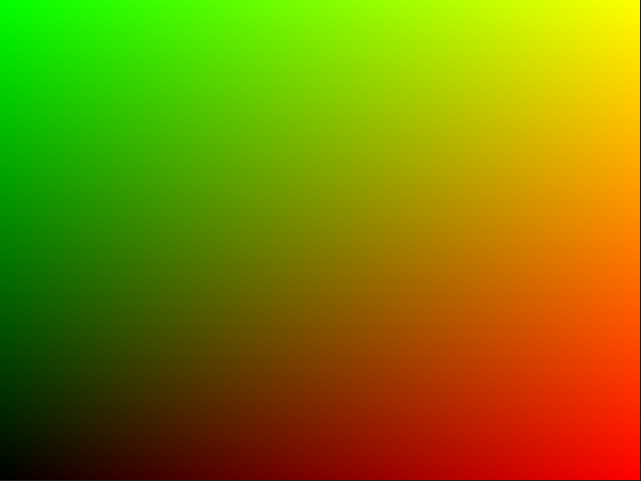
when i read your post or watch Aaritificial video, i still get massive confusion as “if i use r,b as UV, then why we need this map as below? which one first? black-ish UV map? or gradient map? then how do i create gradient map effectively?”.

(that gradient map is below)

why need this mapping

my words is not criticism about you nor that reference video. sadly, it is that i still unable to grasp certain aspect of this technique. at same time, i been using Aseprite as traditional animation approach, not 2d dynamic pixel mapping. uhmmm could you help me on this?

p.s. i am more familiar with scripting features in game dev, not graphic related. pardon for my question.

1 Like

Happy to help! That colorful skin map is actually what i use when I am making the animations. It is easier to make animations with those differently colored body parts than it is to make them with the actual final UV colors, because the final UV colors essentially all end up being different shades of black.

My work flow is:

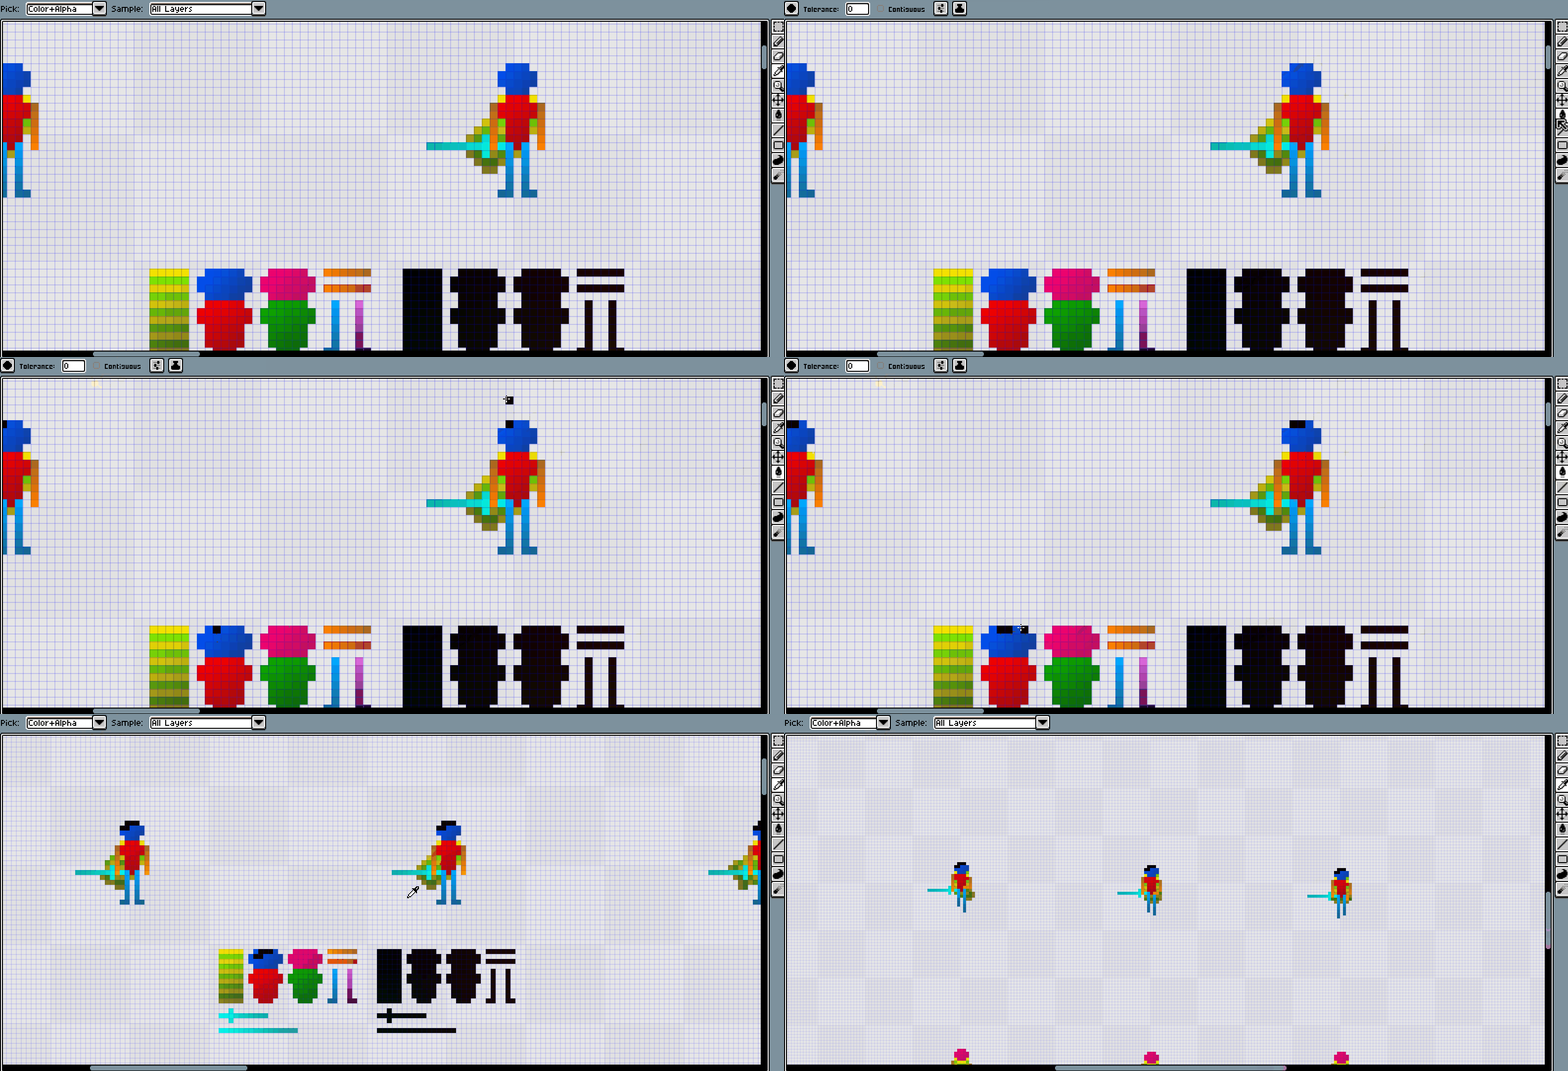
  1. Design the animations using the pixels from the colorful skin map
  2. Make a copy of the colorful animation sheet
  3. On the copy I place a two temporary skin maps, one that is the colorful one and one that is the final UV colors
  4. Finally I just color pick each pixel from the final UV skin map and use the bucket tool on its corresponding pixel from the colorful UV skin map (make sure continuous is unchecked with your bucket tool)

The result is your sprite sheet will now have each animation frame populated by the final UV pixels and you can delete the two temporary skin maps.

Let me know if you still have any confusion and I can post a GIF of my workflow.

I went ahead and recorded this short example. To clarify, the super colorful skin (I call it my debug skin) is really only used to make these initial sprite sheets. They function as an easier way to put together sprite sheets compared to working with the all-black UV pixels.

Theoretically you could use one of your actual skin maps to make the sprite sheet, but then you can’t use this color picker/paint bucket method.

pixel-art-work-flow

thank you. that reduces a lot of confusions

1 Like

I actually tried doing this a while back, but i could never get the animation to look like how I wanted it. I think I’ll try again since your post has inspired me!

1 Like

Glad I was able to clarify for you!

That’s awesome to hear! Post an update if you get something you are happy with! I’d love to see it!

dynamic_pixel_thanks_Fenwat

it is working. Thank you Fenwat. i will explain later about my work flow and additional details/issue. i need break…

dynamic_pixel_first_clothe

based on this rough test, i can see how should i approach/add own flavour for my project. along with your shader code.

4 Likes

I’m glad you got it working! Looking good!

1 Like

thanks to your shader code and your reply, i managed to reach this understanding. thank you

1 Like

omg! It’s nice work! I’m surprised it took a few lines of code to make. I wish I found this post sooner before I tried to recreate it myself. I spent a whole day doing it :rofl: .
If anyone tries to use 2 images 1 UV 1 Texture here is a source code: GitHub - duonghugama/Godot4.2PixelSkin

1 Like

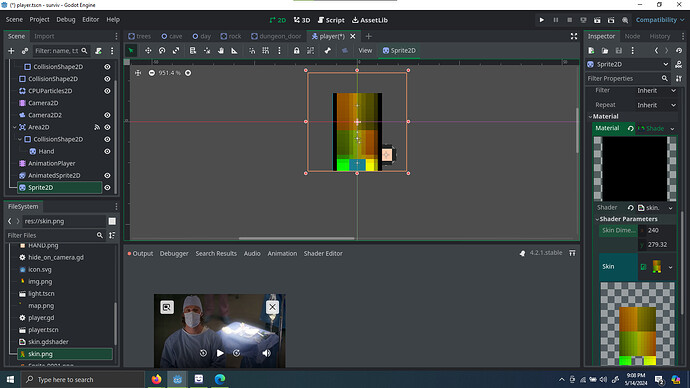
he sorry but can you help me pls a have made my animation sprite color b 0 but a dont undrstand way is it not working

1 Like

new acc have limiti acces on photos he my godot screen

1 Like

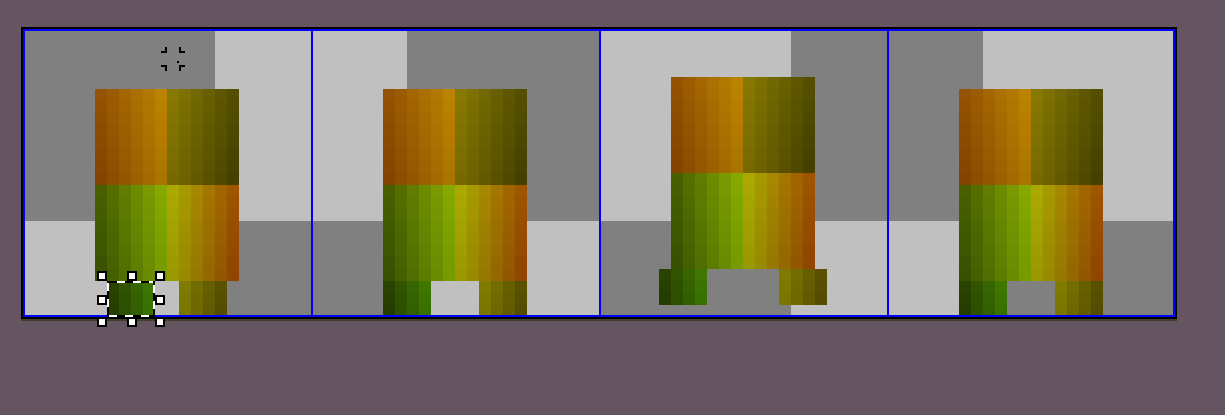
It looks like you’re off to a great start with the sprite sheet! It looks like you might be using this orange and green texture as your sprite sheet, but it needs to use UV coordinates from your skin map as the ‘r’ and ‘g’ values. Here’s how you should be setting up your pixels on your sprite sheet:

  1. On your skin map texture, find the pixel that you expect the shader to place in a certain position on your sprite sheet.
  2. From the top left corner of your skin map texture, count how many pixels left and how many pixels down the pixel is. These will be the ‘r’ and ‘g’ values that should be used in your sprite sheet.

Let’s use the top left corner of your character’s first frame (lets call it target pixel) as an example. I’m going to pretend that on your skin map, the pixel you want placed in the target pixel is located 3 pixels to the left and 2 pixels down. This means in your sprite sheet, your target pixel should have the rgba color value of (3,2,0,255).

I see that you say your account is new, but if you are able to post a picture of your skin map texture, I can try to give a more specific response.

do you mean somthing like this


edit a have a python script to make the B value to be 0

That should work! From what I can tell, the top left corner of the character is 6 pixels over and 2 pixels down. So, on your sprite sheet (the one with the four frames from earlier) try changing the rgba value of the character’s top left pixel to (6, 2, 0, 255).

After that try putting a few different skins(if you have them) into the ‘skin’ parameter of the shader to see if that top left pixel is changing colors to match what you expect.

If that’s working it should be easy to go from there.

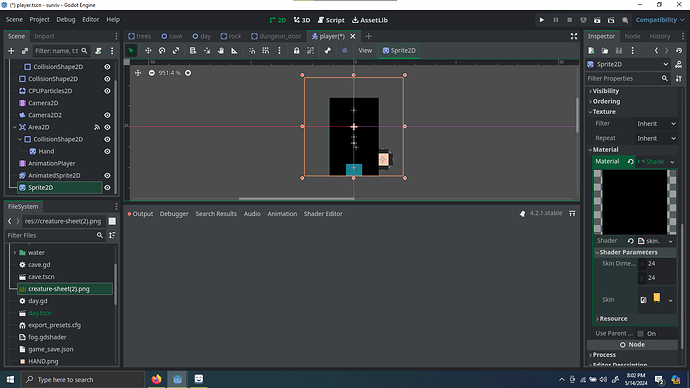
he thank you thery much about helping and is working but wird if a set the size to 24 the skin size it is black but if a do this size it is kind of okay


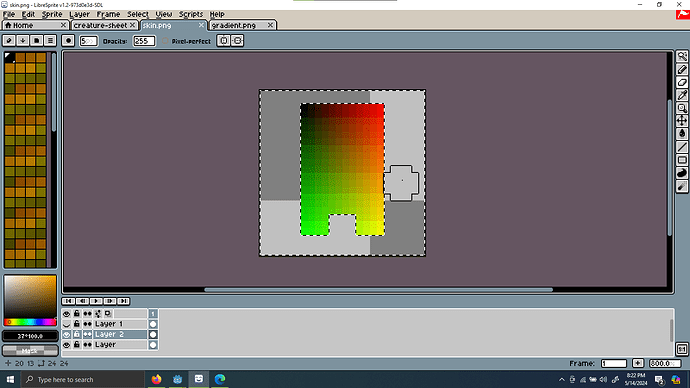
o and this is the uv imgae used in the UV that a used but flipt
gradient