Godot Version at time of creation: 4.3
What this tutorial teaches:
Example Screenshots
This screenshot was taken with godot at it’s default resolution of 1152x648:

And this is how it looks when I upscale it to fullscreen at 2560x1440:
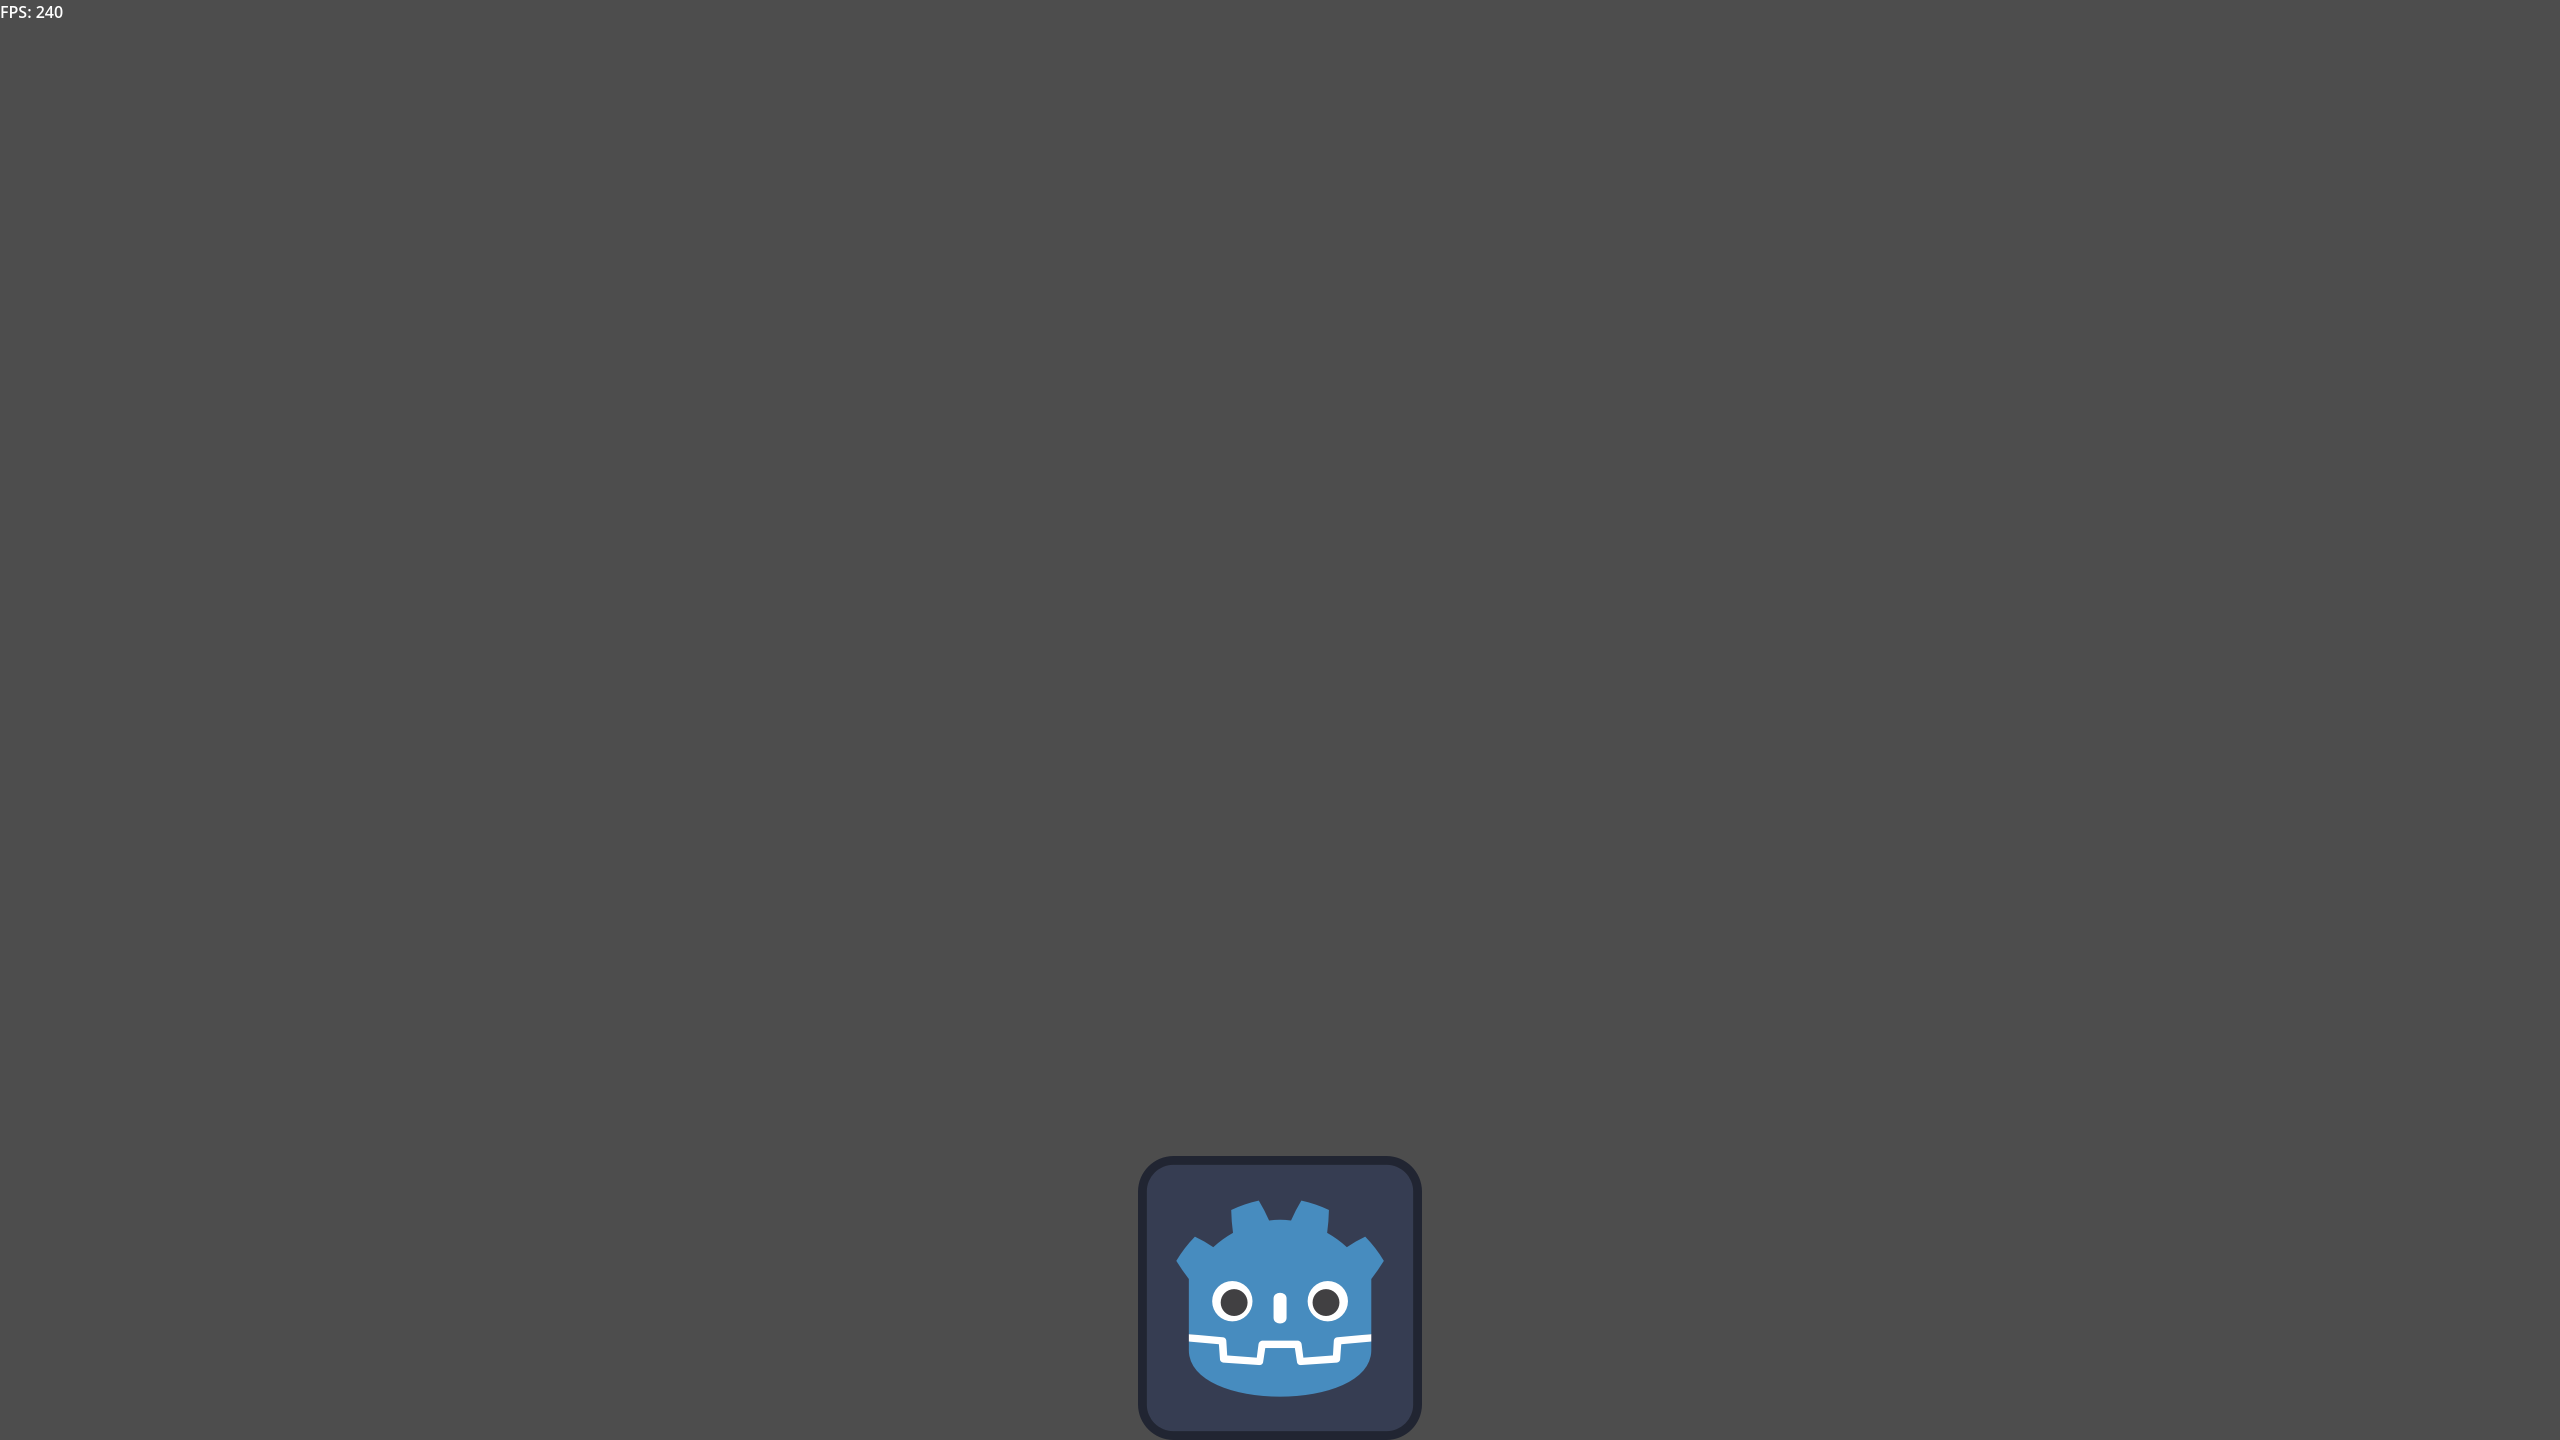
You can tell from the tumbnail that no quality was lost in the upscaling process, and you can verify it by opening the images.
Also in case you just want good scaling and aren’t particularly hung up on vector graphics:
An alternate way to get good scaling quality without SVG
First off, I’d like to point out, that the simplest way to achieve good scaling quality is to set the viewport width and height to the highest resolution you intend to support, and set the stretch mode to canvas_items or viewport.
Settings Example
These settings are NOT compatible with the guide, the Stretching mode must be set to disabled if you want the results I got in this guide.

This way anything below that maximum resolution is downscaled, there is some loss of quality when you downscale but it is negligible compared to the quality loss you get from upscaling.
You can further enhance the scaling by tweaking your scaler (it’s called interpolator in godot, Lanczos is generally the best one, however as far as I know there is no global interpolator setting and this must be set on an image by image basis via gdscript)
And now for the guide.
Overview
The most likely common use case for the method in this guide would be for UI icons since it allows you to reliably scale such icons relative to the window size without any loss of quality); but taking it all the way it could potentially be used to create something similar to flash games in Godot.
As everyone probably knows, SVG has infinite scalability, and godot supports this format. However, it only supports this format in the sense that you can import an SVG image, and by doing so you convert that image from Vector Graphics to a Bitmap (rasterized image). You can scale the SVG image upon importing it which will make the resulting bitmap higher resolution, but once it’s imported, it’s scale is set and it will scale the same as any PNG would (making it somewhat meaningless to use SVG in the first place).
This means that normally an SVG image in godot will not be able to leverage any of the actual benefits of the SVG format, it will not have the small filesize of SVGs after importing, and it will also not have the infinite scaleability, it will scale like any other image.
This guide is about working around that issue without using any plugins. You can even leverage the smaller filesize benefit of SVG by doing things this way, but the images will be the same size on your memory as they would be if you were using a PNG so you will unfortunately not be saving on any RAM by doing this.
The way we can work around the issue is by importing and scaling the SVG at runtime, so that we can update it’s scaling as needed also at runtime.
Scene Setup
First off you need to create a 2D scene, and add a sprite and camera2d nodes.

You don’t really need to do anything special to any of them, for the Node2D I like to center it (assumes your viewport size is godot default):
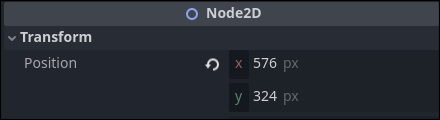
the Camera2D position must be centered as well (should just be position 0,0) and it’s anchor mode must be Drag Center (this is default).
![]()
The reason we need the Camera2D node with the above setting is to keep the ‘view’ centered whenever the window is scaled. Without this the ‘playable area’ (for lack of a better term) will be anchored to the top-left of the screen when the window is scaled. with the Camera2D node in place however it’ll be anchored to the center of the window instead.
GDScript
Now for the code. (This code is just for one sprite, there is a more advanced version which accounts for multiple sprites in the comments)
For the sprite2d node attach a script:
![]()
And here is my thoroughly commented example script which I used for the example screenshots:
extends Sprite2D

# Configurable Variables
var SVGPath:String = "res://icon.svg" # Path to SVG File to be used
var Scale:float = 1 # Size Multiplier (Increasing this makes the final image bigger)

# Buffer Variables
var DevelopmentResolution:Vector2 # Original resolution (auto-detected on _ready()); typically this is 1152x648
var ActiveResolution:Vector2 # Buffer to store the last resolution used for scaling, it is needed to check whether or not the window size has changed
var SVGBuffer:PackedByteArray # A buffer for storing the SVG
var Bitmap:Image = Image.new() # Bitmap for SVG->Bitmap conversion

func _ready() -> void:
	DevelopmentResolution = get_window().content_scale_size # Detect Original Resolution
	ActiveResolution = get_window().size # Initialize Active Resolution Variable
	SVGBuffer = FileAccess.get_file_as_bytes(SVGPath) # Load SVG to buffer
	update_scale()  # Load SVG and apply initial scaling
	anchor_bottom() # Position the sprite at the bottom of the window.

func _process(delta: float) -> void:
	if Vector2i(ActiveResolution) != get_window().size: # If the window size has changed
		position.x /=ActiveResolution.x / DevelopmentResolution.x # Unscale X Position using the X scaling of the last resolution (needed for the anchor X position scaling logic)
		ActiveResolution = get_window().size # Update Active Resolution
		update_scale() # Rescale SVG
		anchor_bottom() # Update sprite position based on new screen resolution

func update_scale(desired_scale: float = ActiveResolution.y / DevelopmentResolution.y) -> void: # Accepts scale parameter, defaults to scaling based on difference between development resolution and currently active resolution.
	Bitmap.load_svg_from_buffer(SVGBuffer, desired_scale * Scale) # Scale SVG and convert from buffer to bitmap
	texture = ImageTexture.create_from_image(Bitmap) # Apply the bitmap as a texture

func anchor_bottom() -> void:
	position.y = ActiveResolution.y * 0.5 - texture.get_height() * 0.5 # Calculates the coordinate for the bottom of the screen offset by the height of the bitmap
	position.x *= ActiveResolution.x / DevelopmentResolution.x # Scale X Position according to X window scaling
Copy-Pasting it should work just fine.
And we’re done, this is a basic way to use SVG scaling in Godot.
Performance
After the SVG has been scaled and imported it will perform as fast as any PNG would, however the scaling process (load_svg_from_buffer) itself can be very costly.
If you need the scaling process to be faster, use multithreading
The time it takes to scale an SVG depends strongly on the final image size, you could say the time increase based on output image resolution is exponential.
Just to reiterate: these performance tests are strictly just for the scaling process. (You could say I’m measuring how much the game ‘could’ stutter when an image or images are being initially loaded or re-scaled), generally speaking there isn’t any actual performance cost after this scaling happens (it’ll perform the same as any other image would).
Some very rough performance testing:
50 Sprites * Scale 1 (128x128) = ~170fps
50 Sprites * Scale 2 (256x256) = ~70fps
1 Sprite * Scale 10 (1280x1280) = ~100fps
50 Sprites * Scale 10 (1280x1280) = <1fps (about 3 seconds)
1 Sprite * Scale 30 (3840x3840) = ~7fps
50 Sprites * Scale 30 (3840x3840) = <1fps (about 7 seconds)
1 Sprite * Scale 100 (12800x12800) = <1fps (about 8 seconds)
Multithreading tests:
50 Sprites * Scale 1 (128x128) = ~300fps
50 Sprites * Scale 2 (256x256) = ~270fps
50 Sprites * Scale 10 (1280x1280) = 140fps
50 Sprites * Scale 30 (3840x3840) = 140fps (I checked multiple times, there might be a delay before the images actually get resized, but at least it doesn’t block the game thread)
Multithreading code changes:
var thread: Thread = Thread.new() # Added this line at the top with the other variables.

thread.start(update_scale) # Replaced update_scale() under _process() with this line.

func update_scale(desired_scale: float = ActiveResolution.y / DevelopmentResolution.y): # Removed: -> void
Native Vector Graphics Support In Godot
There is a pull request on github with code to implement native vector graphics support in godot.
It’s creator also made a plugin which can be used to load SVG files natively (without all the shenanigans in this guide) for potentially better performance and simpler scaling mechanisms.