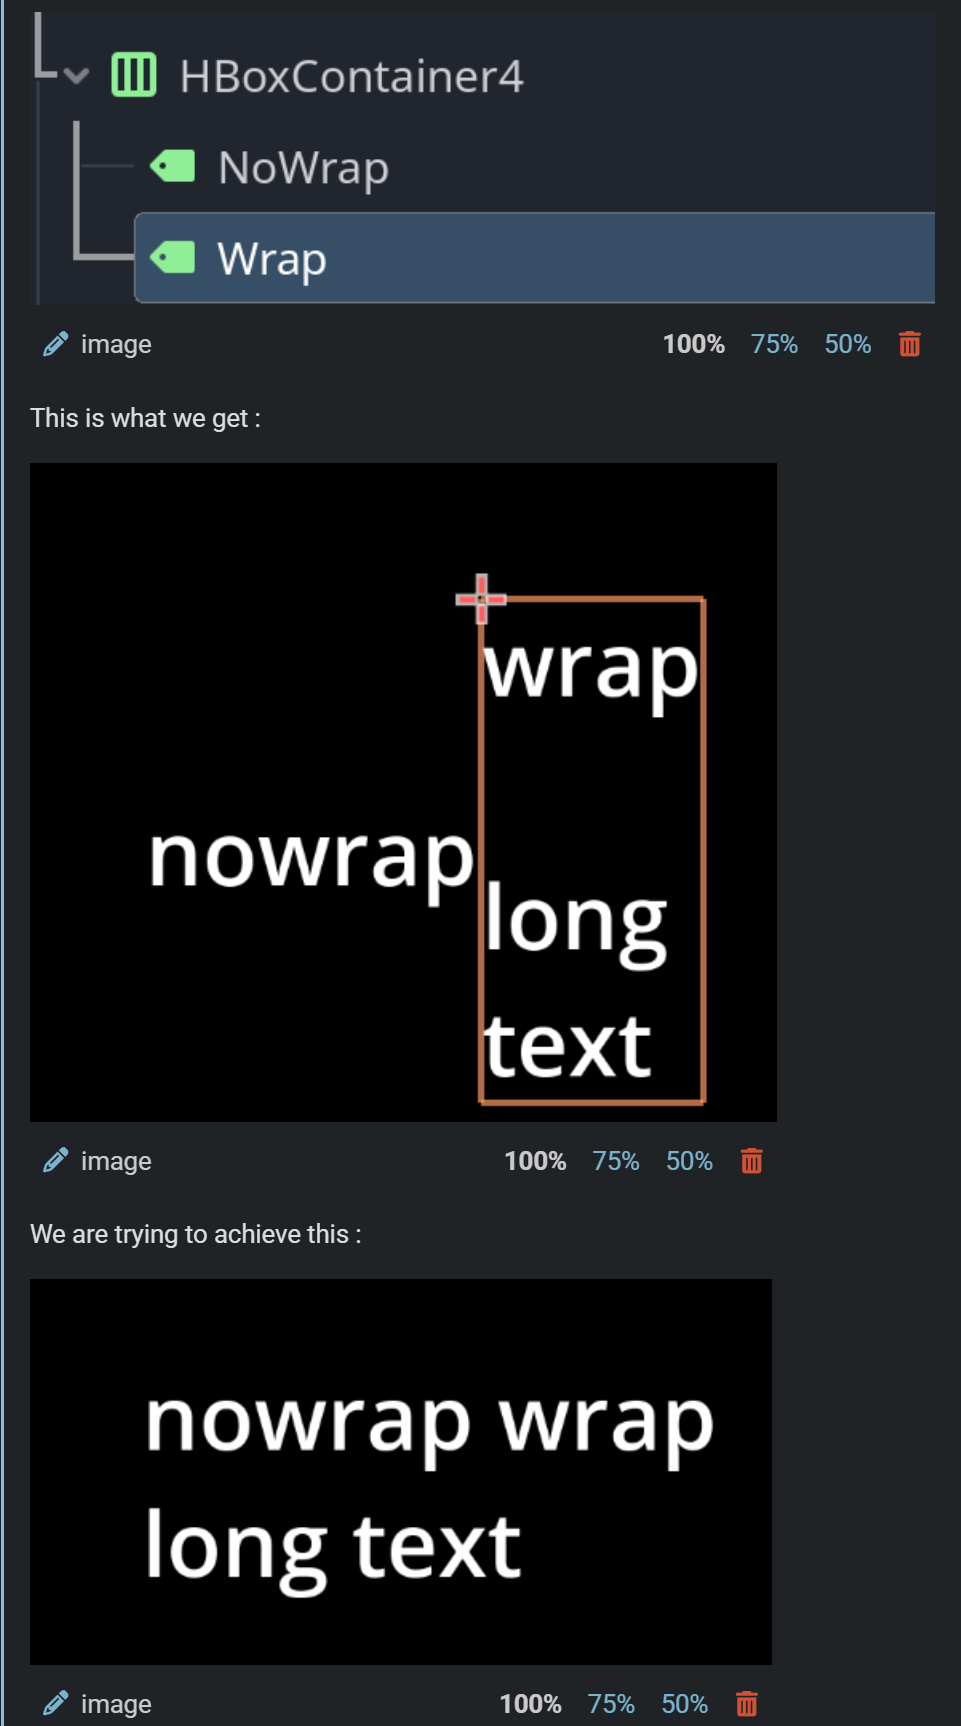
The wrapped text should continue its content a the far left of the line.
Just like in HTML/CSS with span/inline markups. See https://jsfiddle.net/cv5b3eny/
(I would have added a screenshot here but I am not allowed more than 1 screenshot per post)
Is this possible in godot ? Without hacks ?
We are not looking for a solution with only one Label/RichTextLabel, the requirements are
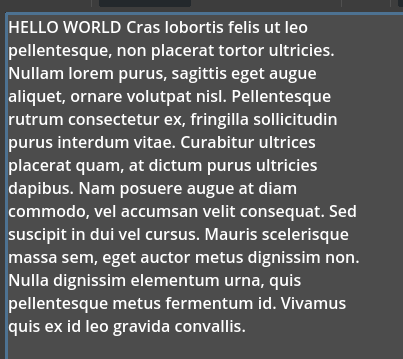
It’s somewhat possible to fake it by adding a “texture” to pad the start of the second label to the width of the first label but it may not be flexible enough.
extends Node

@onready var label: Label = $PanelContainer/Label
@onready var rich_text_label: RichTextLabel = $PanelContainer/RichTextLabel

const TEXT = "Cras lobortis felis ut leo pellentesque, non placerat tortor ultricies. Nullam lorem purus, sagittis eget augue aliquet, ornare volutpat nisl. Pellentesque rutrum consectetur ex, fringilla sollicitudin purus interdum vitae. Curabitur ultrices placerat quam, at dictum purus ultricies dapibus. Nam posuere augue at diam commodo, vel accumsan velit consequat. Sed suscipit in dui vel cursus. Mauris scelerisque massa sem, eget auctor metus dignissim non. Nulla dignissim elementum urna, quis pellentesque metus fermentum id. Vivamus quis ex id leo gravida convallis."

func _ready() -> void:
	# Create a placeholder texture with size 1,1
	var texture = PlaceholderTexture2D.new()
	texture.size = Vector2(1, 1)

	# Get the minimum size of the label to get its width
	var label_size = label.get_combined_minimum_size()
	# Add the placeholder texture as padding to the RichTextLabel
	rich_text_label.add_image(texture, label_size.x, 1, Color.TRANSPARENT, INLINE_ALIGNMENT_BOTTOM)
	# Add an space to separate the Label from the RichTextLabel
	rich_text_label.add_text(" ")
	# And add the text
	rich_text_label.add_text(TEXT)
Self-contained tscn file
[gd_scene load_steps=3 format=3 uid="uid://c047raqf7hpbc"]

[sub_resource type="GDScript" id="GDScript_risw6"]
script/source = "extends Node

@onready var label: Label = $PanelContainer/Label
@onready var rich_text_label: RichTextLabel = $PanelContainer/RichTextLabel

const TEXT = \"Cras lobortis felis ut leo pellentesque, non placerat tortor ultricies. Nullam lorem purus, sagittis eget augue aliquet, ornare volutpat nisl. Pellentesque rutrum consectetur ex, fringilla sollicitudin purus interdum vitae. Curabitur ultrices placerat quam, at dictum purus ultricies dapibus. Nam posuere augue at diam commodo, vel accumsan velit consequat. Sed suscipit in dui vel cursus. Mauris scelerisque massa sem, eget auctor metus dignissim non. Nulla dignissim elementum urna, quis pellentesque metus fermentum id. Vivamus quis ex id leo gravida convallis.\"

func _ready() -> void:
	# Create a placeholder texture with size 1,1
	var texture = PlaceholderTexture2D.new()
	texture.size = Vector2(1, 1)

	# Get the minimum size of the label to get its width
	var label_size = label.get_combined_minimum_size()
	# Add the placeholder texture as padding to the RichTextLabel
	rich_text_label.add_image(texture, label_size.x, 1, Color.TRANSPARENT, INLINE_ALIGNMENT_BOTTOM)
	# Add an space to separate the Label from the RichTextLabel
	rich_text_label.add_text(\" \")
	# And add the text
	rich_text_label.add_text(TEXT)
"

[sub_resource type="StyleBoxEmpty" id="StyleBoxEmpty_84lai"]

[node name="TestInlineWrap" type="Node"]
script = SubResource("GDScript_risw6")

[node name="PanelContainer" type="PanelContainer" parent="."]
offset_right = 375.0
offset_bottom = 106.0
theme_override_styles/panel = SubResource("StyleBoxEmpty_84lai")

[node name="Label" type="Label" parent="PanelContainer"]
layout_mode = 2
size_flags_vertical = 1
text = "HELLO WORLD
"

[node name="RichTextLabel" type="RichTextLabel" parent="PanelContainer"]
layout_mode = 2
fit_content = true
Apologies. I didn’t know that one screenshot was a limitation for new users.
So looking at your second screenshot, yeah there is not way to do that without hacking it. For the record, from a UI design perspective, I think that looks bad. It increases cognitive load on the user. Which is why you need to hack it.
The CSS is handling it because it’s treating the button and the text as inline. It’s a holdover from publishing which has its place in articles, but IMO little else. Having said that, this is how I would handle it.
Create a Control to hold everything. Add the Button and set the Anchor to the upper left-hand corner. Add a Label that overlaps the button. (Do not use a VBox.) Measure the number of pixels a space takes up in the font you’re using at the point size you are using. Measure the width of the button. Divide that by your space size. Add that many spaces to the label. If the button text changes, run the calculation again.
Again, I believe this is poor UI design so I’d recommend against it, but you do you.