I was looking for solutions to a similar problem of mine, and ran across your posts. I found a solution that works for me, so I hope it can help you too!
The Problem
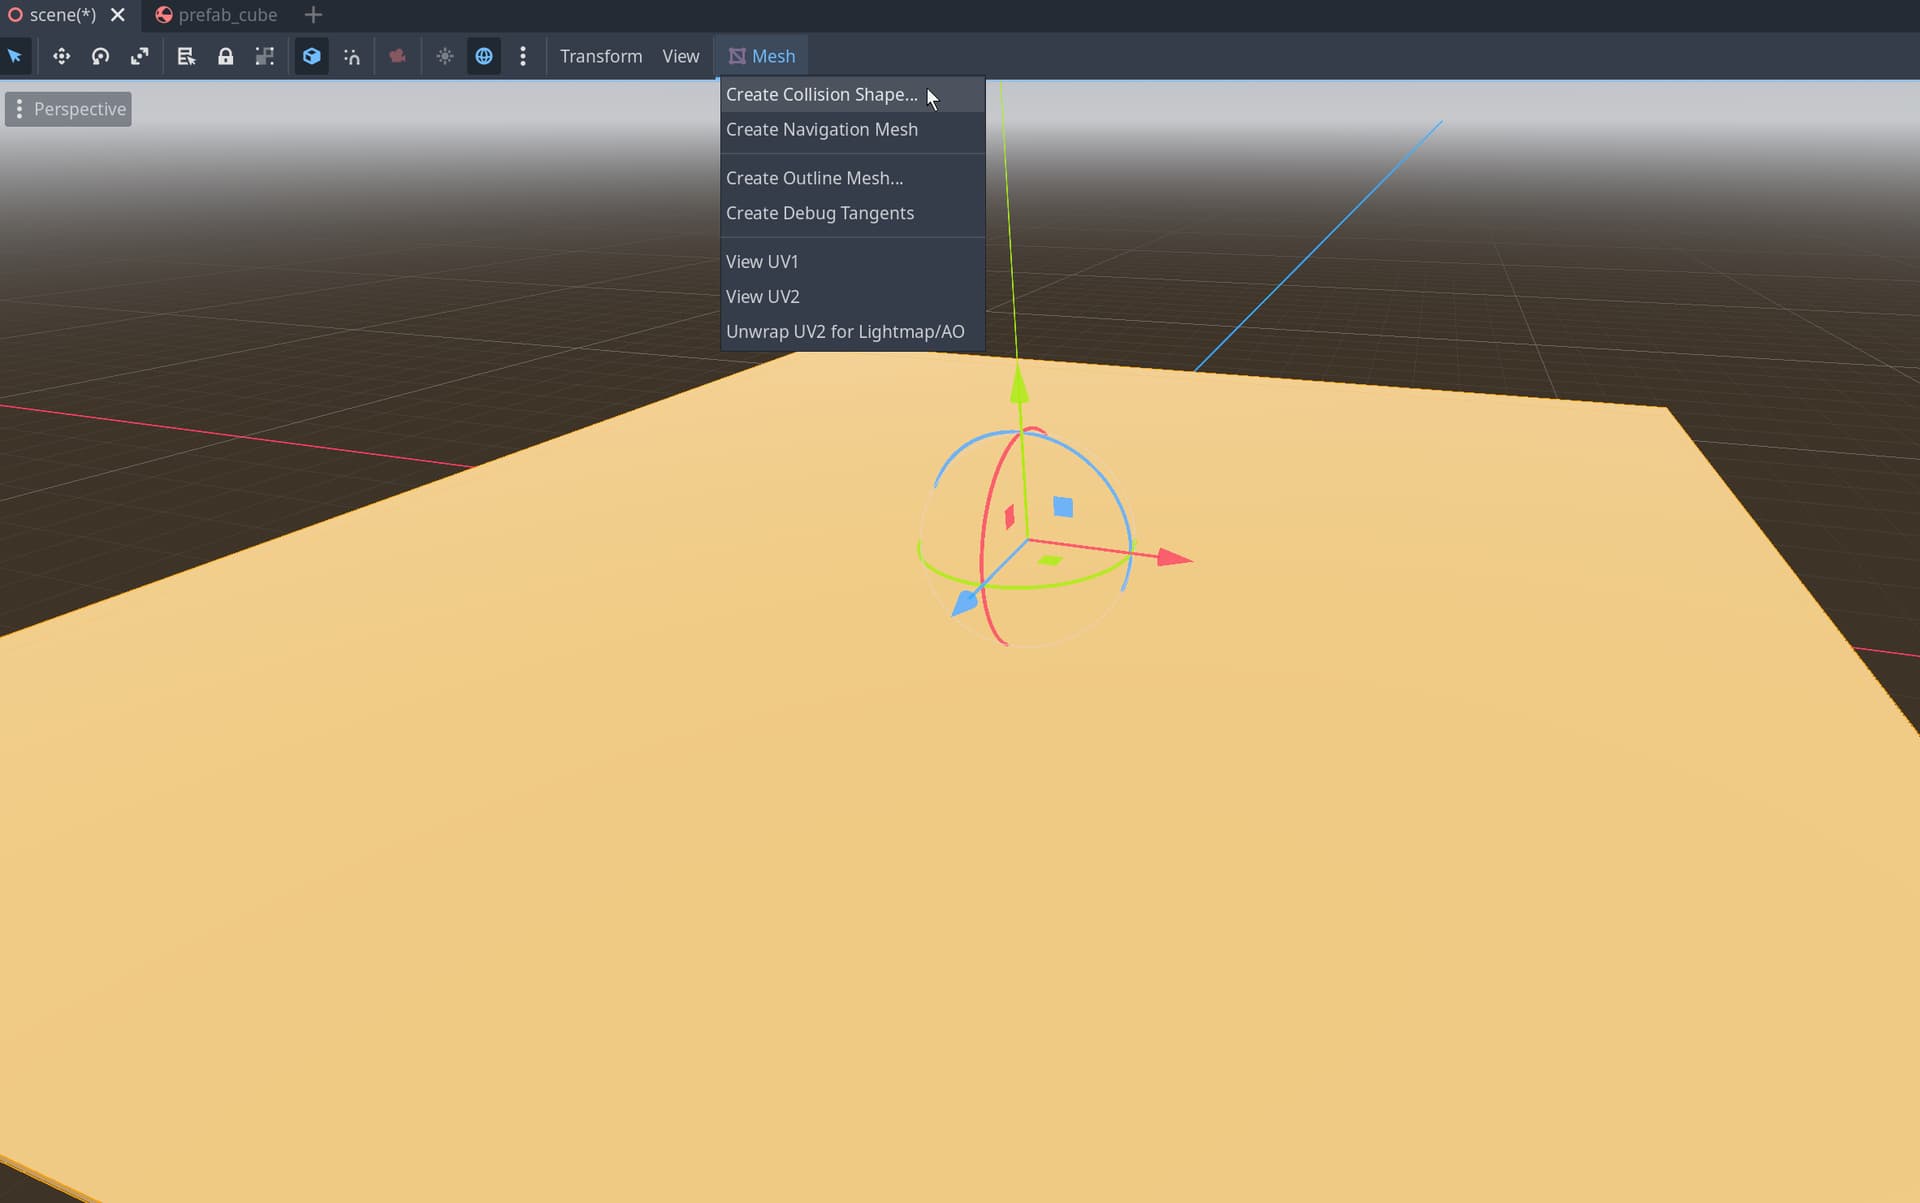
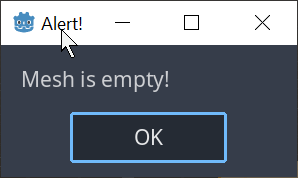
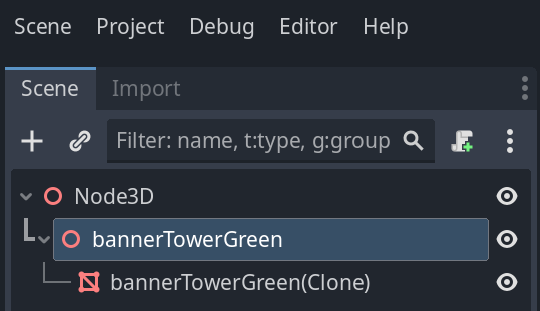
I downloaded one of Kenney’s asset packs to put them all into a Mesh Library. I imported them, but they imported as Node3Ds, which doesn’t have the ‘Mesh’ button on the toolbar. So I reimported them as MeshInstance3Ds, but when I tried to ‘Create Collision Shape,’ it said the “Mesh is empty!” WHY!
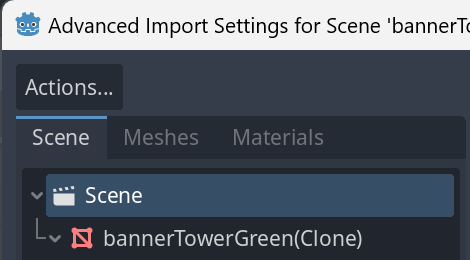
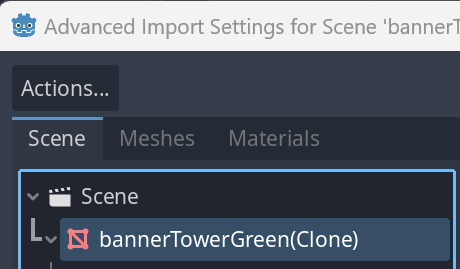
It turns out that simply reimporting the assets as MeshInstance3Ds wasn’t enough for the engine to see its mesh. If you look at the ‘Import’ tab again, and click the ‘Advanced…’ button, a window pops up.
On the left side, in the ‘Scene’ tab, it shows that the real MeshInstance3D is actually a child of what’s being imported.
Now, I found 3 ways to get to the MeshInstance3D node that we actually want. Since you’re only using a single asset, I’ll show you the simplest way I found:
Importing A Single Asset
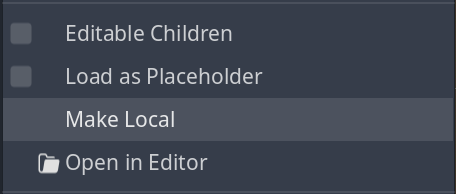
Put your asset into your Scene Tree, and right-click it. Near the bottom of the dropdown menu, click on ‘Make local.’ That’s it.
From there, just click on the MeshInstance3D, and hit the ‘Mesh’ button like before. It should work this time. At least, it did for me.
Importing Multiple Assets
If you’re importing multiple assets at once (which I was), then making each and every node local is an absolute chore. I don’t recommend it.
So I coded up a solution that works decently enough.
Note: Keep in mind, this method works specific to Kenney’s Racing Kit assets, so it may not work for all assets. But it should hopefully serve as a stepping stone to finding your own solutions for other assets.
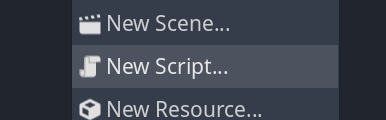
Right-click on your FileSystem and click ‘New Script…’ (that way it’s not attached to any nodes).
After you’re done naming the script to something you like (let’s say “post_import.gd”), paste in this code:
@tool
extends EditorScenePostImport

func _post_import(scene: Node) -> Node:
    ## Set the child MeshInstance as the parent
    var parent: Node = null
    var mesh_child: MeshInstance3D = get_mesh_child(scene)
    if mesh_child != null:
        parent = mesh_child
    else:
        parent = Node.new()
    return parent

func get_mesh_child(node: Node) -> MeshInstance3D:
    var mesh_child: MeshInstance3D = null
    for child in node.get_children():
        if child is MeshInstance3D:
            mesh_child = child
    return mesh_child
We’re going to attach this script to each of the assets we want to import (it’s dead simple, don’t worry). All the script does is check if the asset has a MeshInstance3D as its direct child (no children of children, unfortunately), and it turns that direct child into root node of that individual asset. Basically, the child kills its parent and takes its place.
Note: if you’re anything like me, you want the imported assets to be in PascalCase to maintain consistency with node conventions. You can copy this code instad of the one above, in that case:
Alternate Code for PascalCase
@tool
extends EditorScenePostImport

func _post_import(scene: Node) -> Node:
    ## Set the child MeshInstance as the parent
    var parent: Node = null
    var mesh_child: MeshInstance3D = get_mesh_child(scene)
    if mesh_child != null:
        mesh_child.name = mesh_child.name.to_pascal_case() # THE NEW LINE OF CODE
        parent = mesh_child
    else:
        parent = Node.new()
    return parent

func get_mesh_child(node: Node) -> MeshInstance3D:
    var mesh_child: MeshInstance3D = null
    for child in node.get_children():
        if child is MeshInstance3D:
            mesh_child = child
    return mesh_child
Save your work, then go back to the *.glb assets in your FileSystem. Select all of the assets you want to reimport (click on the first file you want to import, then, while holding shift, click on the last file you want to import). Now, go back to the ‘Import’ tab, and scroll down until you find the ‘Import Script’ section.

Click the File Icon, then find and select the “post_import.gd” script we made earlier (or whatever you called it). Now, click ‘Reimport.’ If all is well, then your Scene Tree should be full of MeshInstance3Ds that actually have meshes in them.
There is a downside to this approach though. The code I wrote is very specific to the assets that Kenney provided. I can’t guarantee that other assets will have their node trees set up the same as Kenney’s. I can’t even guarantee that all of Kenney’s assets will be set up the same way per asset pack.
I can’t promise I’ll be around to answer every question you’ve got (but I’ll try for a bit). Even if I can’t answer, there’s always a ton of helpful people in this community who’ll lend a hand.
The Third Way Of Importing
This last way I found is just something I happened upon. For most cases, I’d likely stick to the two above, but I might as well share it.
It’s done before we reimport. Click the ‘Advanced…’ button to go back to the ‘Advanced Import Settings’ window. In the ‘Scene’ tab, click on the MeshInstance3D node to highlight it.
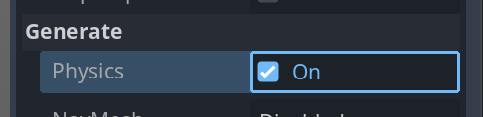
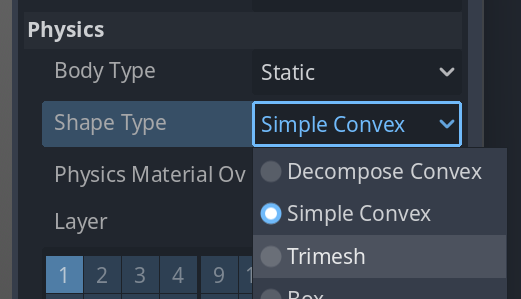
On the right side of the window, under ‘Generate,’ turn ‘Physics’ on.
Under the now-opened ‘Physics’ section, you can change the ‘Body Type’ and the ‘Shape Type.’ To be frank, I don’t know the meanings of all these settings, but I can intuit that choosing ‘Body Type’>‘Static’ is like a StaticBody3D (which is what I wanted), and that the ‘Shape Type’ options, because they share terminology, likely correlate to Collision Shapes (I chose ‘Simple Convex’ for the stuff with low detail, and ‘Trimesh’ for the higher detail stuff).
Hope this helped!