Godot Version
4.6.3
Question
I am a total beginner and have not been able to achieve a node setup to build it yet.
I have two identical meshes (low-poly PS2 style and high-poly photorealistic) at the same position. I want the object to smoothly blend from low-poly to high-poly when it passes through a water surface (e.g., a character’s face dips underwater). What’s the most efficient way in Godot 4.6? Shader-based material lerp? Mesh swapping with alpha crossfade? Any examples appreciated.
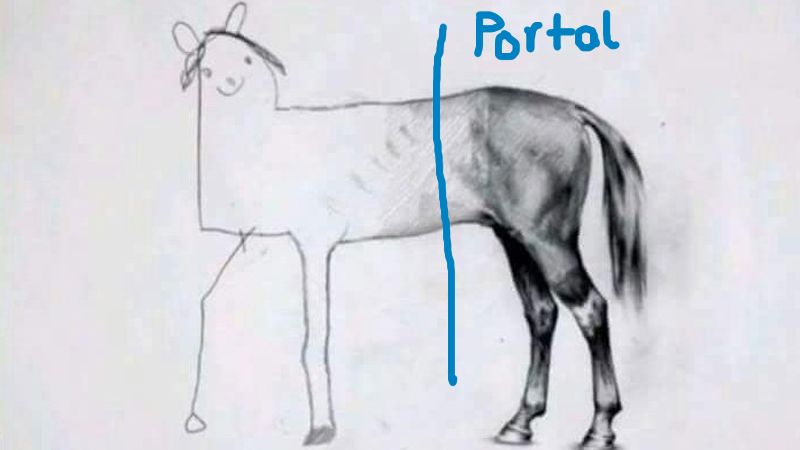
What I want to achieve is a character walking through a portal and dynamically changing art style and LOD complexity from something simple as PS2 graphics to a more detailed high poly version with different art style.
By “smoothly blend” I mean that both models are like one, same animation, same dimensions, same coordinates when walking through the portal. Just the geometry is smoothly increasing in polygon count where the portal is located. No clothing or other items like weapon of the high poly model is popping through the portal back on the other side where the low-poly model is and destroying the illusion.
Some shader that checks for the closest vertices of the low-poly model and changes them to the closest vertices of the high-poly model.
Sounds like a math problem, but my understanding is limited, but I would like to understand how it might be achievable.
Can you make an animated mockup of this transition in Blender?
Will try to do it this weekend. Will take some time.
You should be able to draw both the meshes and mask them on the fragment shader setting alpha to 0 or 1 based on their pixels being behind of in front of a plane coplanar to that portal thing.
pseudocode:
#something done somewhere on a spatial shader
func fragment(x, y):
var world_space: Vector3 = screen_space_to_world_space(x, y, sample_Z_buffer(x,y))
distance_to_plane: Vector3 = plane.position - world_space
height_from_plane: Vector3 = plane.normal.dot(distance_to_plane)
# 0 if behind, 1 if in front
var forward_backward = clampf(sign(height_from_plane), 0, 1)
return RGBA(red, green, blue, forward_backward)
You’ll have to figure out a way to make the shader mask fragments by this plane intersection before the renderer culls by Z-buffer depth, otherwise something similar to Z-fighting will happen. One Way to do that is to disable depth-test on the shaders for the two models and render them before any other geometry… that second part i don’t know how to do. might be as simple as reordering on the node tree, or as complicated as rendering to a separate subviewport’s texture and manually depth-testing it.
Sounds like a stencil shader would be better suited, draw your low-poly model on a mask, also draw you high-poly on a mask, then use the stencil compare to draw one or the other.
I achieved this effect following this video on stencil portals, the twist being a second object at the same position samples with not_equal while the original model samples equal
Here’s the scene file for that example as I’m sure the video is hard to read and it’s more fun to play with it
Scene File
[gd_scene format=3 uid="uid://bbaxy8sgrh33r"]

[sub_resource type="StandardMaterial3D" id="StandardMaterial3D_j2sdb"]
transparency = 1
depth_draw_mode = 2
no_depth_test = true
albedo_color = Color(1, 1, 1, 0.3254902)
stencil_mode = 3
stencil_flags = 2

[sub_resource type="BoxMesh" id="BoxMesh_pp5sf"]
material = SubResource("StandardMaterial3D_j2sdb")
size = Vector3(3, 3, 3)

[sub_resource type="StandardMaterial3D" id="StandardMaterial3D_y7f7e"]
render_priority = 1
transparency = 1
depth_draw_mode = 2
no_depth_test = true
albedo_color = Color(0.7875259, 0, 0.38061202, 1)
stencil_mode = 3
stencil_flags = 1
stencil_compare = 5

[sub_resource type="CapsuleMesh" id="CapsuleMesh_6krur"]
material = SubResource("StandardMaterial3D_y7f7e")

[sub_resource type="StandardMaterial3D" id="StandardMaterial3D_vgybl"]
render_priority = 1
transparency = 1
depth_draw_mode = 2
no_depth_test = true
albedo_color = Color(0.3647059, 0.45882353, 1, 1)
stencil_mode = 3
stencil_flags = 1
stencil_compare = 2

[sub_resource type="CapsuleMesh" id="CapsuleMesh_rsswd"]
material = SubResource("StandardMaterial3D_vgybl")
radial_segments = 5
rings = 1

[node name="StencilTransition" type="Node3D" unique_id=1696104486]

[node name="Portal" type="MeshInstance3D" parent="." unique_id=926390641]
transform = Transform3D(1, 0, 0, 0, 1, 0, 0, 0, 1, 0.0972203, 0, 2.5196118)
mesh = SubResource("BoxMesh_pp5sf")

[node name="PinkHighPoly" type="MeshInstance3D" parent="." unique_id=1771872849]
mesh = SubResource("CapsuleMesh_6krur")

[node name="BlueLowPoly" type="MeshInstance3D" parent="." unique_id=1070098790]
mesh = SubResource("CapsuleMesh_rsswd")
Thanks for the answers!
@gertkeno This looks very much to what I am trying to achieve. I will need some time to test it for my use case and need to prepare my blender files for better visual testing.
Will update you once I have tested and played around with your suggestion.
Btw, the video about Stencil Buffers answers more questions I had then you can imagine 
Now I am a little bit hyped to play around with it.
That’s not a “smooth blend” though. It’s just a cut into two parts. You can do this by having two versions of the mesh on the same position and run a shader on each that discards pixels on the “other” side of the plane.
You just made me realize, assigning an alpha value on the shader tags the whole thing as a transparent object and makes it skip the depth-test fragment discard thing. Thus no fancy post-processing will be needed.
True the stencil buffer will not connect vertices. I suppose a perfect implementation would use a geometry shader to decimate (as blender would put it) one side of the mesh. Godot has compute shaders but not specifically the geometry pass as I know it in OpenGL 3, which is probably for the better but does complicate this as a shader.
Although it’s not really clear if the OP meant to split it or to morph the polygons. Splitting is simple and straightforward (either via stenciling or discarding). Morphing, on the other hand, would require some clever modeling to emulate matching topology or, as you noted, some realtime decimation.
That’s why I suggested an animated mockup, to see what exactly is the effect we’re talking about.
Yeah, setting my idea up in blender takes more time then I have expected. Will update this thread once I have finished it. Even for a mockup I need more time as things do not work out the way I want them and I am a total beginner.
I have tried some of the stencil buffer magic in Godot, it has amazing potential for other things I want to do, however, it is indeed not what I was looking for. Like @normalized mentioned, it is probably harder to achieve and I need first to learn more.
Thanks to you @normalized and @gertkeno