Hello there again! This is sort of an extension of this post ( Seeking advice regarding attempts to replicate the behavior of Doom-style """sector lighting""" ) as I have since figured out most of the big things regarding it and I didn’t want to flood it too much as the main half of that thread was solved and I managed to get things working!
I’ve mainly decided to create this second thread because I have two problems: one which is a major focus of mine, and the other which is not as major of a focus but may directly affect how I handle the first, so I’m sort of packing them into a larger topic.
Godot Version
I am using Godot 4.7.1 stable at the current moment!
Question
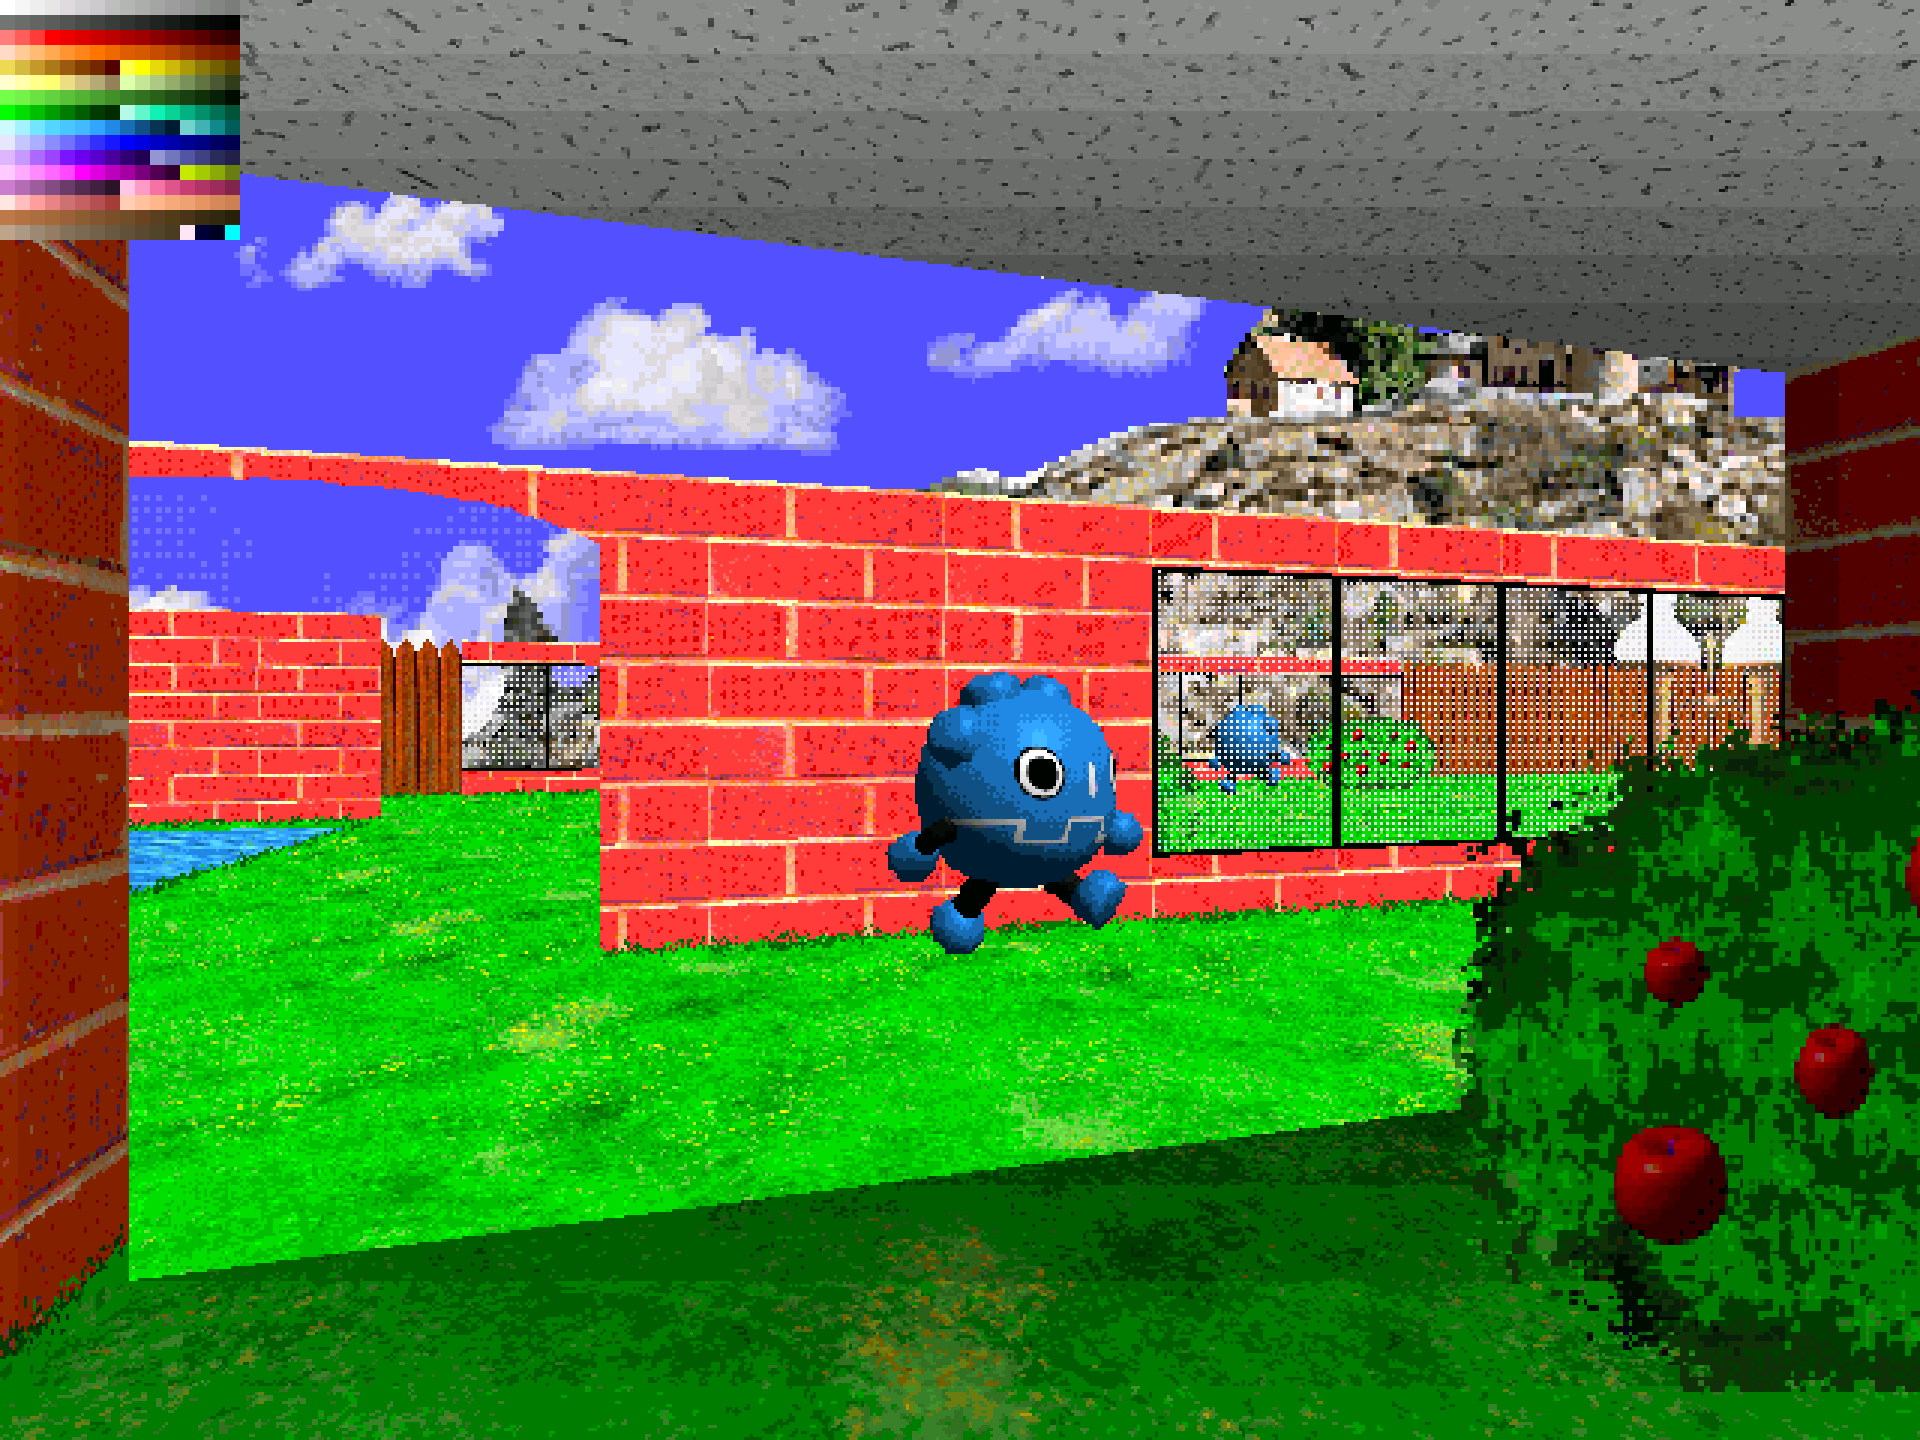
To give a short tl;dr, though my Github repo and specifically my To-do list on the Doomesque Visuals Pack Github repo goes into a little more detail: I have been creating a lighting system heavily akin to the lighting found in a lot of old Id tech 1 games and early raycasters, namely Doom (which you could probably guess from the name of this thread and the many other threads): I mainly started doing this for my own personal project though I ended up making a public open source project as well to compile up all the visual effects I’ve built up as a public resource and a way to potentially get extra help with figuring out some of the specifics. Here is a picture to display a bit of what’s currently there! ^^
Currently, the lightmap used in the visual-test-map is manually drawn and this is fine for the sake of testing and debugging: however, lighting in Doom and many games like it tend to have some form of way to change over time or through scripts, and realistically speaking this would be physically impossible to do with a manually pre-made lightmap texture.
Example gifs and photos below are taken from SRB2 and Ring Racers.
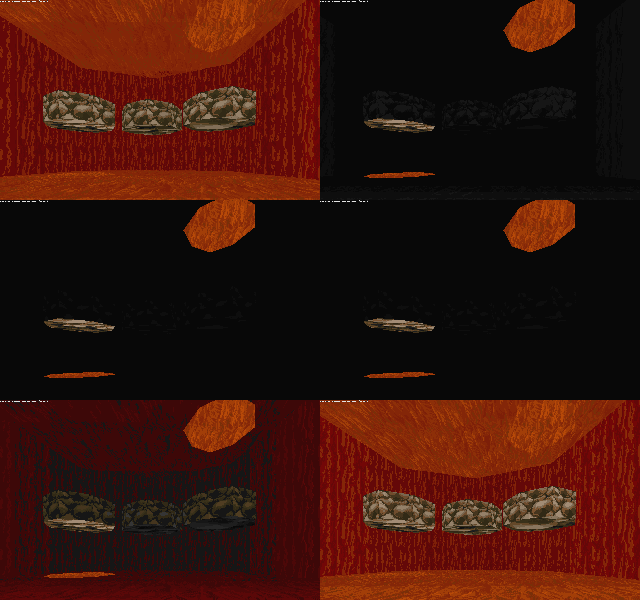
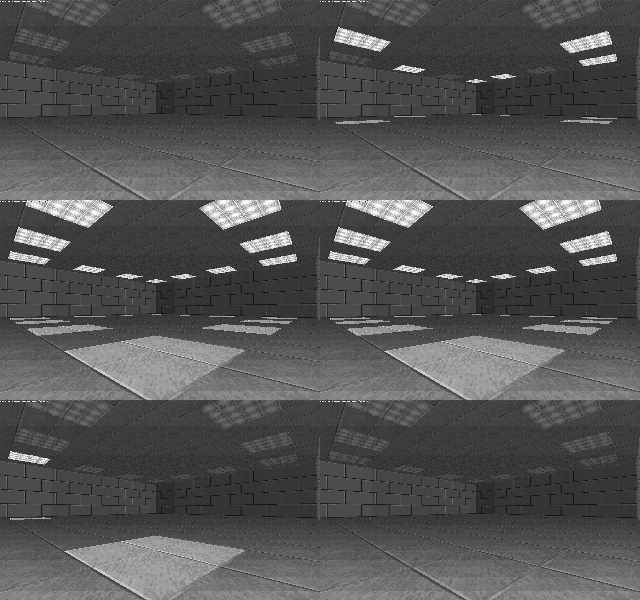
You may have also noticed that some of these have multiple floors with different lighting, which is where the lower-priority issue comes in: the lightmap setup I currently have is a flat sampler2d which is designed to only account for the horizontal axes of the map: this is great for simpler lighting (particularly for maps with only one floor and ceiling akin to the original Doom) but in turn makes it very hard to account for the Y-axis.
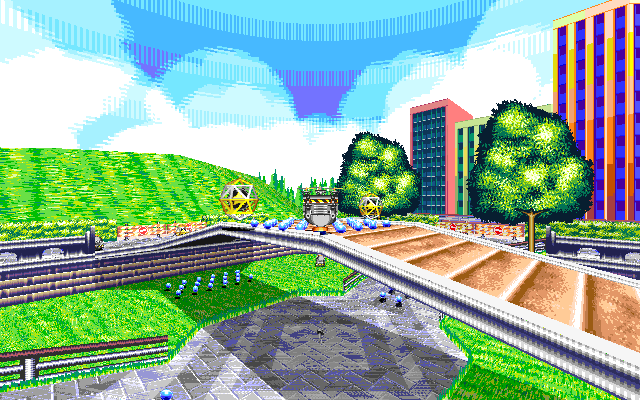
This is admittedly a separated issue, though I bring it up as I feel the way I tackle the Y-axis issue (if I even choose to acknowledge it) may severely affect how I go about the lightmaps. I reckon it’s worth at least mentioning in case, though between this and the lightmap creation: I am more concerned about the lightmap setup!
What have I considered?
I haven’t gotten to actually trying out any specifics yet as I admittedly have no idea as to how to approach this: though my initial thought for the creation of interactive/adjustable lightmaps was to use a viewporttexture and create the lightmap through the subviewport it’s linked to: however, I am unsure how practical this would be (not to mention, I admittedly don’t trust my own gut too much considering at one point I tried to use area3ds to do the lighting!)
May I see an example of the lightmap shader code?
You may! All of this is already publicly accessible in the Doomesque Visuals Pack repo and I’d recommend you look through there if you want more detailed shader code to see how it fully ticks in combination with everything else, but for the sake of clarity I will quickly show only a simplified version of the shader code which specifically pertains to the lighting itself!
Simplified version of the lightmap code for the planes (walls, ceiling, floors):
group_uniforms Lightmap;
uniform sampler2D lightmap:hint_default_white,filter_nearest;
uniform vec2 lightmap_size = vec2(1.0);
uniform vec2 lightmap_offset = vec2(0.0);

varying vec3 world_position;

const float lightmap_bias = 0.00001; // Bias is extremely small to ensure the bias is as accurate as possible

void fragment(){
    // Handle lightmap
	vec2 actual_lightmap_size = vec2(1.0) / lightmap_size;
	// Create lightmap uv
	vec2 lightmap_uv = (world_position.xz * actual_lightmap_size) + lightmap_offset;
	// Offset lightmap uv by view matrix normal
	vec3 viewmatrix_normal = (INV_VIEW_MATRIX * vec4(NORMAL, 0.0)).xyz;
	lightmap_uv += viewmatrix_normal.xz * lightmap_bias;
	vec4 light = texture(lightmap,lightmap_uv);
    ALBEDO = light;
}
Simplified version of the lightmap code for the sprites:
group_uniforms Lightmap;
uniform sampler2D lightmap:hint_default_white,filter_nearest;
uniform vec2 lightmap_size = vec2(1.0);
uniform vec2 lightmap_offset = vec2(0.0);

varying flat vec3 world_origin;
varying flat vec3 light_color;

vec3 create_lightmap_color(vec2 offset){
	// Run the same calculations done for the ground
	vec2 actual_lightmap_size = vec2(1.0) / lightmap_size;
	vec2 lightmap_uv = fract((world_origin.xz * actual_lightmap_size) + lightmap_offset + offset);
	return texture(lightmap,lightmap_uv).rgb;
}

void vertex() {
	world_origin = MODEL_MATRIX[3].xyz;
	// Handle lightmap colors: we're handling it in here so that way the light is just one color
	light_color = create_lightmap_color(vec2(0));
}

void fragment() {
	ALBEDO = light_color;
}
Again, huge apologies for my long, long ramble! I hope I didn’t go on for too long and if you read this far, I greatly appreciate you taking your time to read through! Have a wonderful, wonderful day and best wishes to you folks!